Tracking Flexy Pe Checkout Events in CustomerLabs
Flexy Pe is a popular one-click checkout platform that helps improve eCommerce conversions, but many users face challenges with event tracking and data accuracy on Meta because,
- The top-funnel events (
Page view,View Content,Add to Cart) are triggered by Shopify’s tracking scripts - The bottom-funnel events (
Initiate Checkout,Add Payment Info, andPurchase) are triggered by Flexy Pe’s scripts.
This causes a break in user journey and thus the data feeding the ad platform’s algorithm is incomplete.
By leveraging CustomerLabs’ first-party data (1PD) platform, businesses can implement server-side tracking via Meta’s Conversions API, overcoming Fastrr’s native tracking restrictions. This ensures more accurate event data, reduces data loss, and improves ad attribution and campaign optimization on Meta and Google Ads.
Prerequisites
Section titled “Prerequisites”- GTM container is installed on the website
- Publish Access to Google Tag Manager container which is installed on your website.
- Flexy Pe Checkout events (Events for Checkout initiated, Add payment info, and Purchase) should be pushed into the datalayer.
Verifying if events are pushed into the datalayer
Section titled “Verifying if events are pushed into the datalayer”- Visit your website and right-click anywhere on your website and select Inspect.
- Go to the Console tab.
- Perform all the website actions like adding products to cart, checkout, and purchase.
- After completing the test, type
dataLayer(case-sensitive) and press Enter.
dataLayer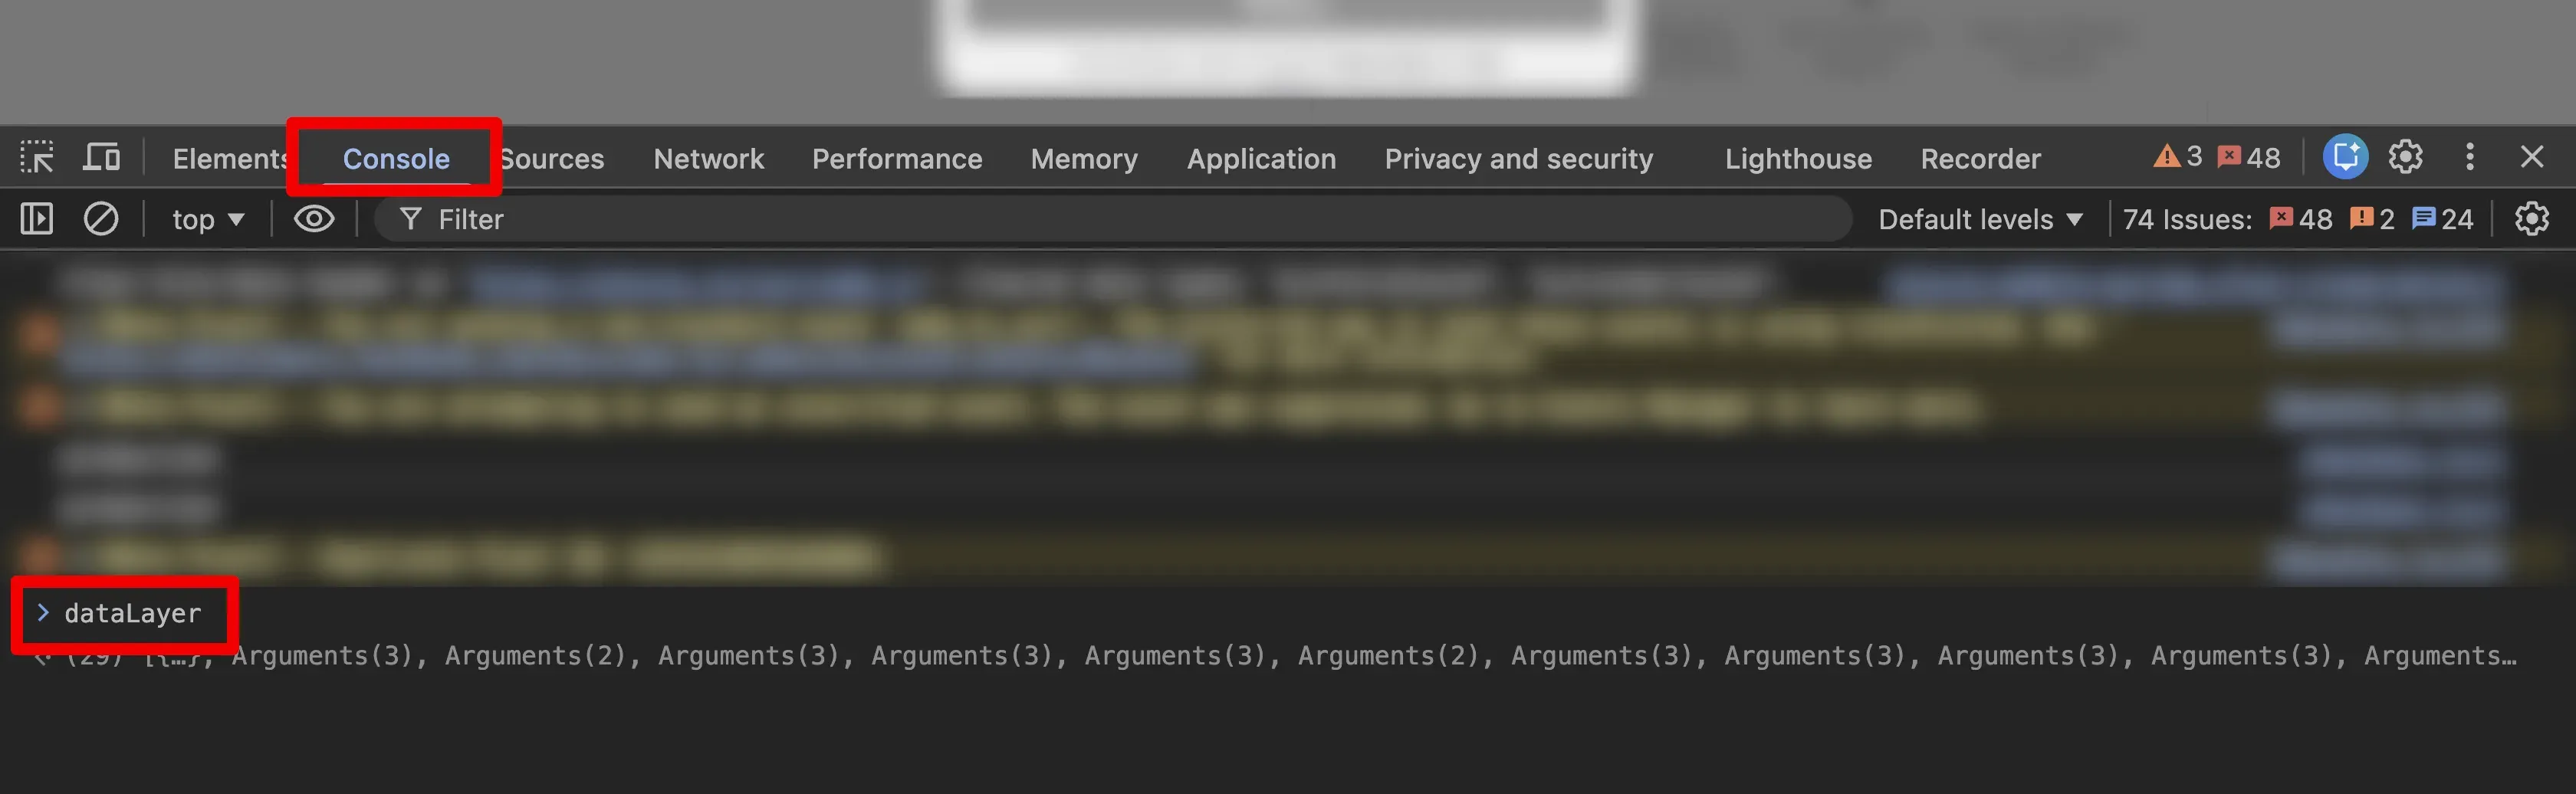
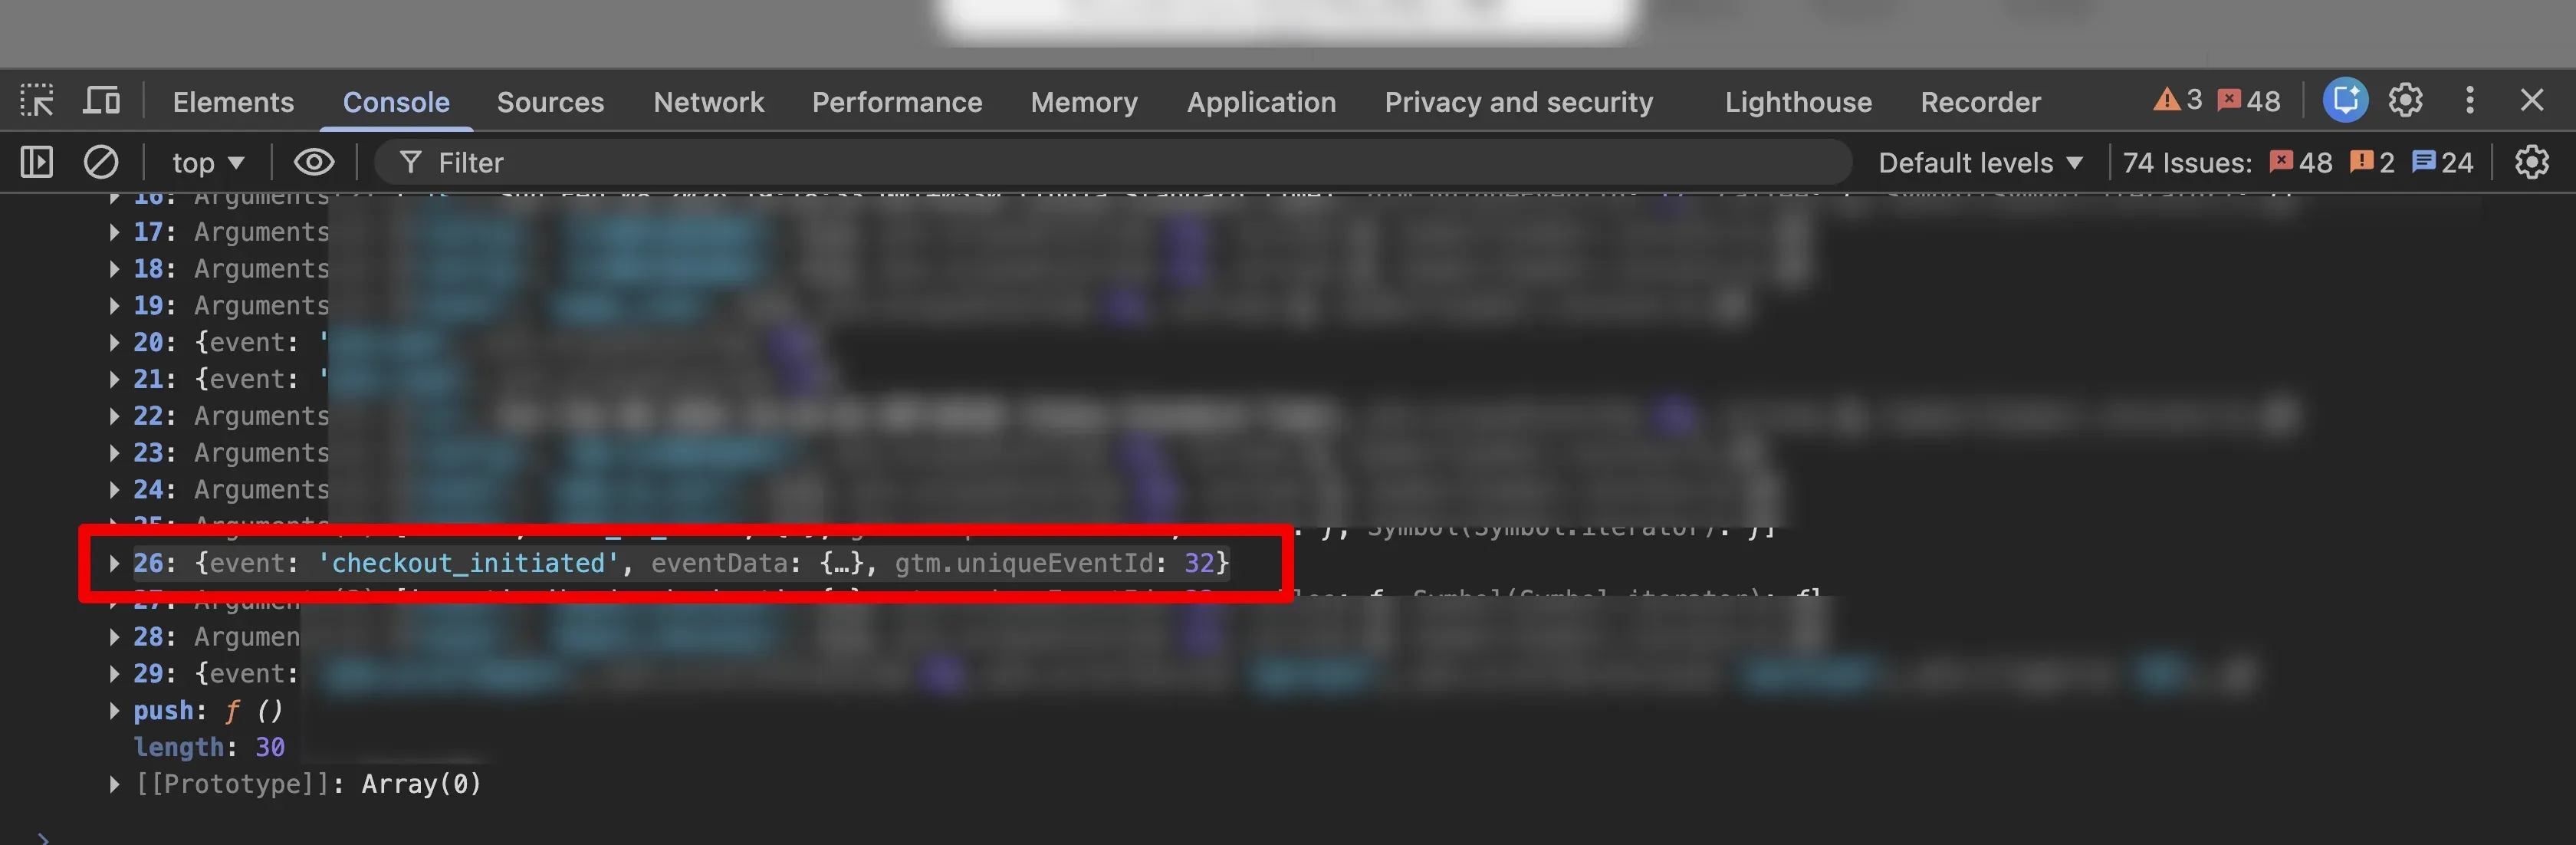
- Check the console for the events being pushed into the datalayer. You should be able to see the following events being pushed into the datalayer:
cart-initpayment-screenorder-placed
Verification of Google Tag Manager Installation on your website
Section titled “Verification of Google Tag Manager Installation on your website”- Visit your website and right-click anywhere on your website and select Inspect.
- Go to the Console tab.
- Type
google_tag_manager(case-sensitive) and press Enter. - Click the small arrow to open the object.
- Check the object to find if any key matches with your GTM container ID
GTM-XXXXXXX.
google_tag_manager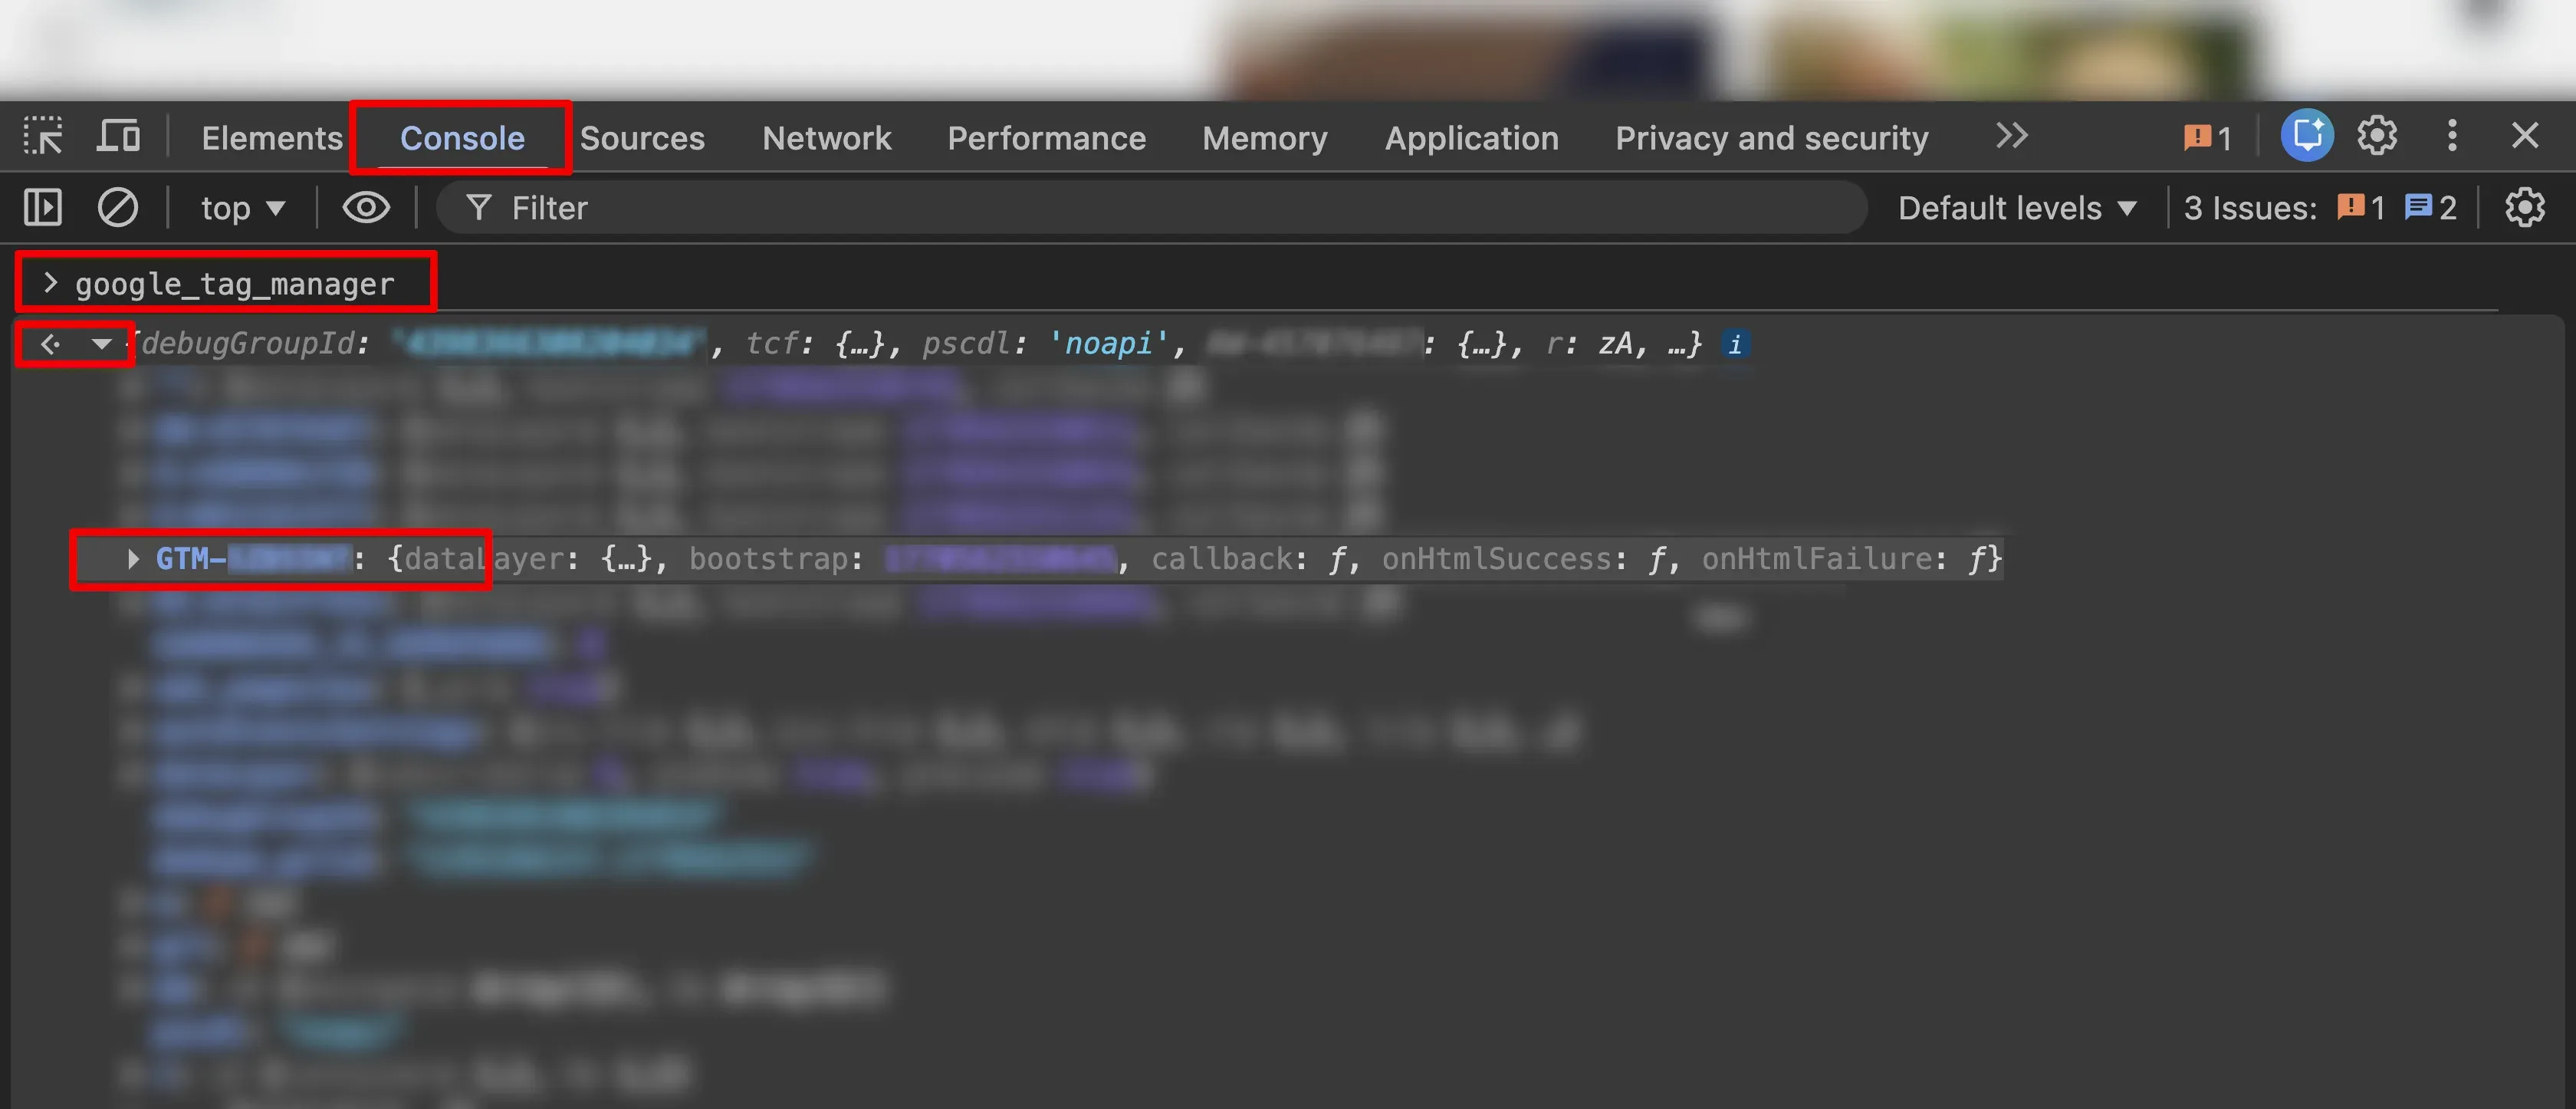
Setting up of CustomerLabs Events in GTM
Section titled “Setting up of CustomerLabs Events in GTM”Configuring the Checkout made event
Section titled “Configuring the Checkout made event”Configuring the tag
Section titled “Configuring the tag”- Open Google Tag Manger and click Tags → New Tag.
- Enter Tag Name: “CL - Initiate Checkout” and click on the tag configuration.
- Choose custom HTML and paste the code given below:
<script>function productsConversion(productsArr) {    var products = [];    for (var i = 0; i < productsArr.length; i++) {        var productStructure = {};        for (var key in productsArr[i]) {            switch (key) {                case "item_name":                    productStructure["product_name"] = {                        t: "string",                        v: productsArr[i][key],                    };                    break;                case "item_id":                    productStructure["product_id"] = {                        t: "string",                        v: productsArr[i][key] ? productsArr[i][key].toString() : "",                    };                    break;                case "price":                    productStructure["product_price"] = {                        t: "number",                        v: productsArr[i][key] || 0,                    };                    break;                case "quantity":                    productStructure["product_quantity"] = {                        t: "number",                        v: productsArr[i][key] || 0,                    };                    break;                case "item_variant":                    productStructure["product_variant"] = {                        t: "string",                        v: productsArr[i][key] || "",                    };                    break;                default:                    if (productsArr[i][key]) {                        var type = typeof productsArr[i][key];                        if (!isNaN(productsArr[i][key])) type = "number";                        productStructure["product_" + key] = {                            t: type,                            v: productsArr[i][key],                        };                    }                    break;            }        }        products.push(productStructure);    }    return products;}
var dl = window.google_tag_manager["GTM-XXXXXXX"].dataLayer;
// Fetch product items directlyvar items = dl.get("items") || [];var productProperties = productsConversion(items);
// Fetch event-level variablesvar ecommProdid = (dl.get("ecomm_prodid") || []).join(",");var coupons = (dl.get("coupons") || []).join("");
var properties = {    productProperties: productProperties,    customProperties: {        page_url: { t: "string", v: window.location.href },        flexy_session_id: { t: "string", v: dl.get("flexy_session_id") || "" },        currency: { t: "string", v: dl.get("currency") || "" },        value: { t: "number", v: dl.get("value") || 0 },        tax: { t: "number", v: dl.get("tax") || 0 },        shipping: { t: "number", v: dl.get("shipping") || 0 },        ecomm_prodid: { t: "string", v: ecommProdid },        coupons: { t: "string", v: coupons },    },};
// Fire event_cl.trackClick("Checkout made", properties);</script>Configuring the trigger
Section titled “Configuring the trigger”- Click the triggering section → click on the
+icon - Enter the trigger name: “cl_initiate_checkout” and click the trigger configuration.
- Choose the trigger type as
Custom eventand enter the event name ascl_begin_checkout. - Set the trigger to fire on
All Custom Events→ Click Save. - Click Save in the tag section.
Configuring the Add payment info event
Section titled “Configuring the Add payment info event”Configuring the tag
Section titled “Configuring the tag”- Open Google Tag Manger and click Tags → New Tag.
- Enter Tag Name: “CL - Add Payment Info” and click on the tag configuration.
- Choose custom HTML and paste the code given below:
<script>function clProductsConversion(productsData) {    var products = [];    for (var cli in productsData) {        var product = productsData[cli];        var newproduct = {};        for (var prodkey in product) {            switch (prodkey) {                case "item_id":                    newproduct["product_id"] = { "t": "string", "v": product[prodkey] };                    break;                case "item_name":                    newproduct["product_name"] = { "t": "string", "v": product[prodkey] };                    break;                case "price":                    newproduct["product_price"] = { "t": "number", "v": product[prodkey] };                    break;                case "item_brand":                    newproduct["product_brand"] = { "t": "string", "v": product[prodkey] };                    break;                case "item_category":                    newproduct["product_category"] = { "t": "string", "v": product[prodkey] };                    break;                case "quantity":                    newproduct["product_qty"] = { "t": "number", "v": product[prodkey] };                    break;                case "item_variant":                    newproduct["product_variant"] = { "t": "string", "v": product[prodkey] };                    break;                case "discount":                    newproduct["coupon"] = { "t": "string", "v": product[prodkey] };                    break;                default:                    if (typeof product[prodkey] !== "object") {                        newproduct["product_" + prodkey] = { "t": "string", "v": product[prodkey] };                    }                    break;            }        }        products.push(newproduct);    }    return products;};
var dl = window.google_tag_manager["GTM-XXXXXXX"].dataLayer;
// Direct assignments from DLvar currency          = dl.get("currency");var value             = dl.get("value");var tax               = dl.get("tax");var shipping          = dl.get("shipping");var shipping_method   = dl.get("shipping_method");var delivery_est      = dl.get("delivery_estimation");var coupons           = dl.get("coupons");var flexy_session_id  = dl.get("flexy_session_id");var items             = dl.get("items");
// Build propertiesvar properties = {};properties["customProperties"] = {    "currency": { "t": "string", "v": currency || "" },    "value": { "t": "number", "v": value || 0 },    "tax": { "t": "number", "v": tax || 0 },    "shipping": { "t": "number", "v": shipping || 0 },    "shipping_method": { "t": "string", "v": shipping_method || "" },    "delivery_estimation": { "t": "string", "v": delivery_est || "" },    "coupons": { "t": "string", "v": (coupons || []).join(",") },    "flexy_session_id": { "t": "string", "v": flexy_session_id || "" }};
properties["productProperties"] = clProductsConversion(items || []);
// Fire Add Payment Info_cl.trackClick("AddPaymentInfo", properties);</script>Configuring the trigger
Section titled “Configuring the trigger”- Click the triggering section → click on the
+icon - Enter the trigger name: “CL - Add Payment Info” and click the trigger configuration.
- Choose the trigger type as
Custom eventand enter the event name ascl_add_shipping_info. - Set the trigger to fire on
All Custom Events→ Click Save. - Click Save in the tag section.
Configuring the Purchased event
Section titled “Configuring the Purchased event”Configuring the tag
Section titled “Configuring the tag”- Open Google Tag Manger and click Tags → New Tag.
- Enter Tag Name:
CL-Purchasedand click on the tag configuration. - Choose custom HTML and paste the code given below:
<script>function clProductsConversion(productsData) {    var products = [];    for (var cli in productsData) {        var product = productsData[cli];        var newproduct = {};        for (var prodkey in product) {            switch (prodkey) {                case "item_id":                    newproduct["product_id"] = {                        "t": "string",                        "v": product[prodkey]                    };                    break;                case "item_name":                    newproduct["product_name"] = {                        "t": "string",                        "v": product[prodkey]                    };                    break;                case "price":                    newproduct["product_price"] = {                        "t": "number",                        "v": product[prodkey]                    };                    break;                case "item_variant":                    newproduct["product_variant"] = {                        "t": "string",                        "v": product[prodkey]                    };                    break;                case "quantity":                    newproduct["product_qty"] = {                        "t": "number",                        "v": product[prodkey]                    };                    break;                default:                    if (typeof product[prodkey] !== "object") {                        newproduct["product_" + prodkey] = {                            "t": "string",                            "v": product[prodkey]                        };                    }                    break;            }        }        products.push(newproduct);    }    return products;}
var dl = window.google_tag_manager["GTM-XXXXXXX"].dataLayer;var currency = dl.get("currency");var value = dl.get("value");var tax = dl.get("tax");var coupons = dl.get("coupons");var transaction_id = dl.get("transaction_id");var flexy_session_id = dl.get("flexy_session_id");var items = dl.get("items");
var properties = {};properties["customProperties"] = {    "currency": {        "t": "string",        "v": currency || ""    },    "value": {        "t": "number",        "v": value || 0    },    "tax": {        "t": "number",        "v": tax || 0    },    "coupons": {        "t": "string",        "v": Array.isArray(coupons) ? coupons.join(",") : (coupons || "")    },    "transaction_id": {        "t": "string",        "v": transaction_id || ""    },    "flexy_session_id": {        "t": "string",        "v": flexy_session_id || ""    },    "page_url": {        "t": "string",        "v": window.location.href    }};
properties["productProperties"] = clProductsConversion(items || []);

_cl.trackClick("Purchased", properties);</script>Configuring the trigger
Section titled “Configuring the trigger”- Click the triggering section → click on the
+icon - Enter the trigger name as “cl_purchase” and click the trigger configuration.
- Choose the trigger type as
Custom eventand enter the event name ascl_purchase. - Set the trigger to fire on
All Custom Events→ Click Save. - Click Save in the tag section.
Configuring the Create User event
Section titled “Configuring the Create User event”Configuring the tag
Section titled “Configuring the tag”- Open Google Tag Manger and click Tags → New Tag.
- Enter Tag Name:
CL-CreateUserand click on the tag configuration. - Choose custom HTML and paste the code given below:
<script>var dl = window.google_tag_manager["GTM-XXXXXXX"].dataLayer;if (!dl) return;
var user = dl.get("user_data") || {};var address = user.address || {};
var email = user.email || "";var phone = user.phone || "";
var userProperties = {    "customProperties": {        "user_traits": {            "t": "Object",            "v": {                "first_name": {                    "t": "string",                    "v": address.first_name || ""                },                "last_name": {                    "t": "string",                    "v": address.last_name || ""                },                "email": {                    "t": "string",                    "v": email                },                "phone": {                    "t": "string",                    "v": phone                },                "city": {                    "t": "string",                    "v": address.city || ""                },                "state": {                    "t": "string",                    "v": address.region || ""                },                "country": {                    "t": "string",                    "v": address.country || ""                },                "postal_code": {                    "t": "string",                    "v": address.postal_code || ""                },                "street": {                    "t": "string",                    "v": address.street || ""                }            }        }    }};
if (email) {    userProperties.customProperties.identify_by_email = {        "t": "string",        "v": email,        "ib": true    };    if (phone) {        userProperties.customProperties.external_ids = {            "t": "Object",            "v": {                "identify_by_phone": {                    "t": "string",                    "v": phone                }            }        };    }} else if (phone) {    userProperties.customProperties.identify_by_phone = {        "t": "string",        "v": phone,        "ib": true    };}
// Fire identify only if at least one ID existsif (email || phone) { _cl.identify(userProperties);}</script>Configuring the trigger
Section titled “Configuring the trigger”- The Create User event should be triggered to capture the user traits from payload. Therefore, it is triggered in
PurchasedandAddPaymentInfoevents. - Click the triggering section.
- Choose the trigger
cl_purchasefrom the list of triggers. - Click the
+icon to add another trigger. - Choose the trigger
cl_add_shipping_infofrom the list of triggers. - Click Save in the tag section.
Testing and Publishing the Code
Section titled “Testing and Publishing the Code”Testing the GTM configuration
Section titled “Testing the GTM configuration”- Install the CustomerLabs Pixel Helper Chrome Extension.
- In Google Tag Manager, click on the Preview button.
- Enter the website URL and click on the Connect button.
- Perform actions on the website — from page view to purchase.
- This will open GTM in preview mode, where you’ll be able to verify whether the configured tags are being triggered correctly during user actions on the website.
- Using the CustomerLabs Pixel Helper, verify
Checkout made,AddPaymentInfo,Purchased,Create Userevents are triggering.
Publishing the container
Section titled “Publishing the container”- After verifying the events, click on the Submit button in the top-right corner of the Google Tag Manager interface.
- Enter the version name and description.
- Click on the Publish button.
Monitoring the events in CustomerLabs dashboard
Section titled “Monitoring the events in CustomerLabs dashboard”- To check the events: Go to CustomerLabs → Monitoring → Event Manager – Select the date range and check the events.
- Here, you can verify whether the events are successfully received.