
Modifying the selector (Deprecated)
When you track an event on a clickable element — button, link, icon — you can target a specific element on the page by modifying its selector. This is useful when multiple elements share the same name or class, and you want to track only one of them (or capture a specific subset).
Modifying a selector step by step
Section titled “Modifying a selector step by step”-
Log in to your CustomerLabs account.
-
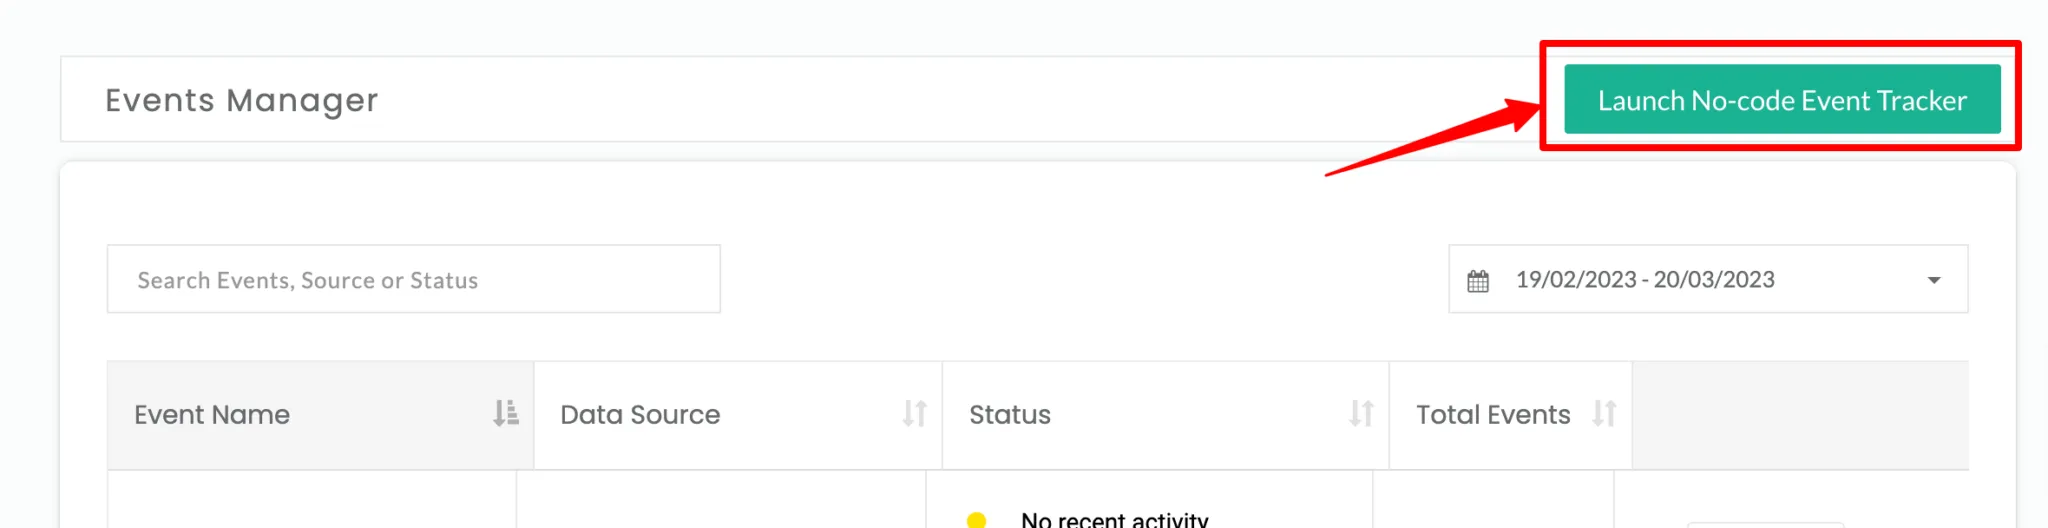
Launch the No-Code Event Tracker from the Events Manager screen.
-
You’ll be redirected to your website and the No-Code Tracker panel opens.
-
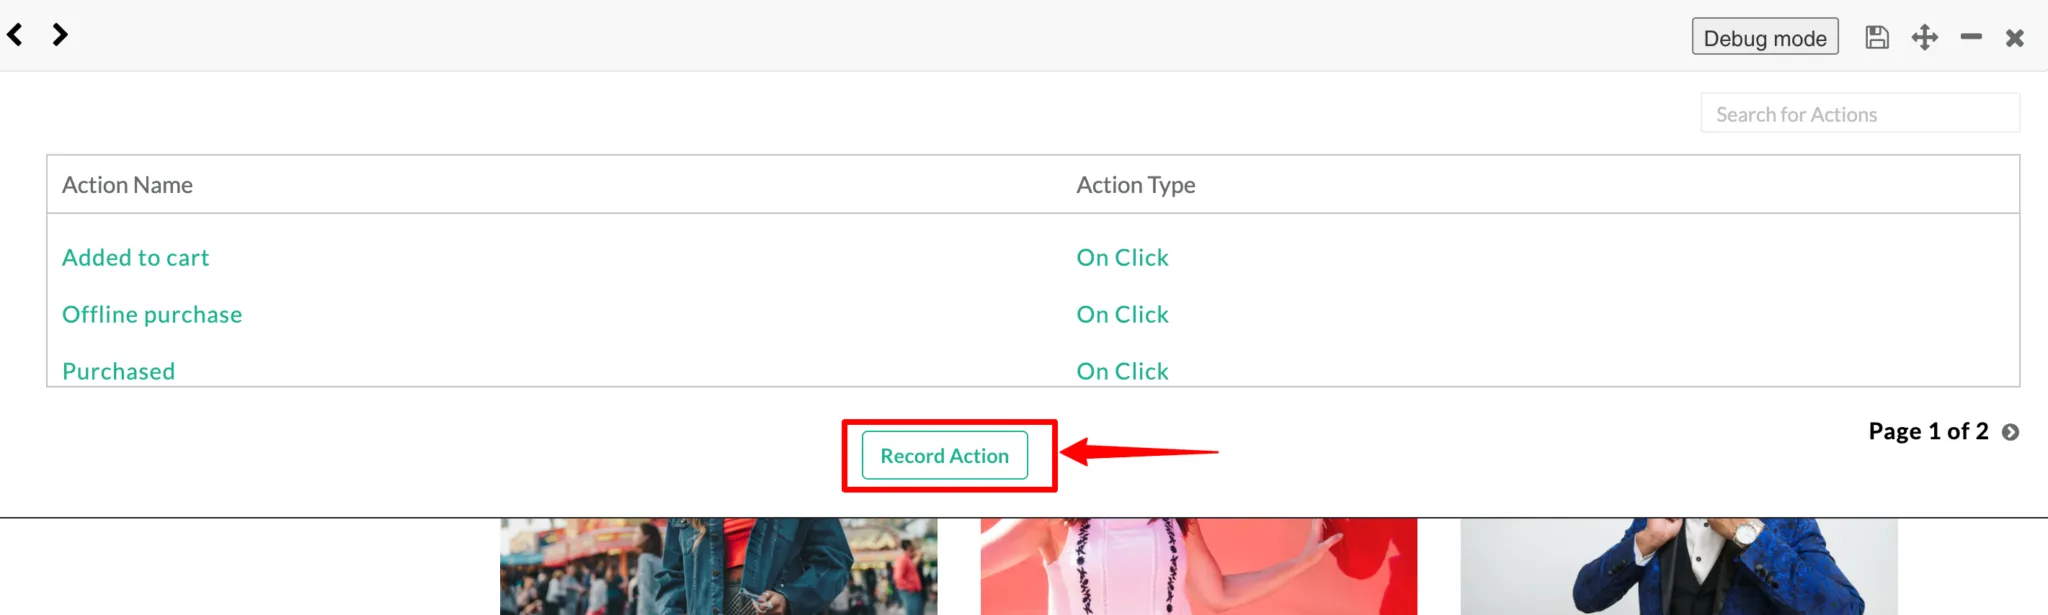
Click Record Action to start tracking the event.
-
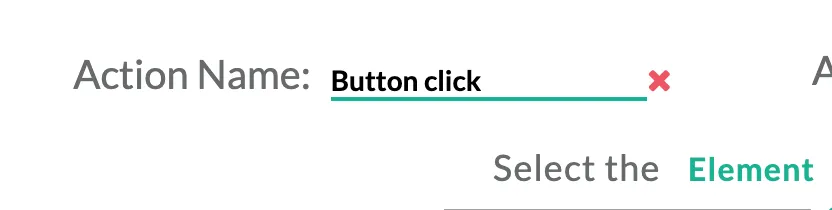
As an example, configure a custom Button click event.
-
Select Custom from the Action Name drop-down and enter Button click.
-
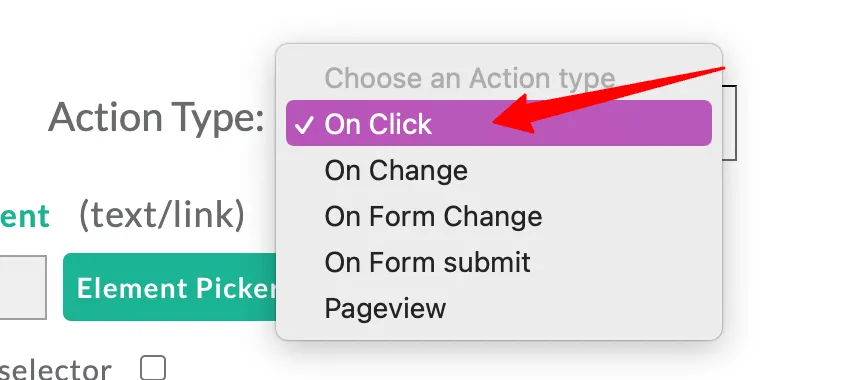
Select On Click under Action Type.
-
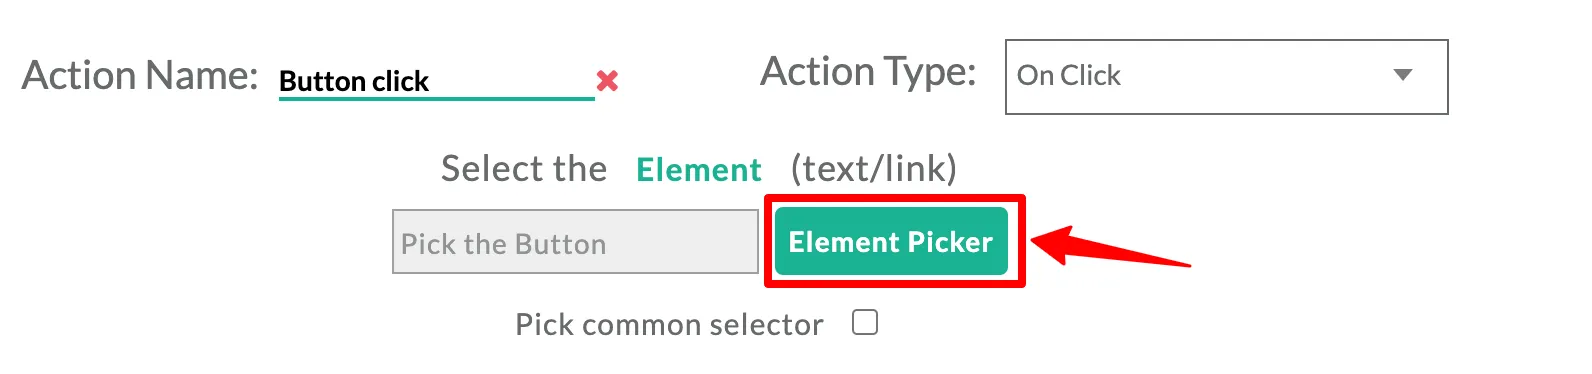
Click Element picker.
-
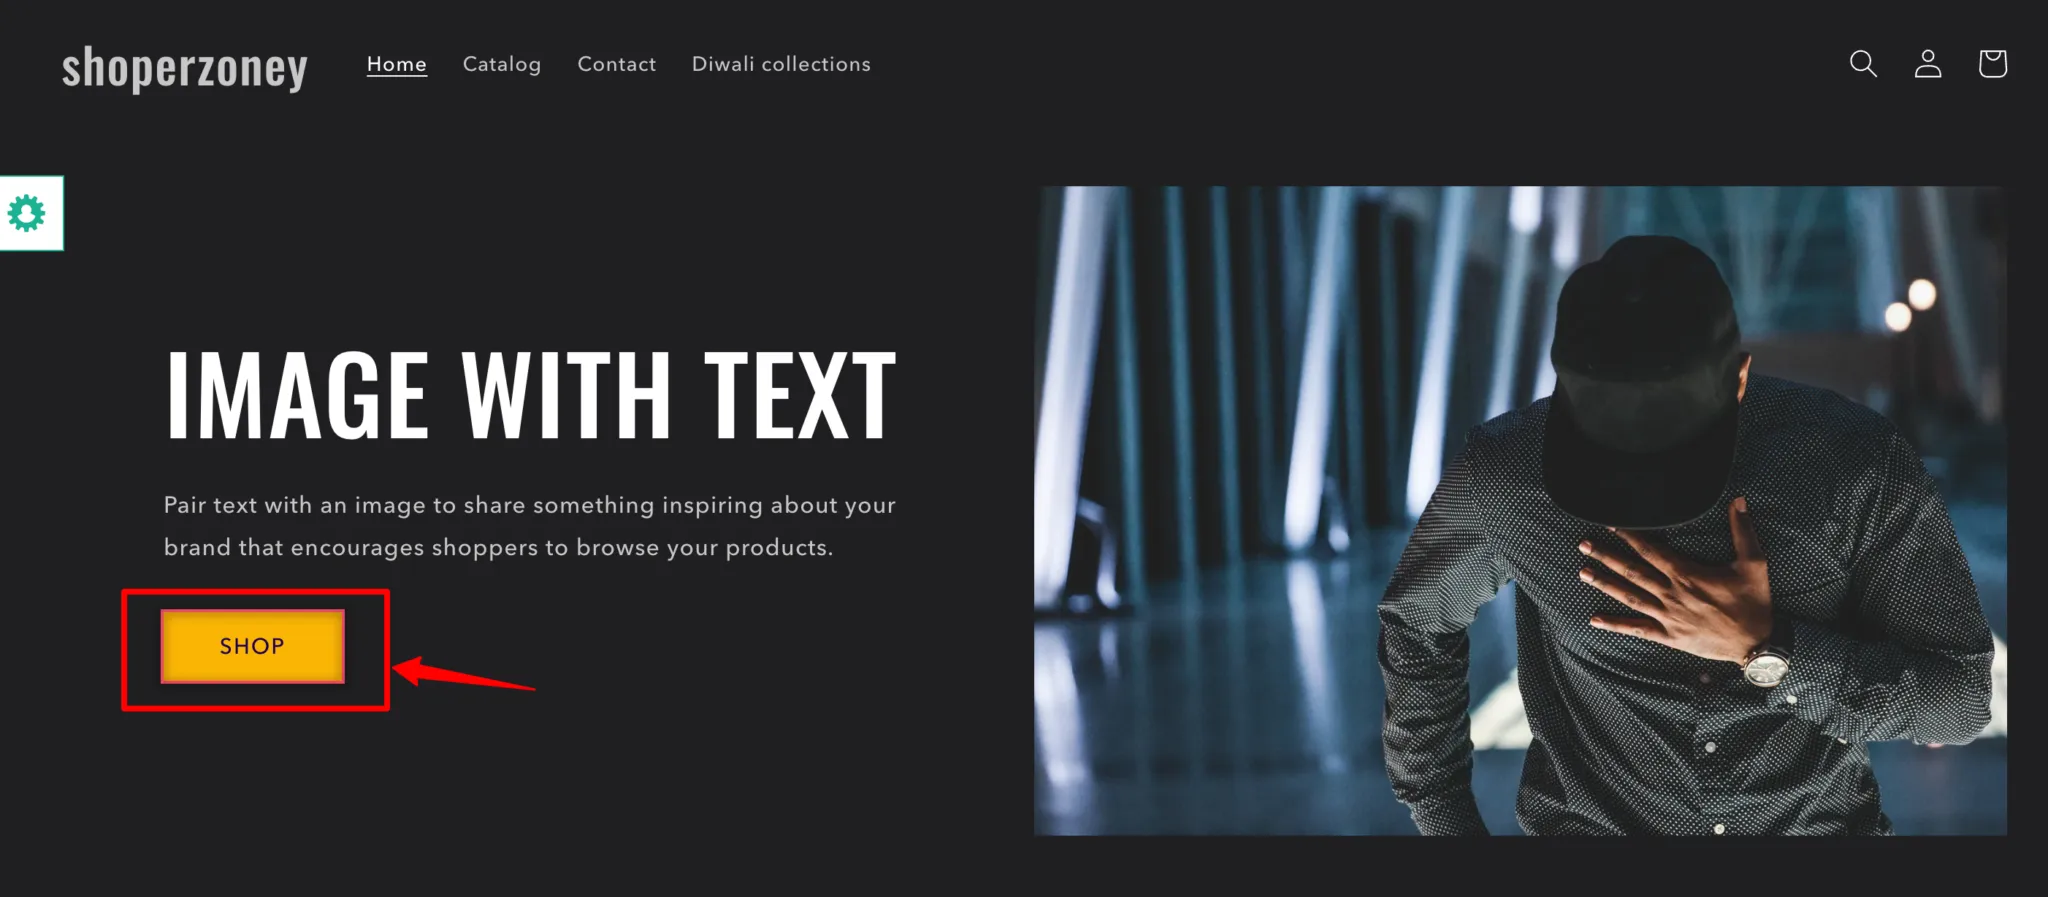
Select the element on the page — in this example, the SHOP button.
-
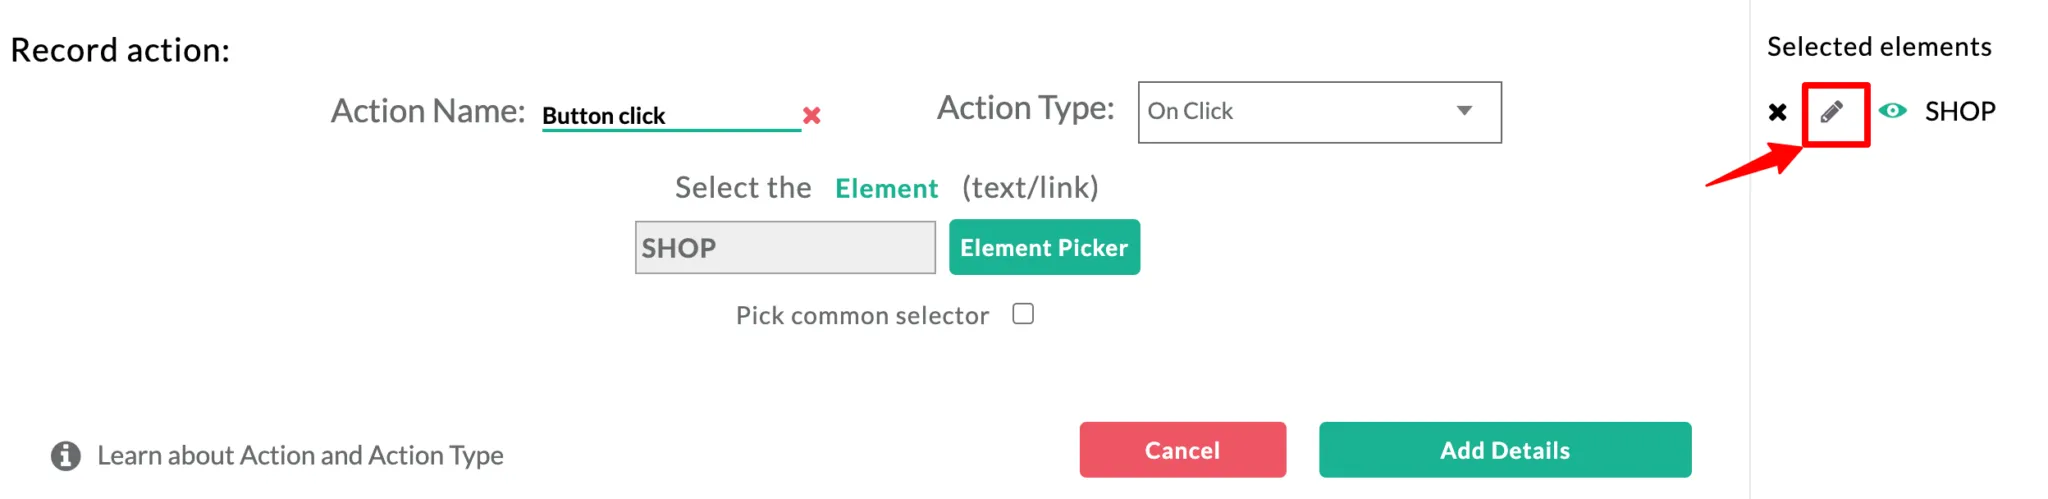
Click the Edit icon on the selected element to edit it.
-
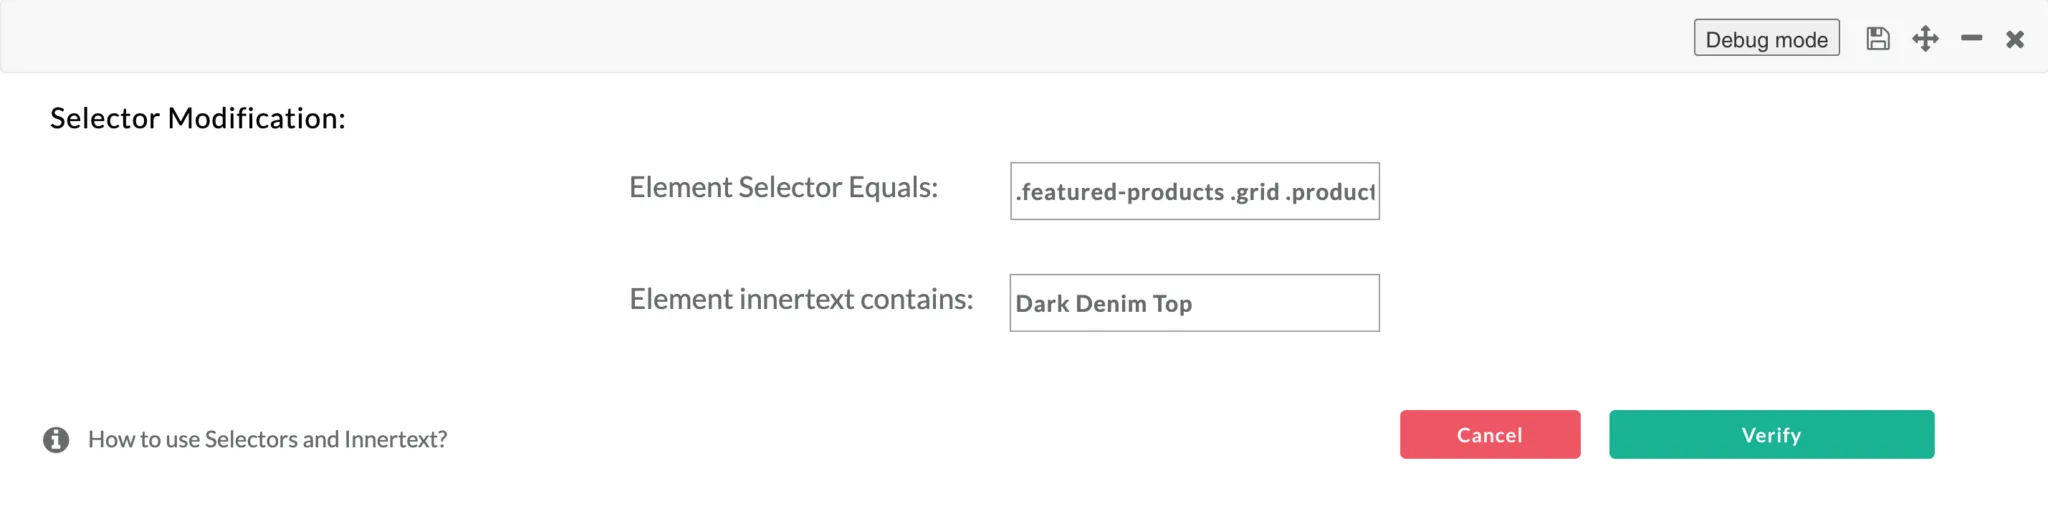
Modify the Selector and Inner text as required to target only the specific element.
Selector vs. Inner text
Section titled “Selector vs. Inner text”Selector — When you have two SHOP buttons under different categories on the same page and you want to track only one of them, pick the element and modify the selector to target only the specific button. Even if two buttons share the same name, they will have different selectors.
Inner text — When you have a SHOP NOW and a SHOP button on the same page with the same selectors and you want to track both for the same event, pick the SHOP button and confirm the Inner text contains value is set to SHOP. This will let you track both the SHOP and SHOP NOW buttons for the event.
-
After modifying the Selector and Inner text, click Verify to verify the modifications.
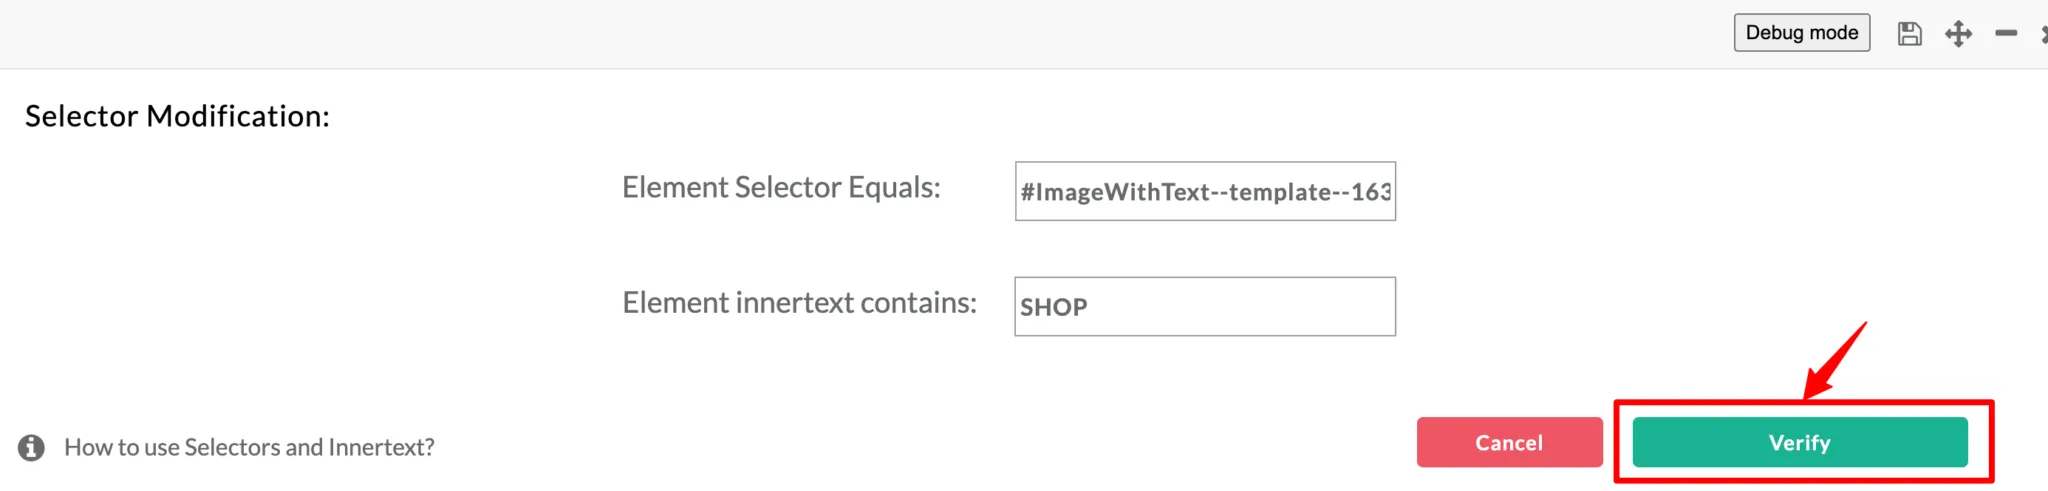
If you provide an invalid Inner Text that isn’t present in the DOM, you’ll get an error message. Otherwise, the verification succeeds.
-
A sample selector looks like:
#ImageWithText--template--16373137965291__image-with-text .button- If a part starts with
#(#ImageWithText), it is an ID selector. - If a part starts with
.(.button), it is a class selector.
For the full list of supported CSS selectors, see MDN: CSS Selectors.
- If a part starts with
-
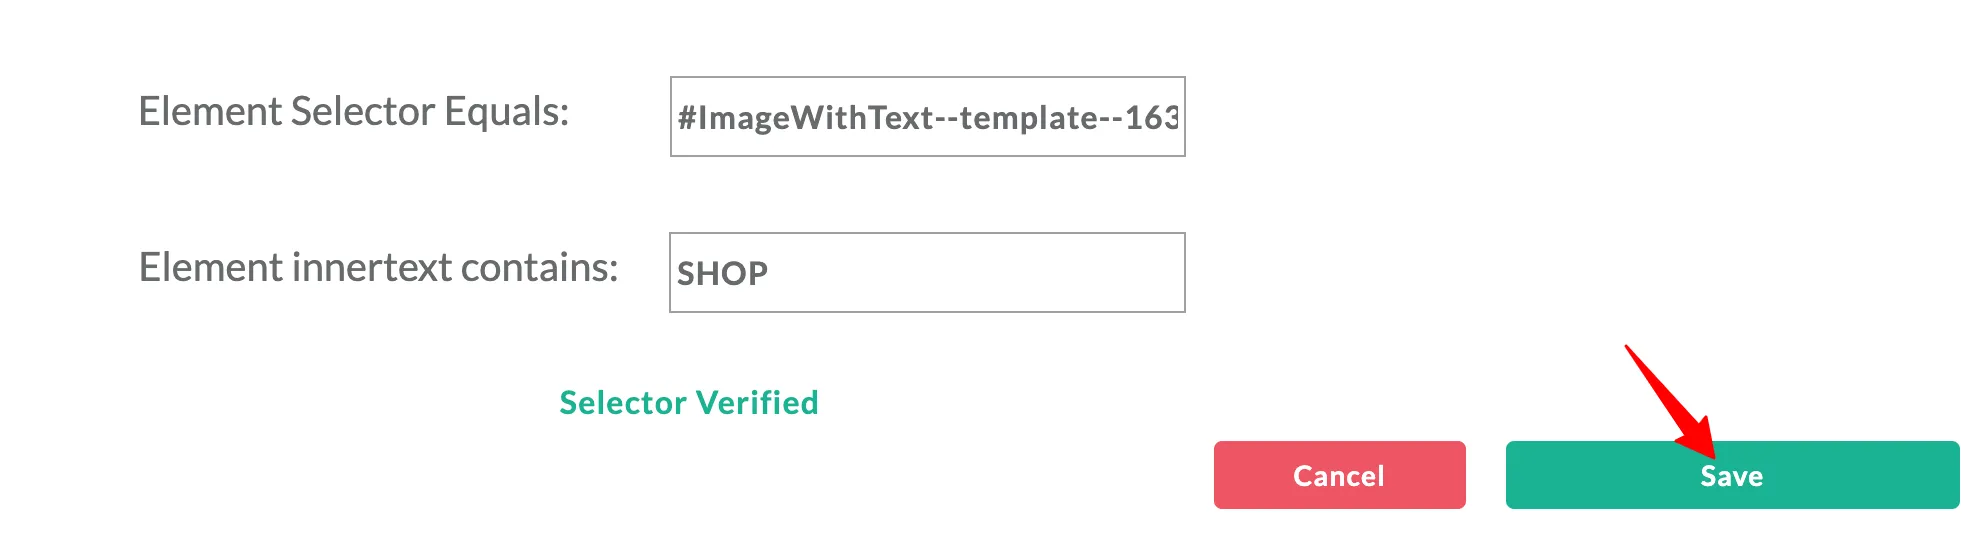
Once you’ve verified the element details, click Save.
-
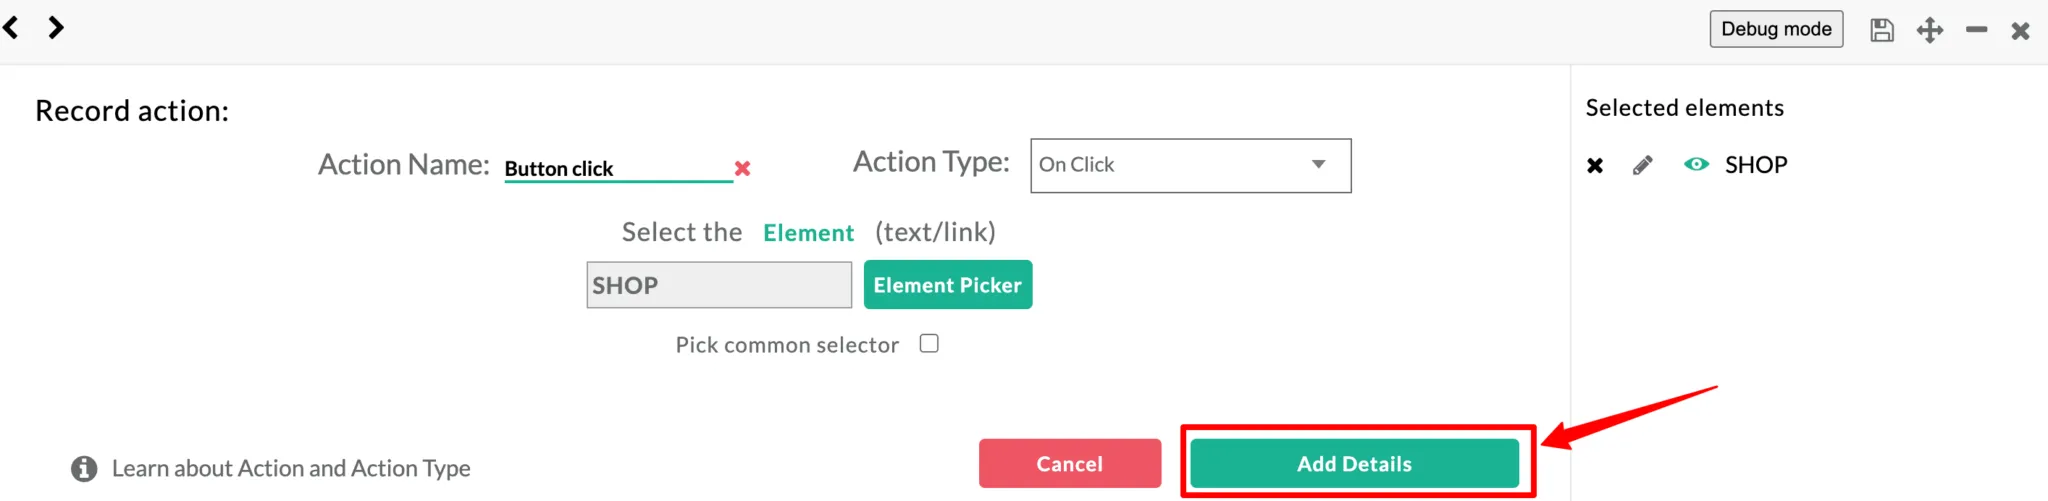
Move to the next step by clicking Add Details.
-
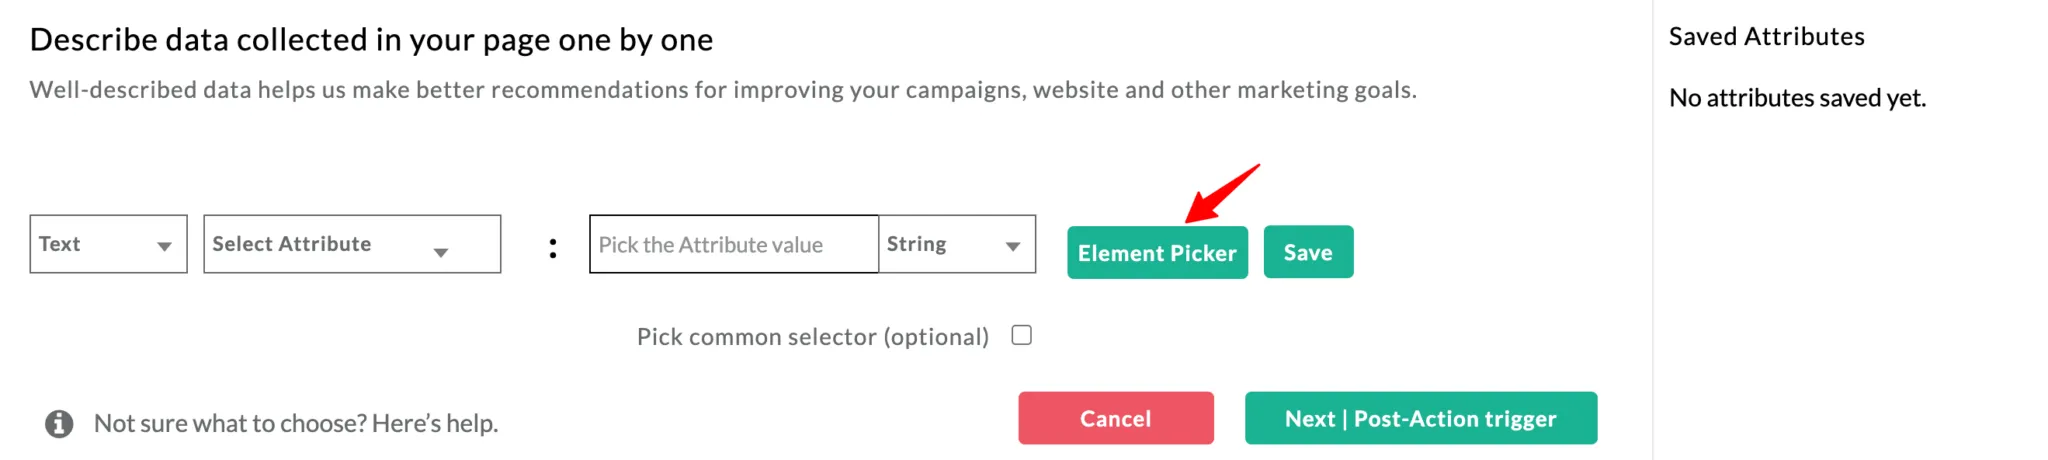
Add the attributes you want to track. You can track a specific attribute by modifying its selector here — click Element Picker and follow steps 8–14.
After modifying, click Next | Post Action trigger.
-
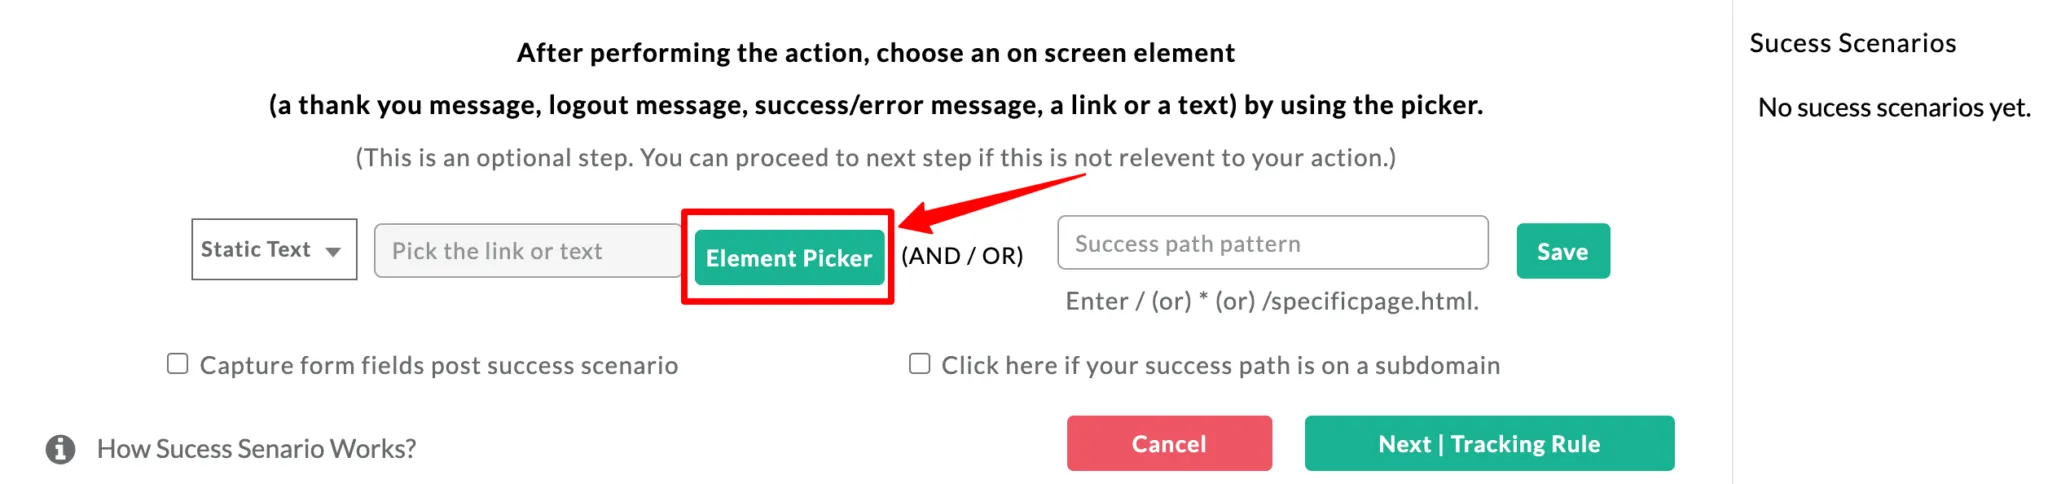
Modify the selector to track specific static text by clicking Element Picker. If you have any success scenarios, add them and click Next | Tracking Rule.
-
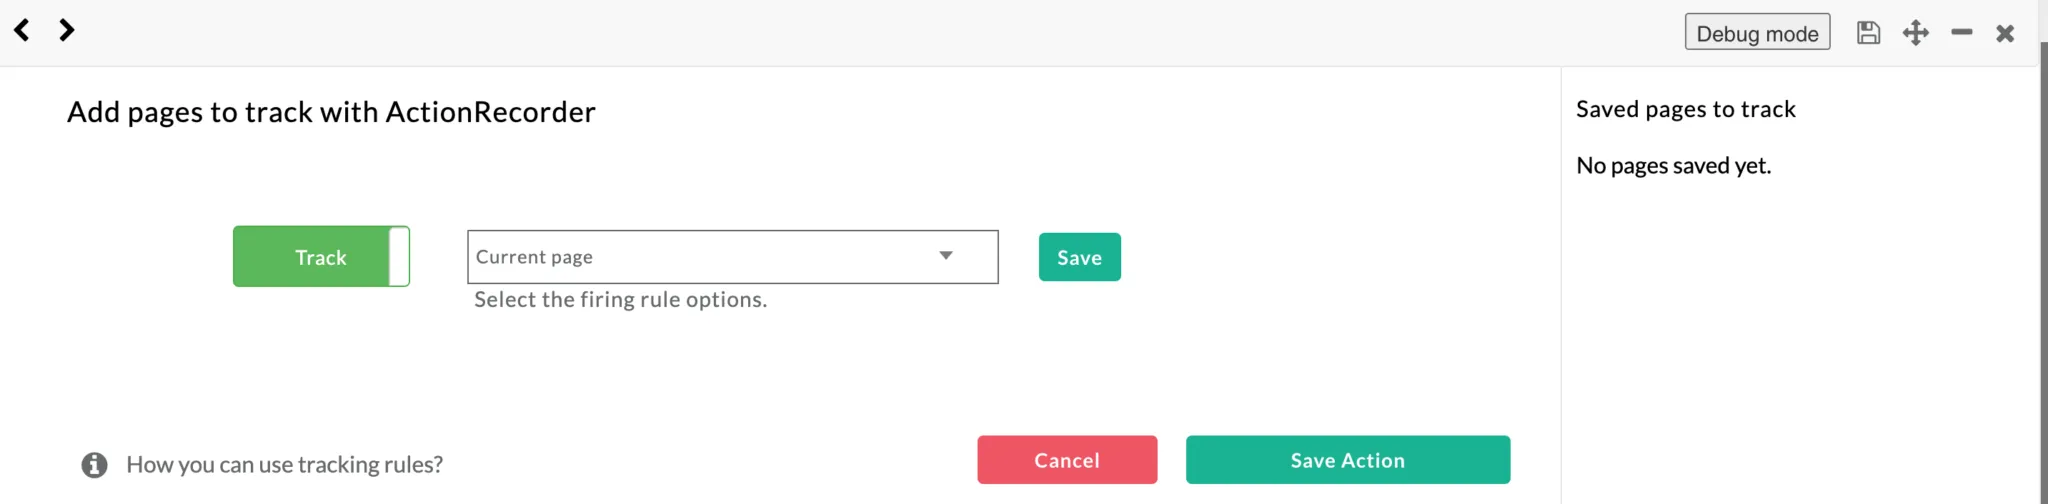
Add the pages you want to track with the No-Code Tracker and click Save Action.
-
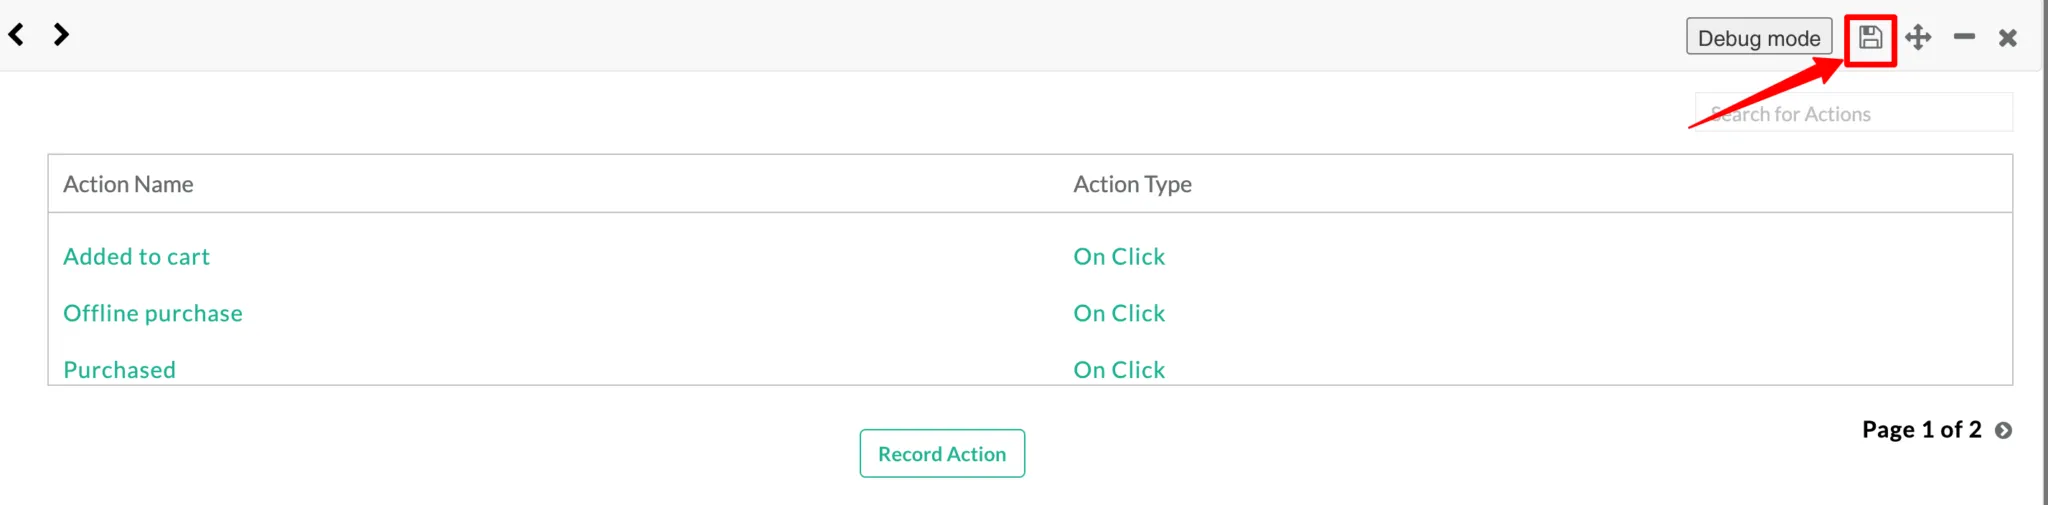
Click Save & Close. The event will be tracked successfully.
Next steps
Section titled “Next steps”- URL patterns with Regex — restrict where the event fires using regex-like URL patterns.
- Debug mode — verify that your event fires correctly before sending it to the server.