Sync Audiences to Maropost
CustomerLabs audience lists can be synced to Maropost as email contact lists via the List Sync option. The sync uses SFTP to deliver a CSV of audience contacts to Maropost, which then imports them into the target contact list on a scheduled basis.
Prerequisites
Section titled “Prerequisites”- Maropost destination configured in CustomerLabs with SFTP credentials entered (Destinations → Maropost → Configuration Settings)
- An audience created in CustomerLabs
Part 1 — CustomerLabs Configuration
Section titled “Part 1 — CustomerLabs Configuration”Configure the Audience Schema
Section titled “Configure the Audience Schema”-
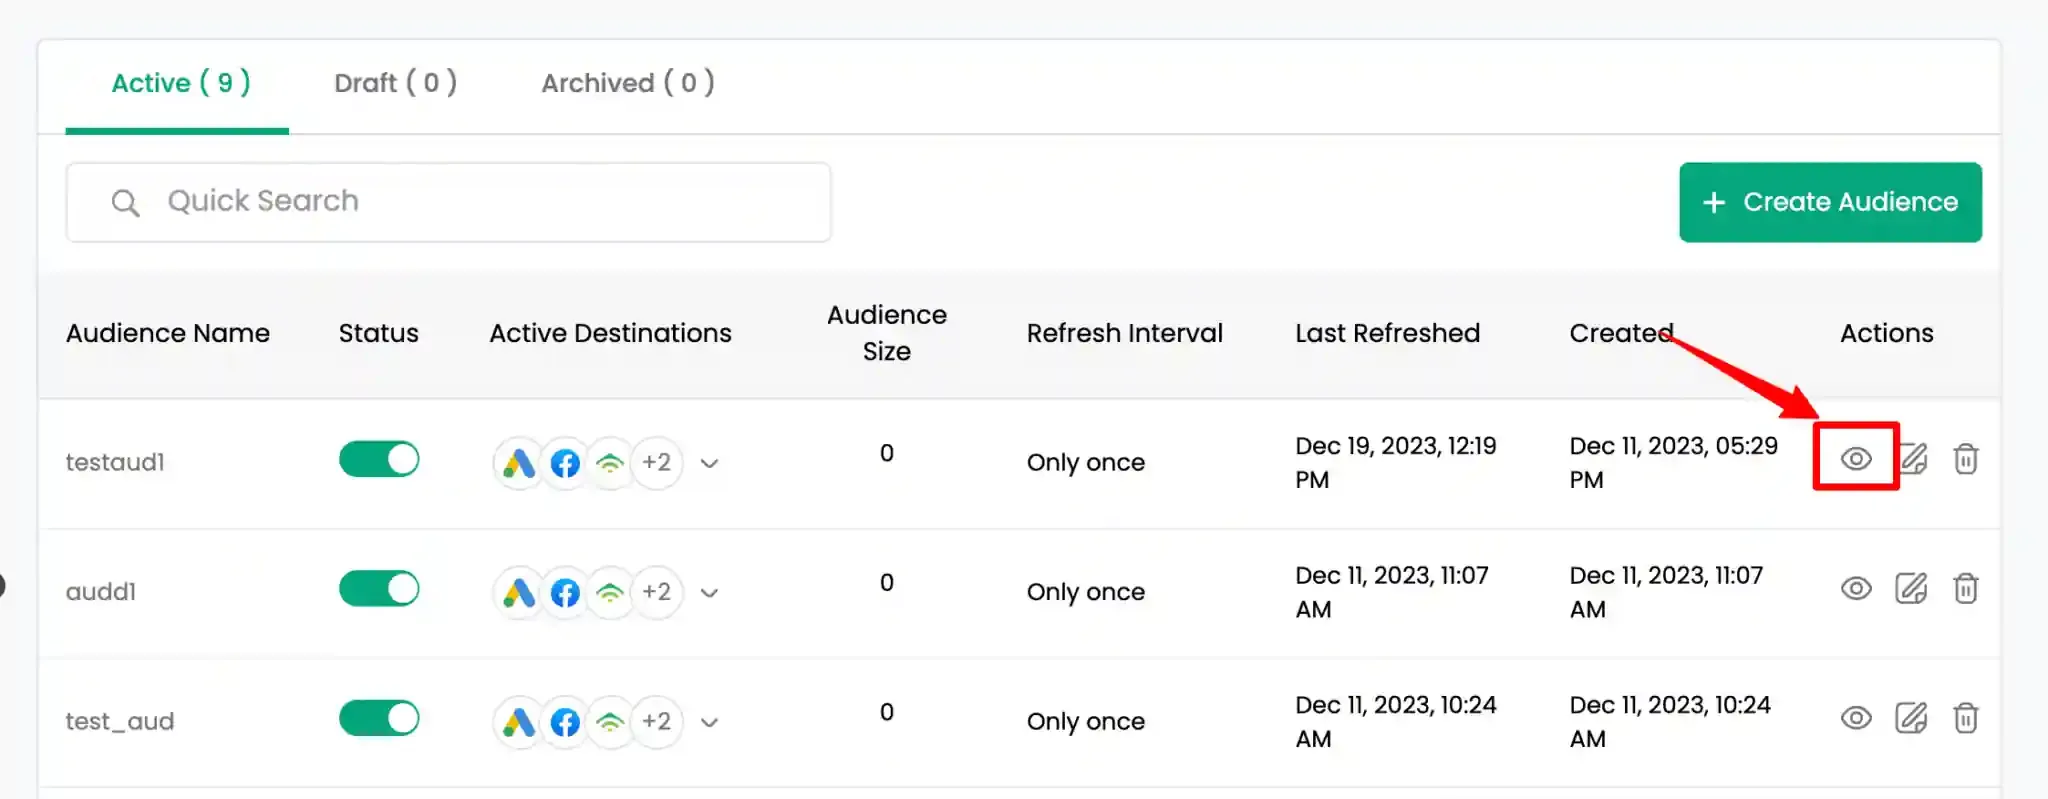
Open the target audience and click View Audience.
-
Navigate to the Schema tab. Select the fields to include in the sync (e.g.,
email,phone,first_name,last_name) and click Update Schema.
Map the Schema to Maropost
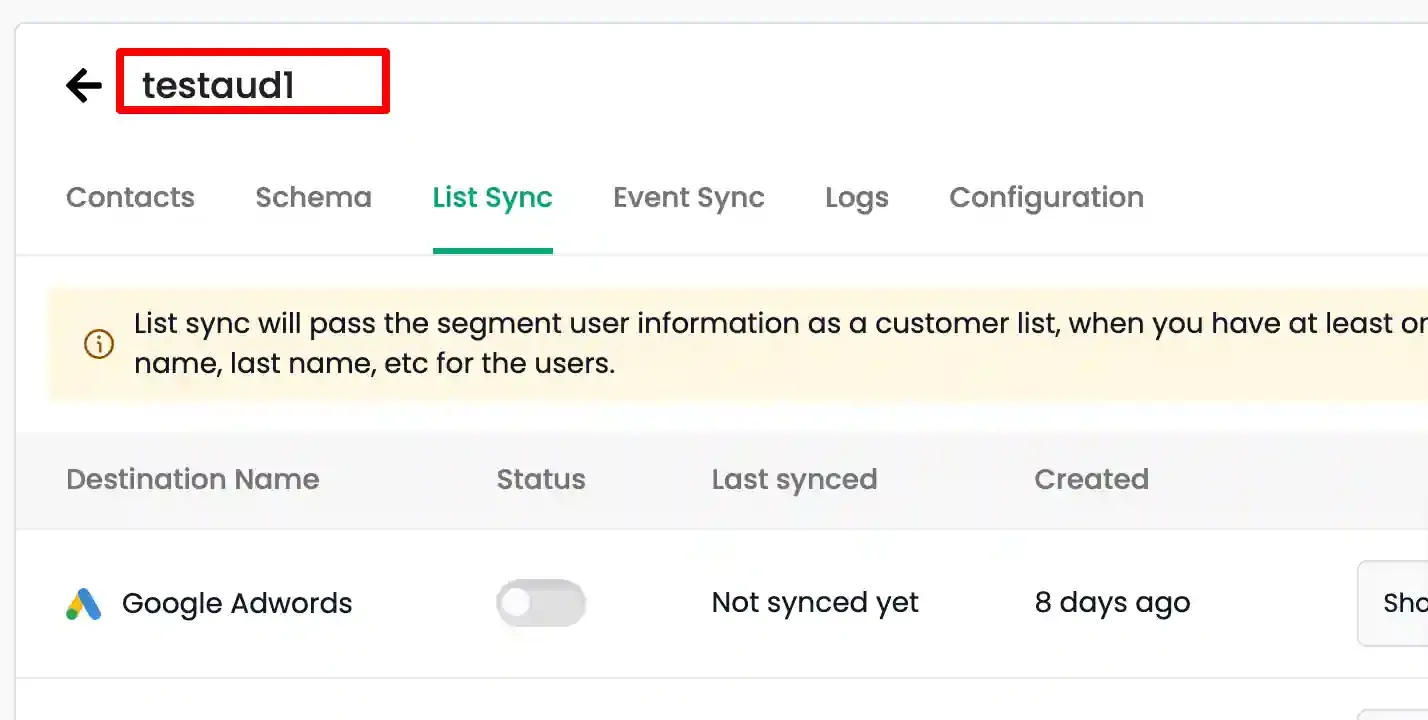
Section titled “Map the Schema to Maropost”Navigate to the List Sync tab and click Map Schema under Maropost.

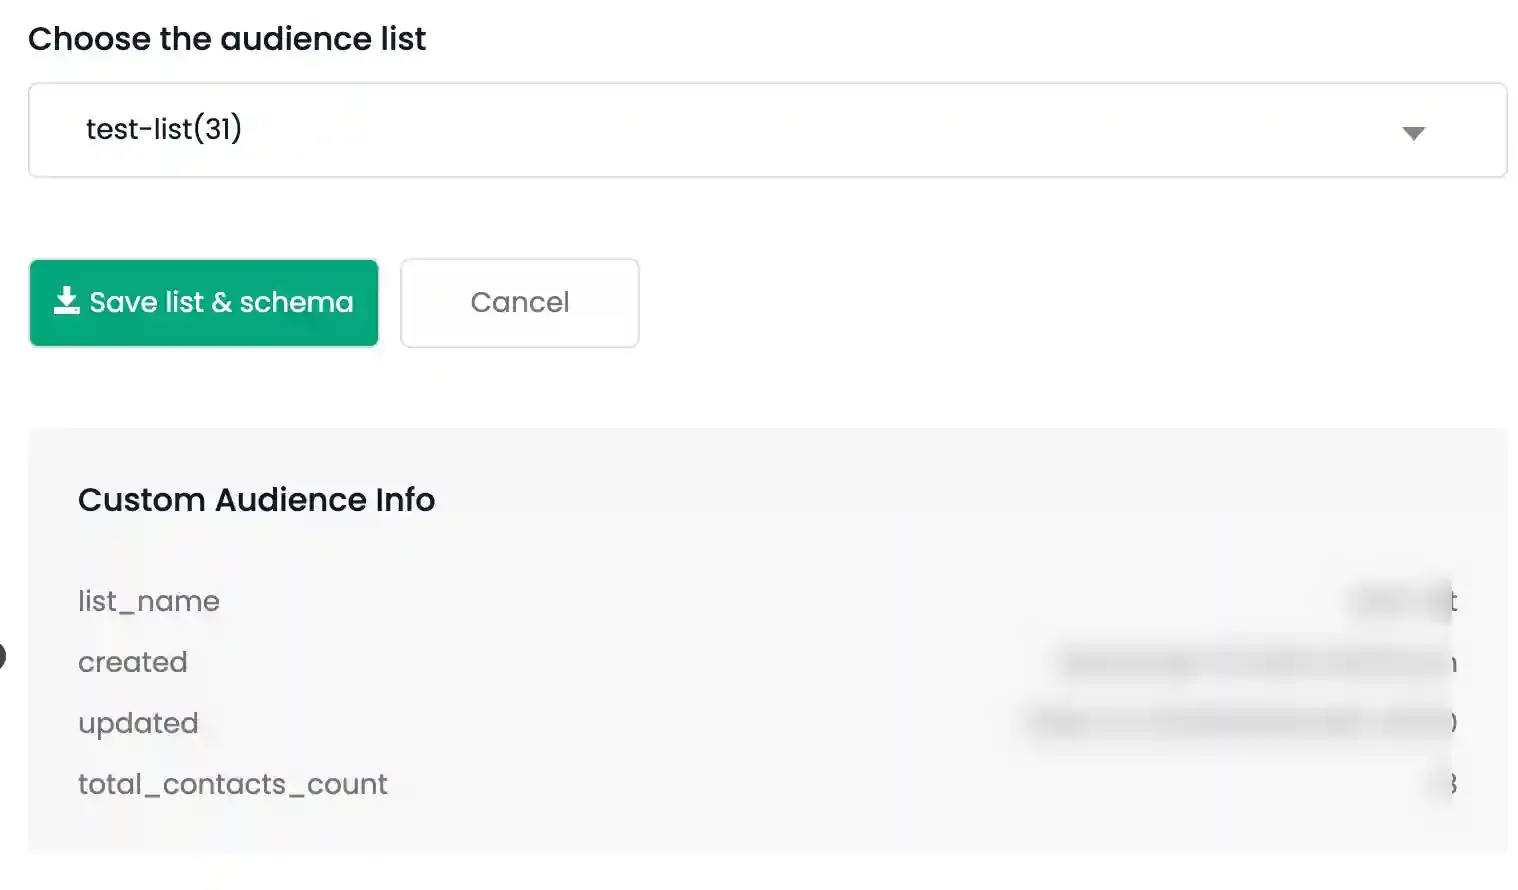
Select or Create a Maropost List
Section titled “Select or Create a Maropost List”Select an existing Maropost contact list from the dropdown, or click + Create New List to create one.
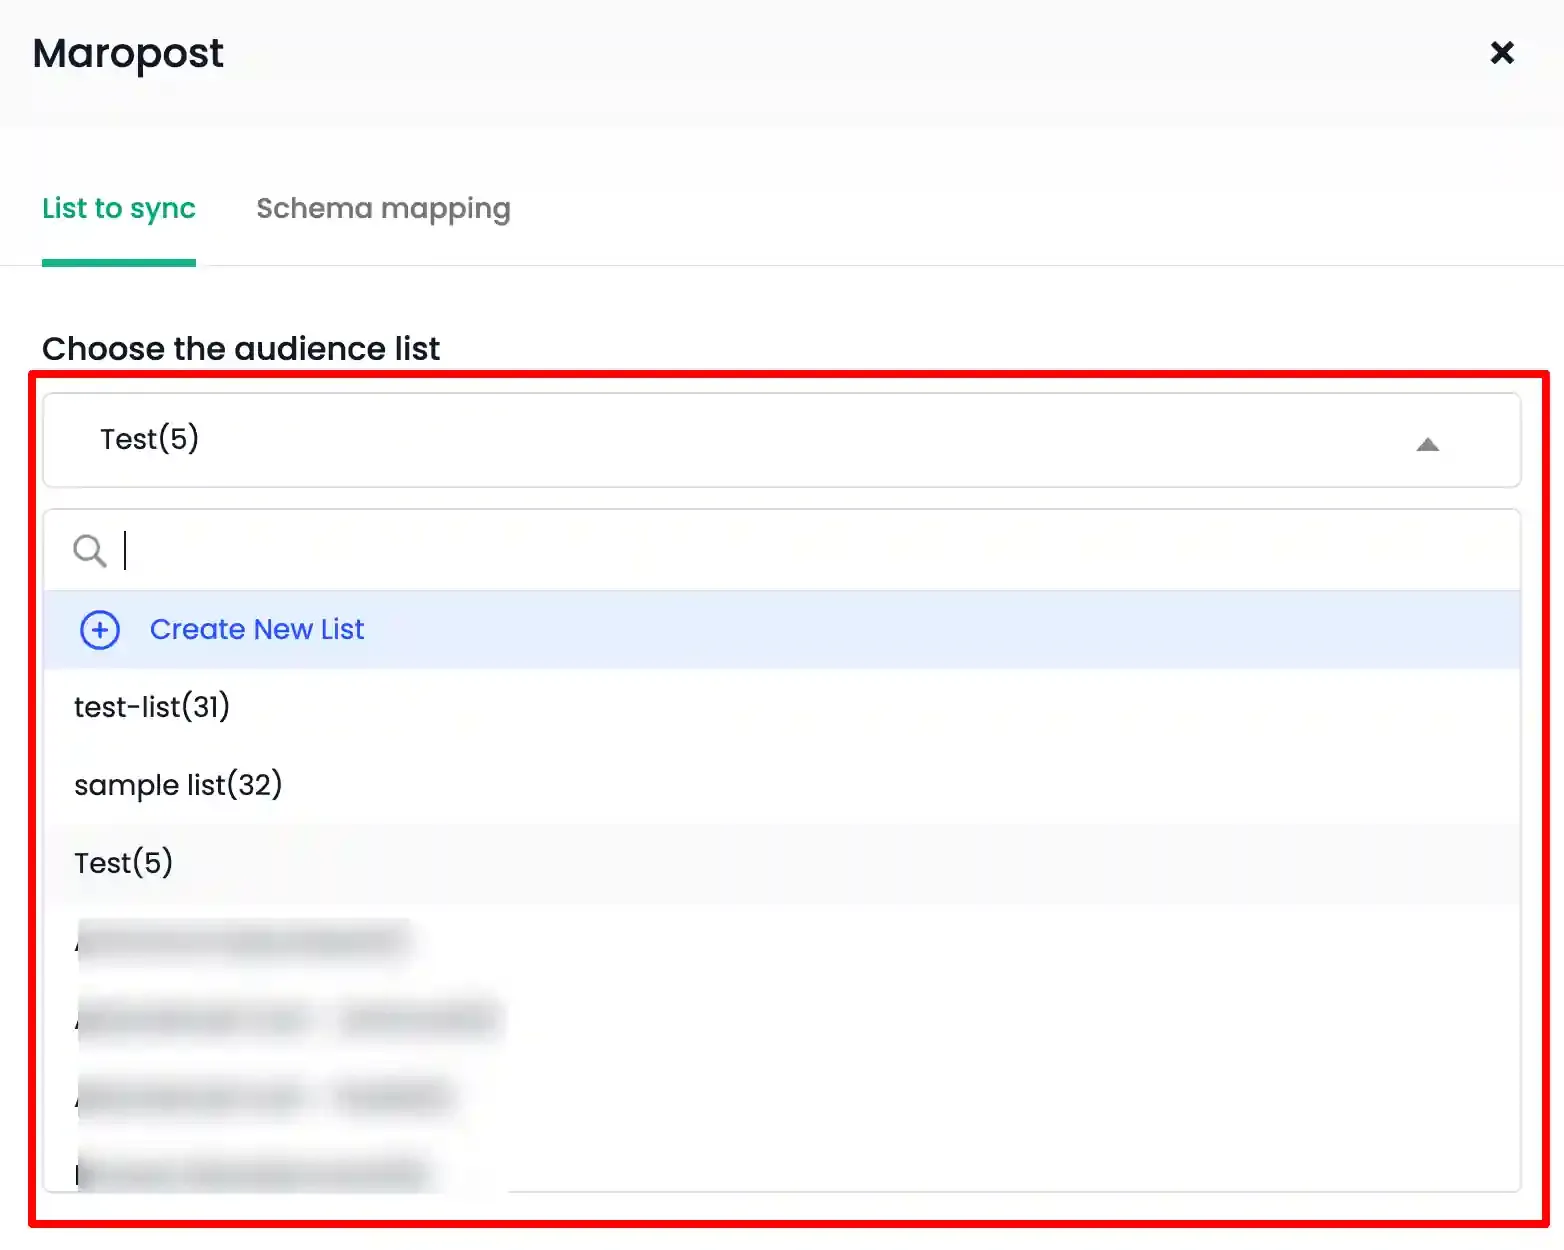
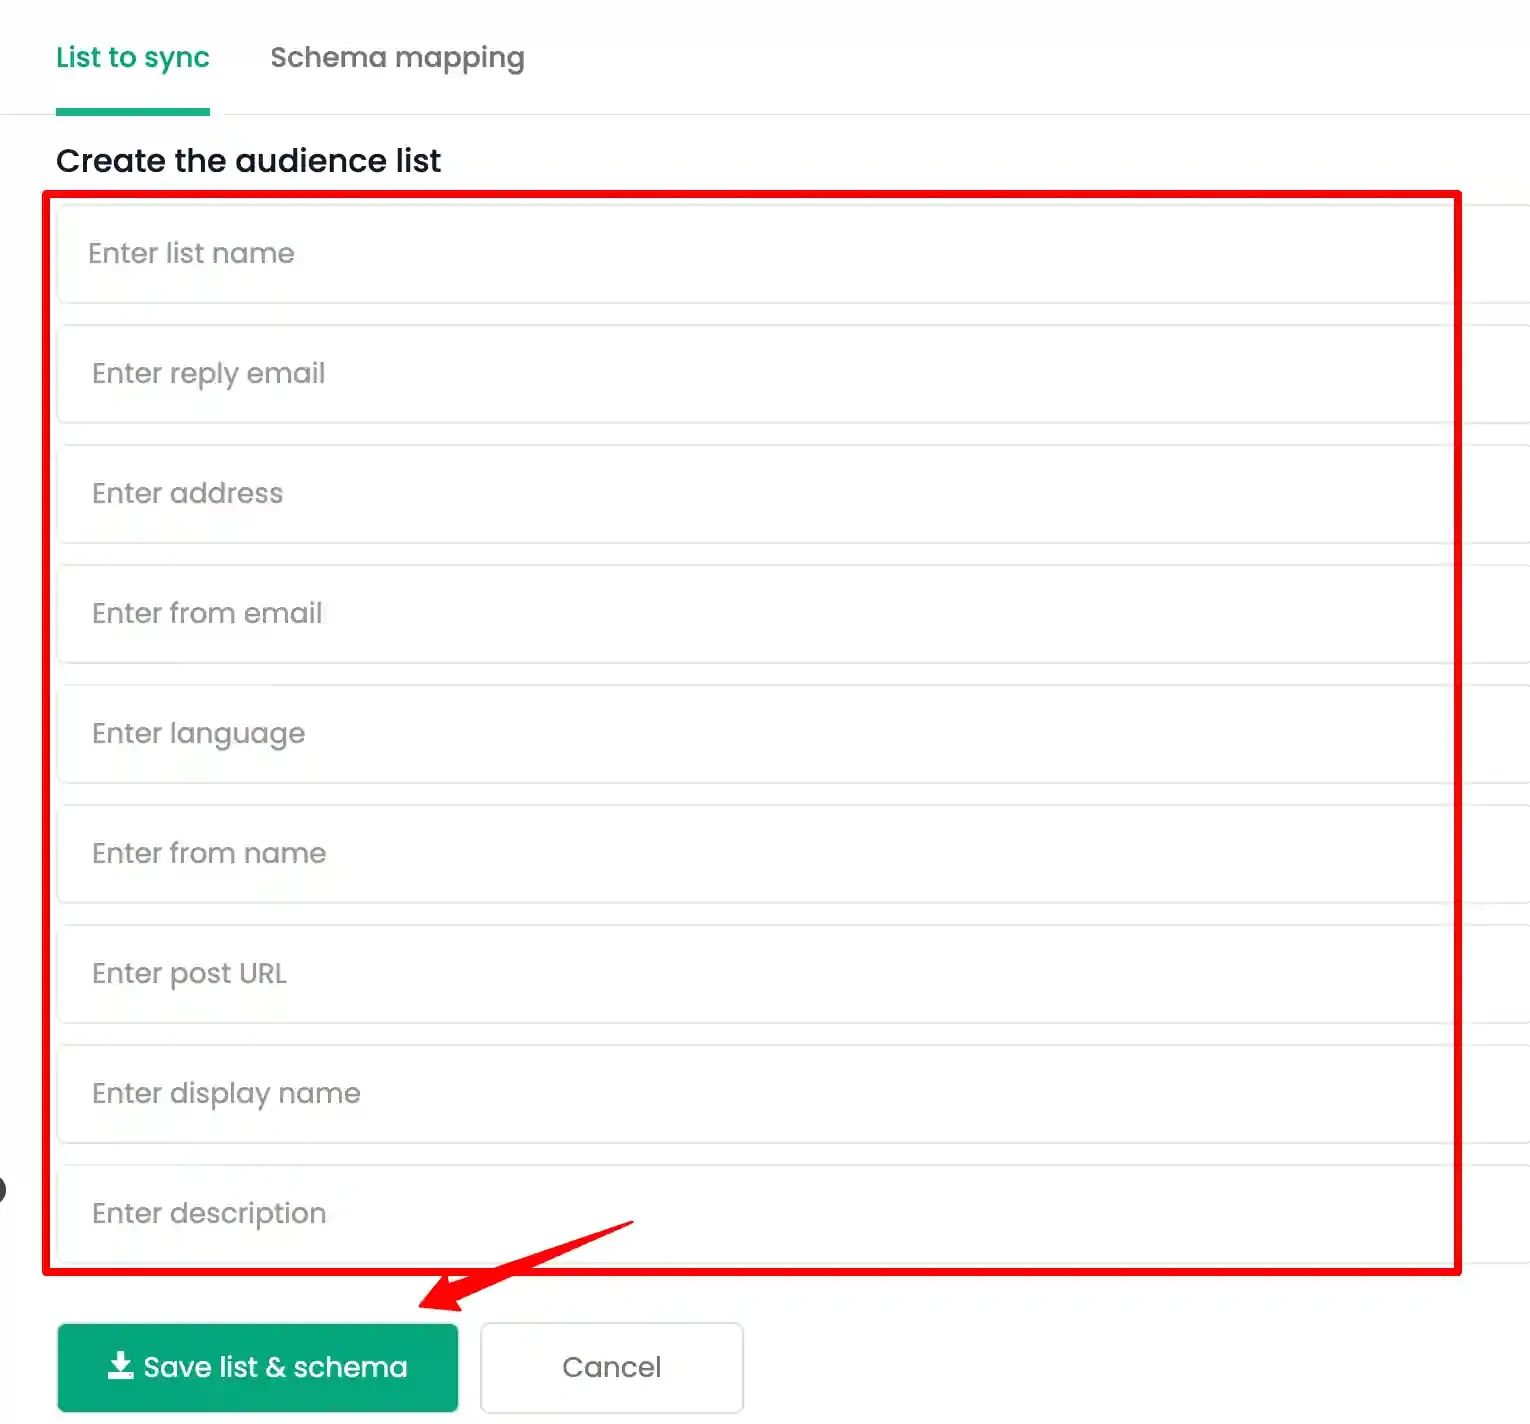
If creating a new list, fill in the required list name and configuration fields.
Map Schema Fields
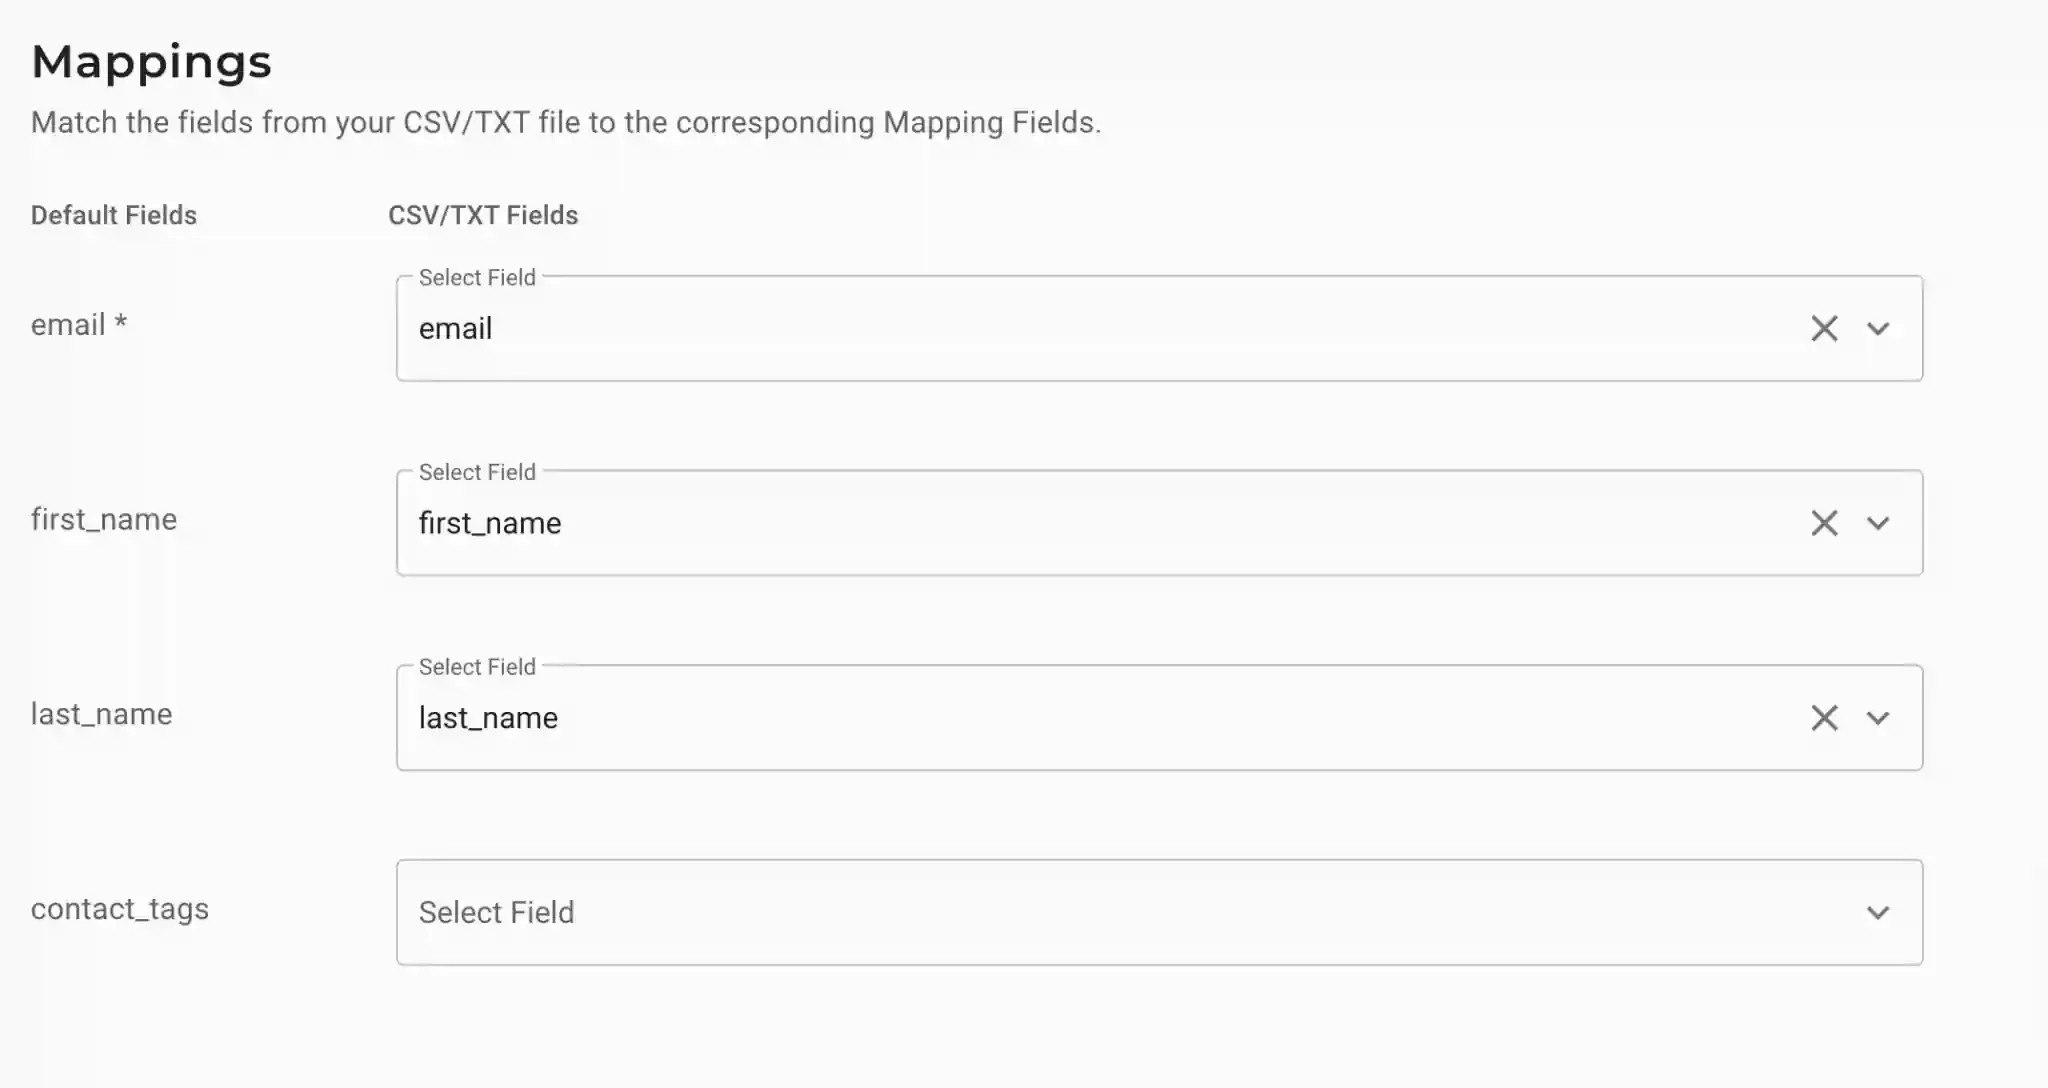
Section titled “Map Schema Fields”-
Use the + icon to map each CustomerLabs audience field to the corresponding Maropost field.

-
Enable the Subscribe checkbox to automatically add synced contacts to the Maropost subscription list.
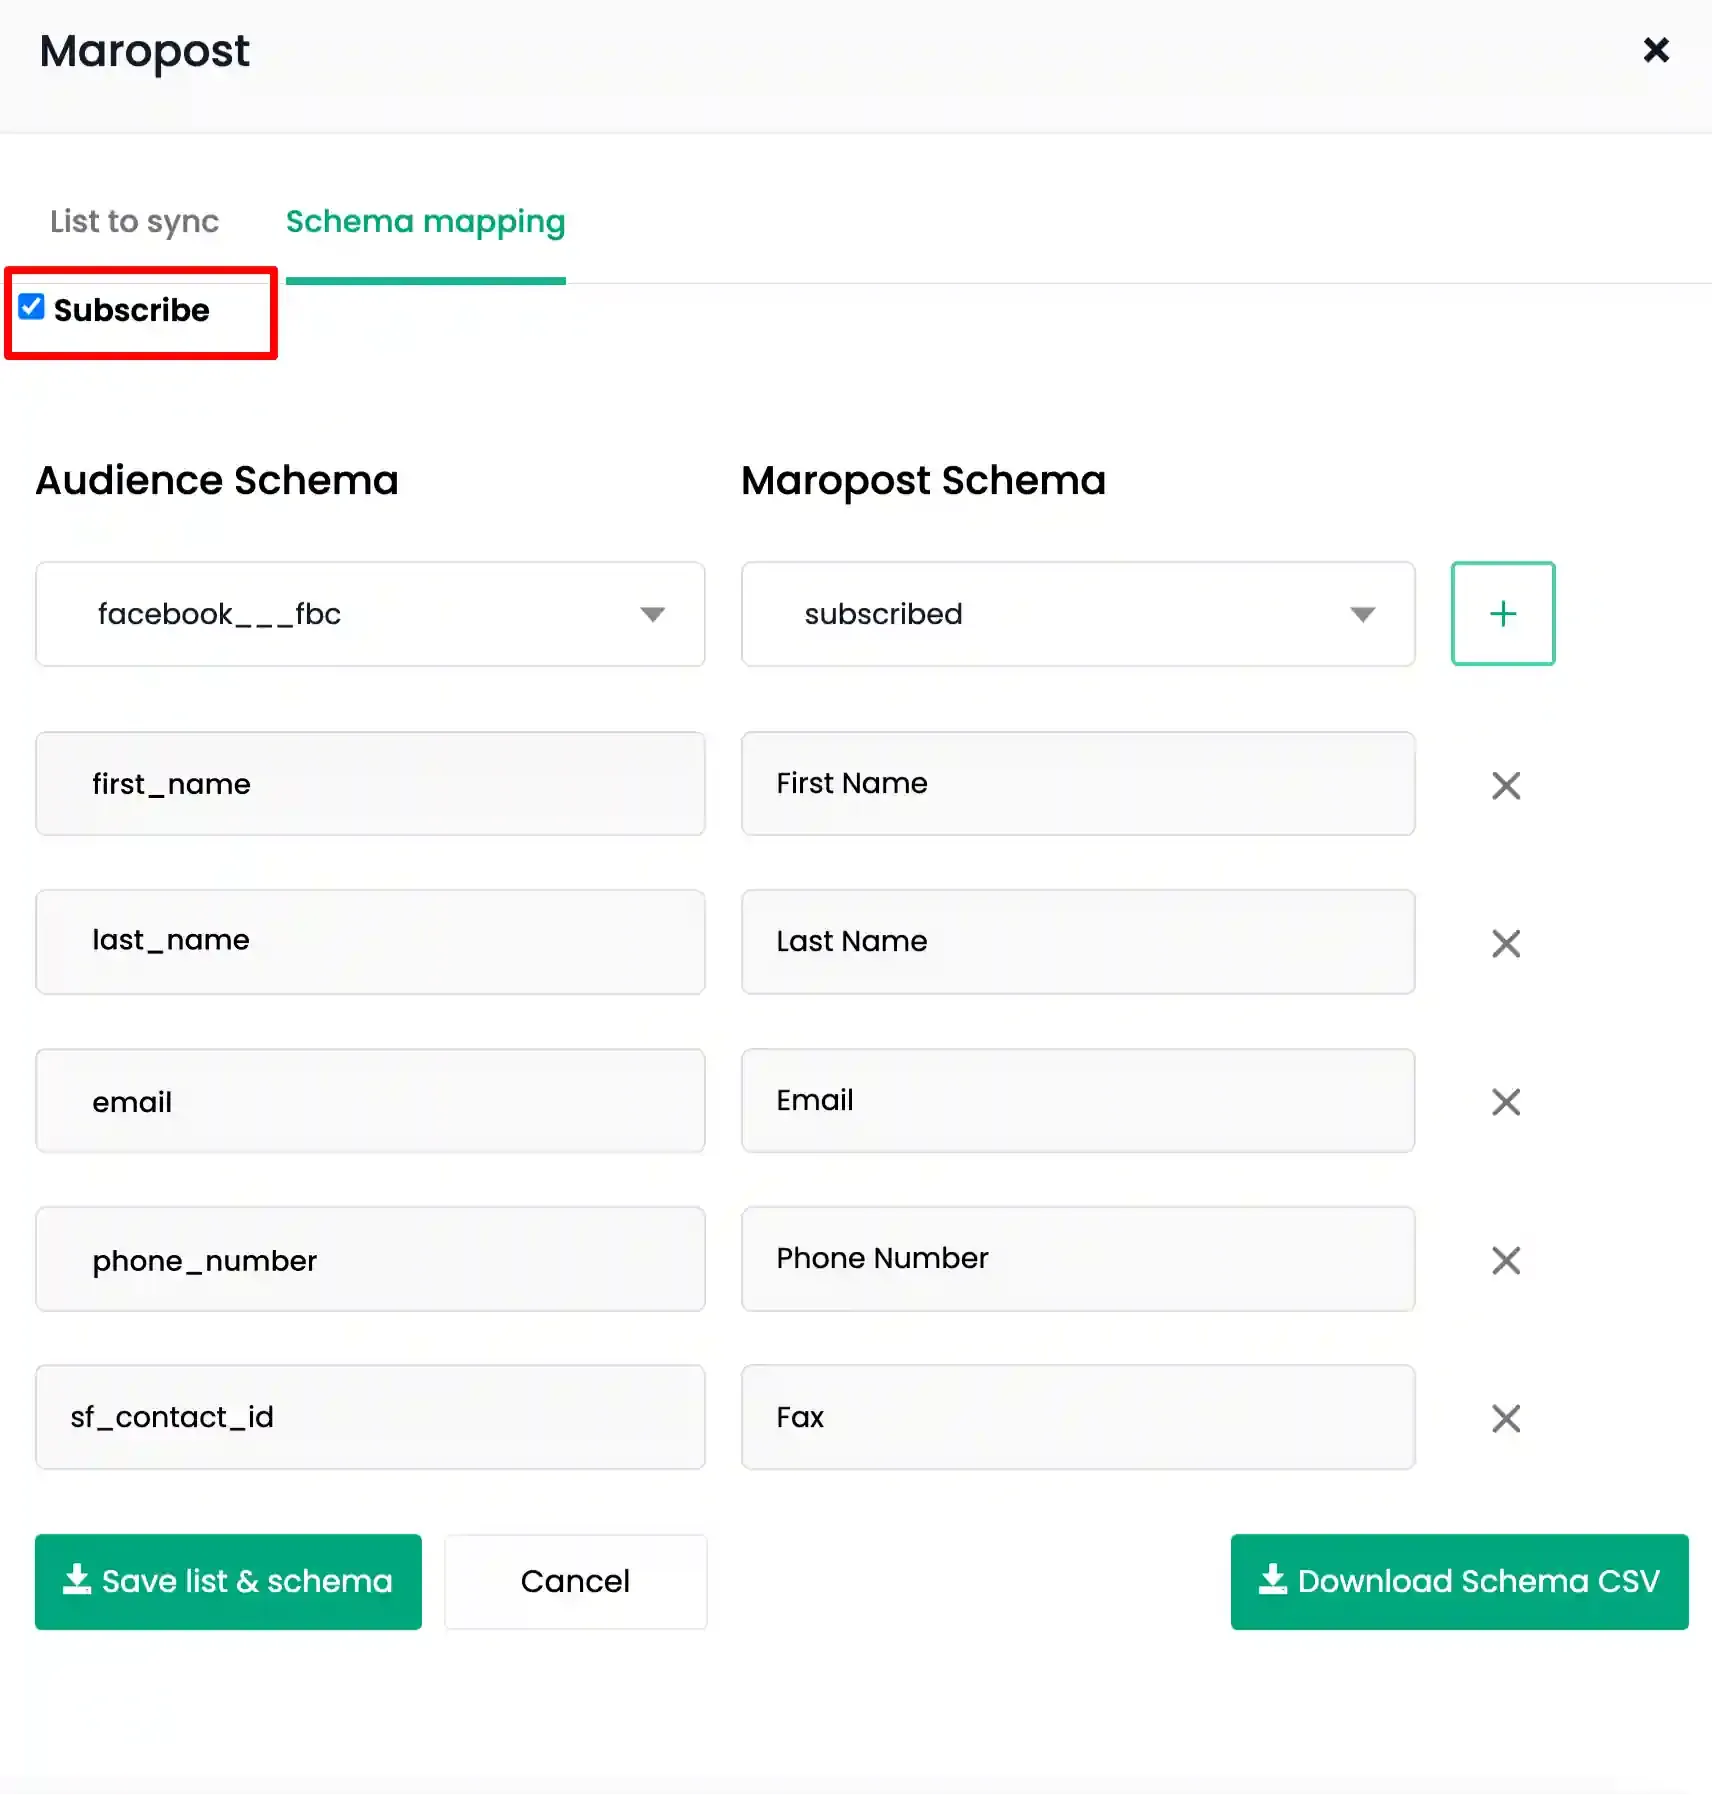
Save and Download the Schema CSV
Section titled “Save and Download the Schema CSV”-
Click Save List and Schema to save the mapping.
-
Click Download Schema CSV to download the schema file — this will be used to configure the automated import in Maropost.
Part 2 — Maropost Import Configuration
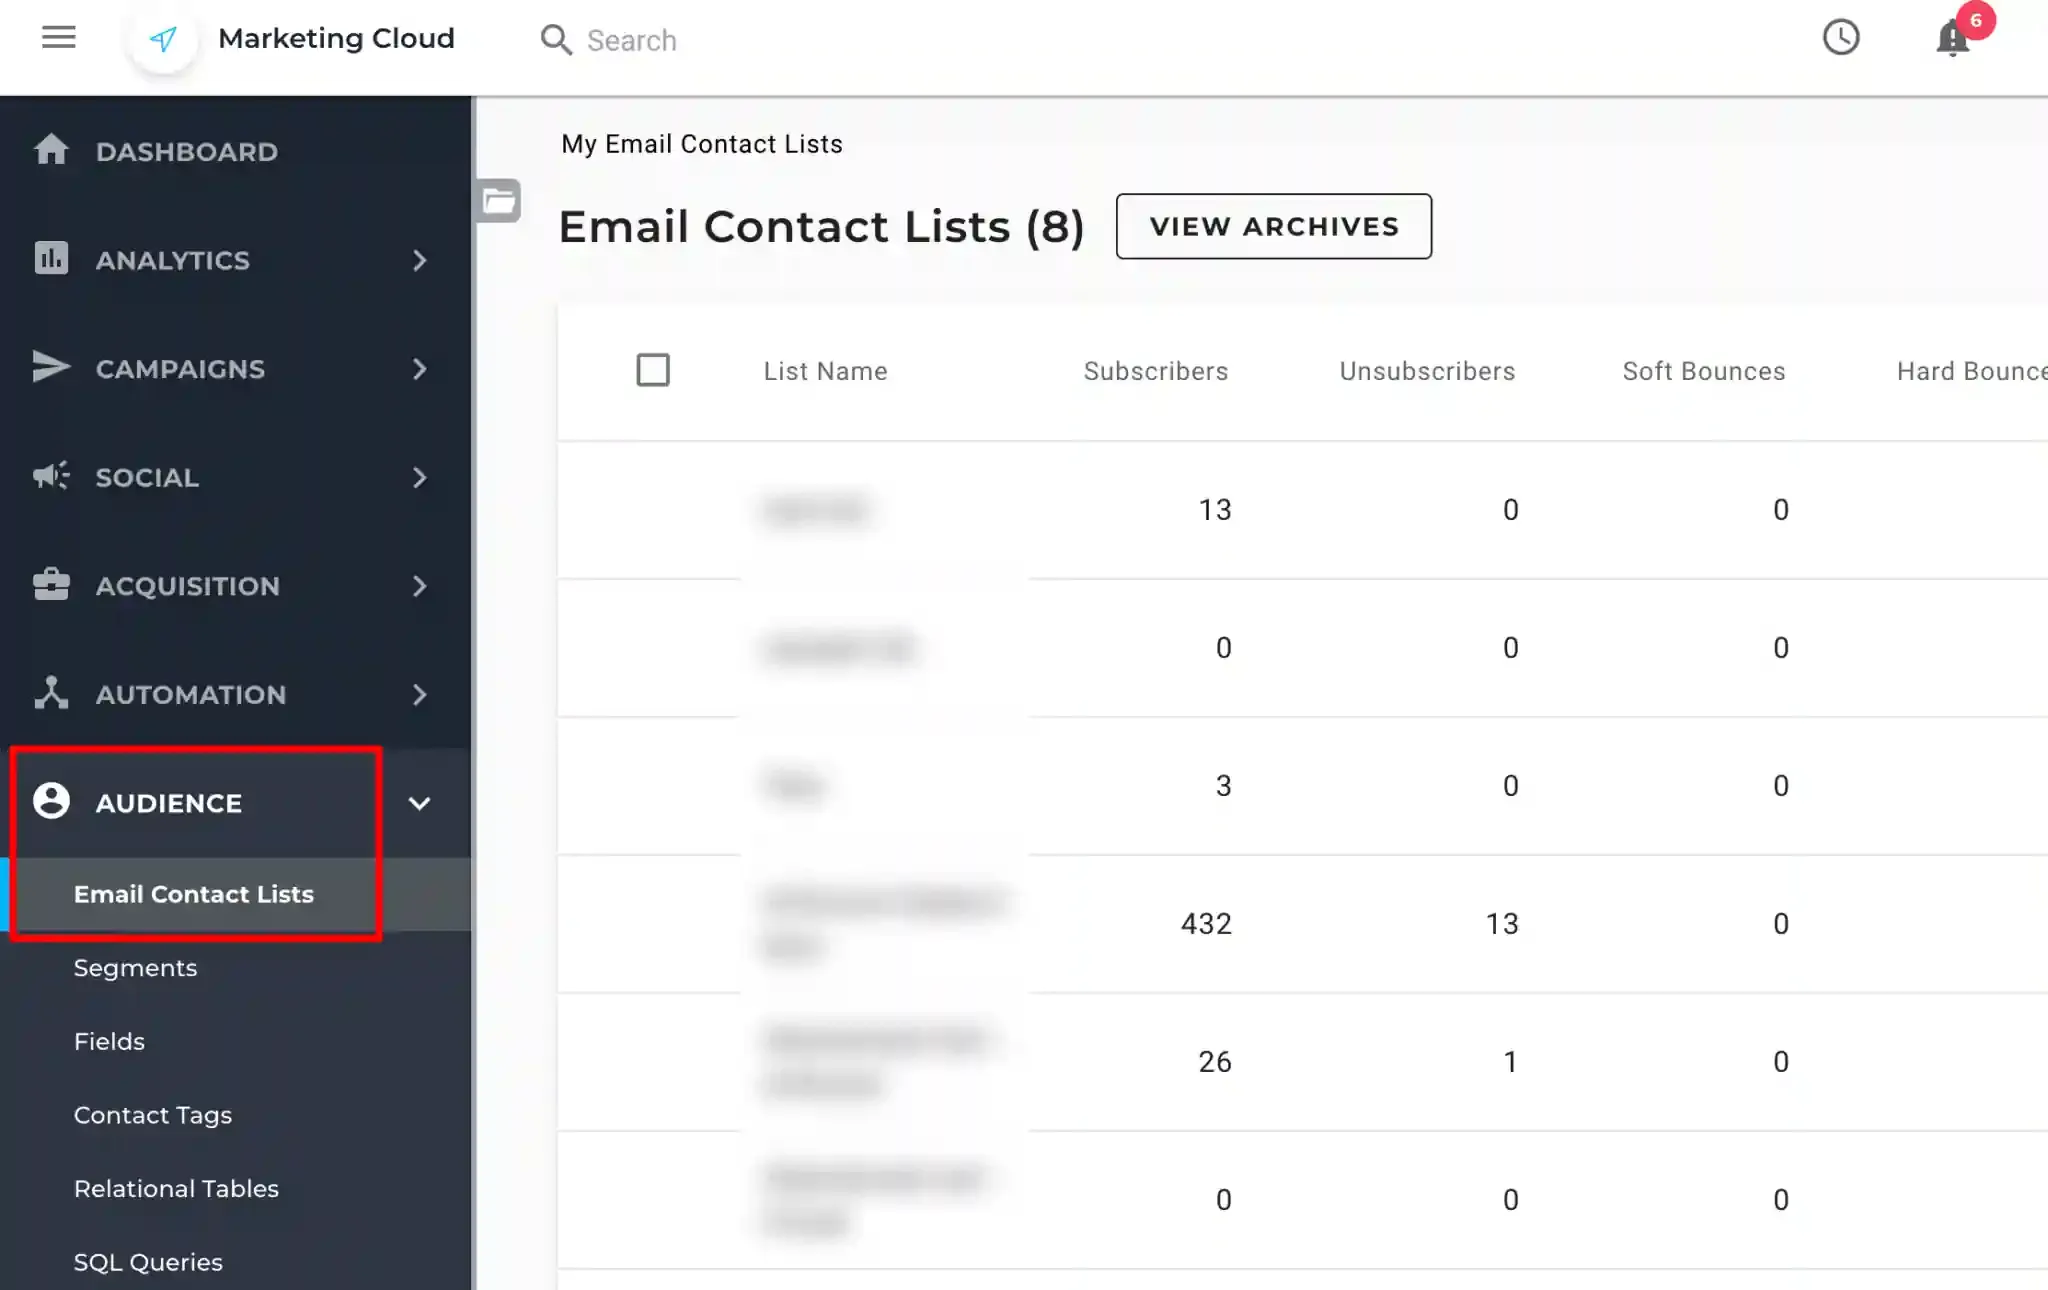
Section titled “Part 2 — Maropost Import Configuration”Open the Contact List in Maropost
Section titled “Open the Contact List in Maropost”In Maropost, navigate to Audience → Email Contact Lists and select the target list.
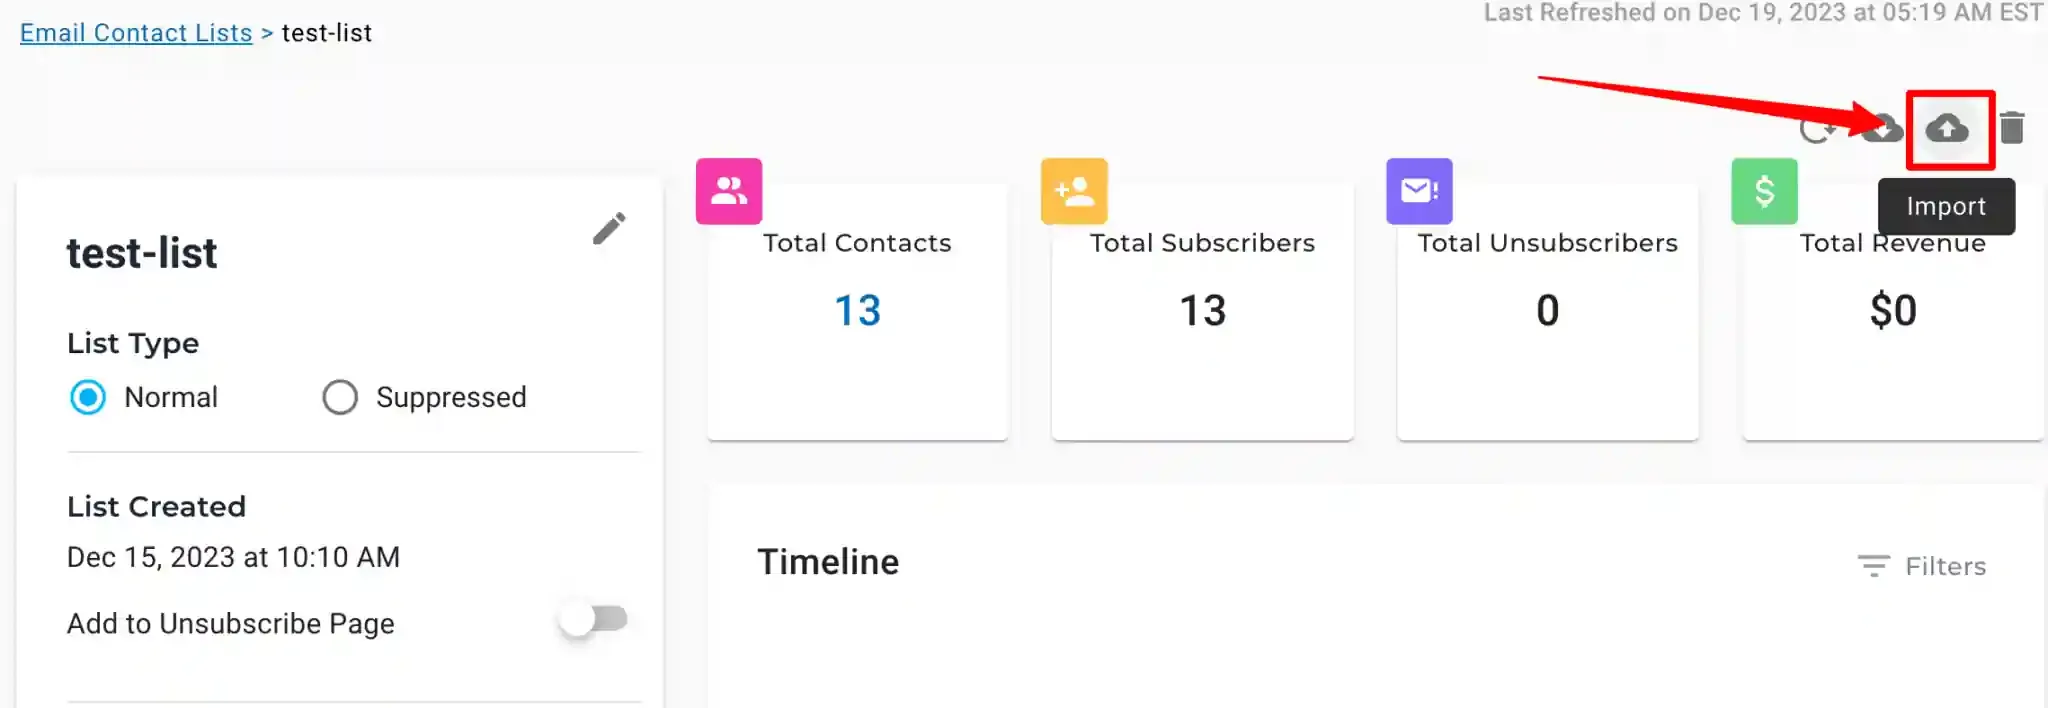
Configure an Automated Import
Section titled “Configure an Automated Import”-
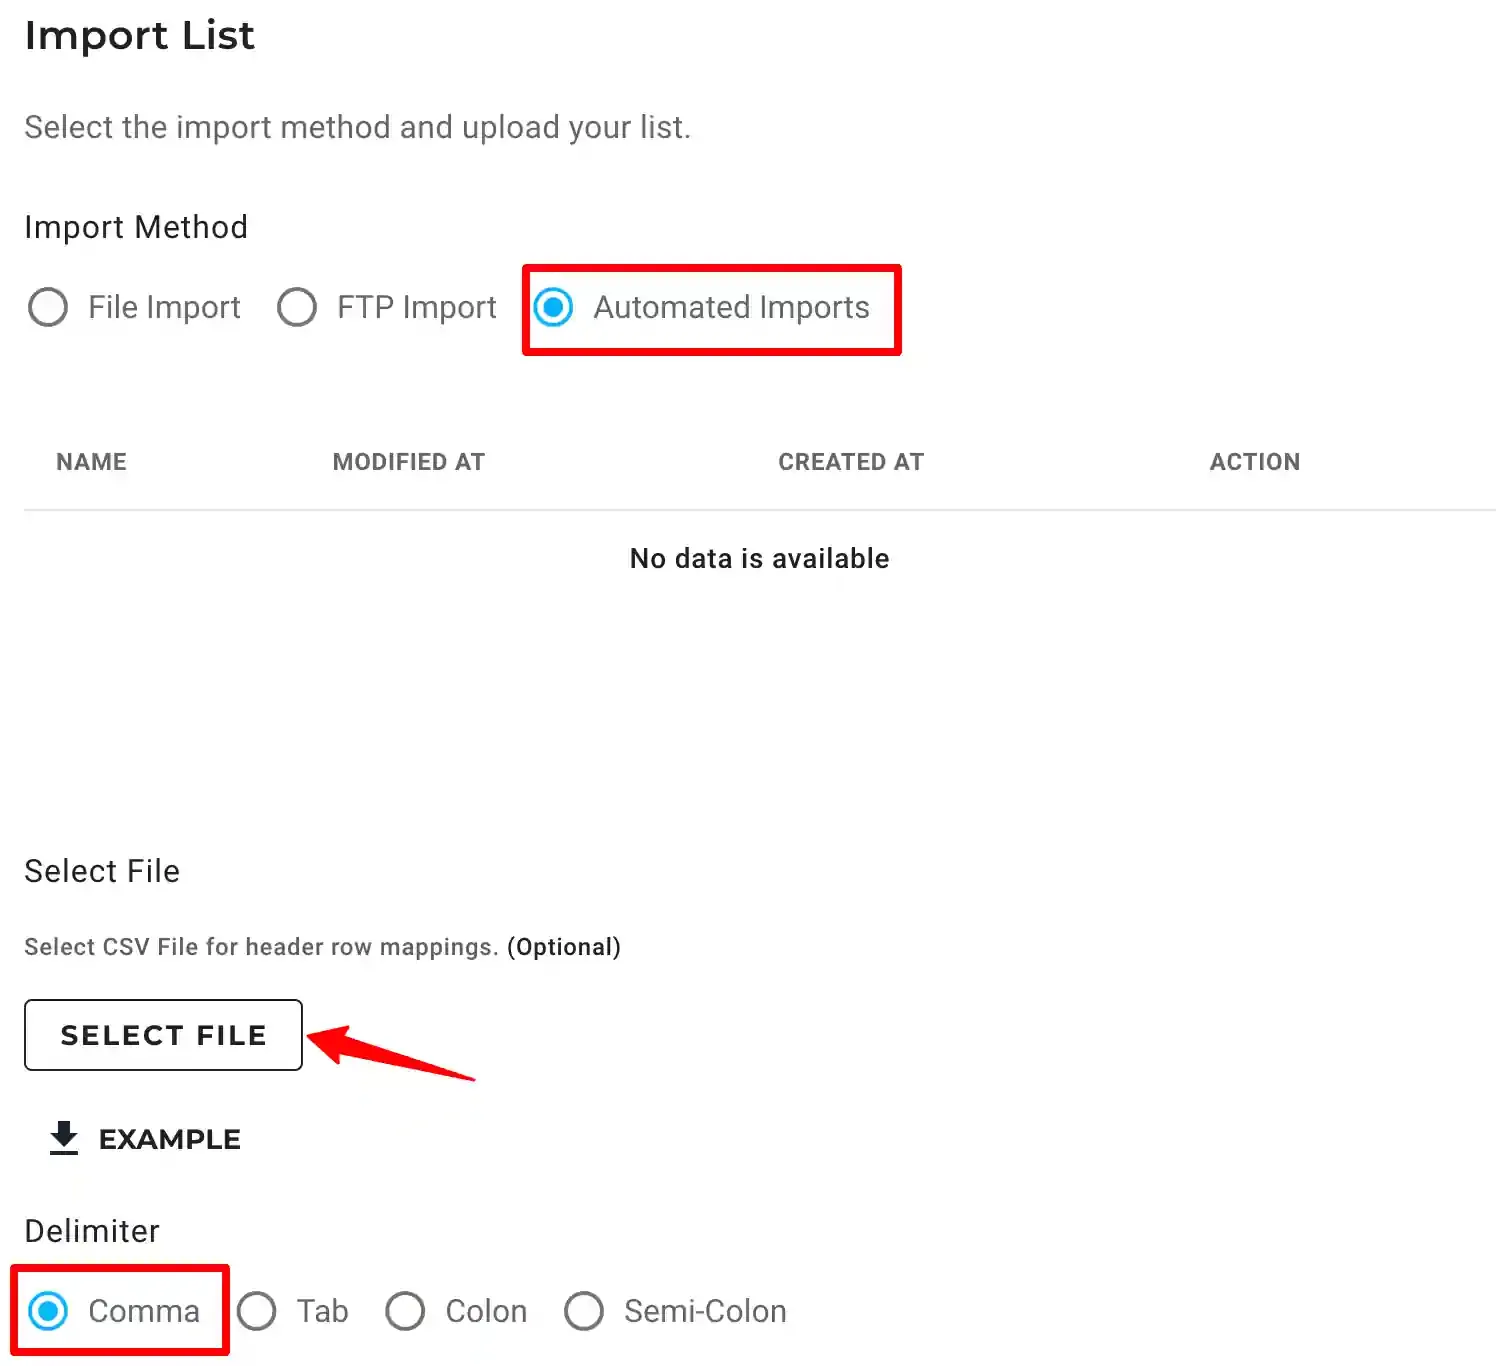
Click Import and select Automated Imports.
-
Upload the CSV downloaded from CustomerLabs and set the delimiter to Comma.
-
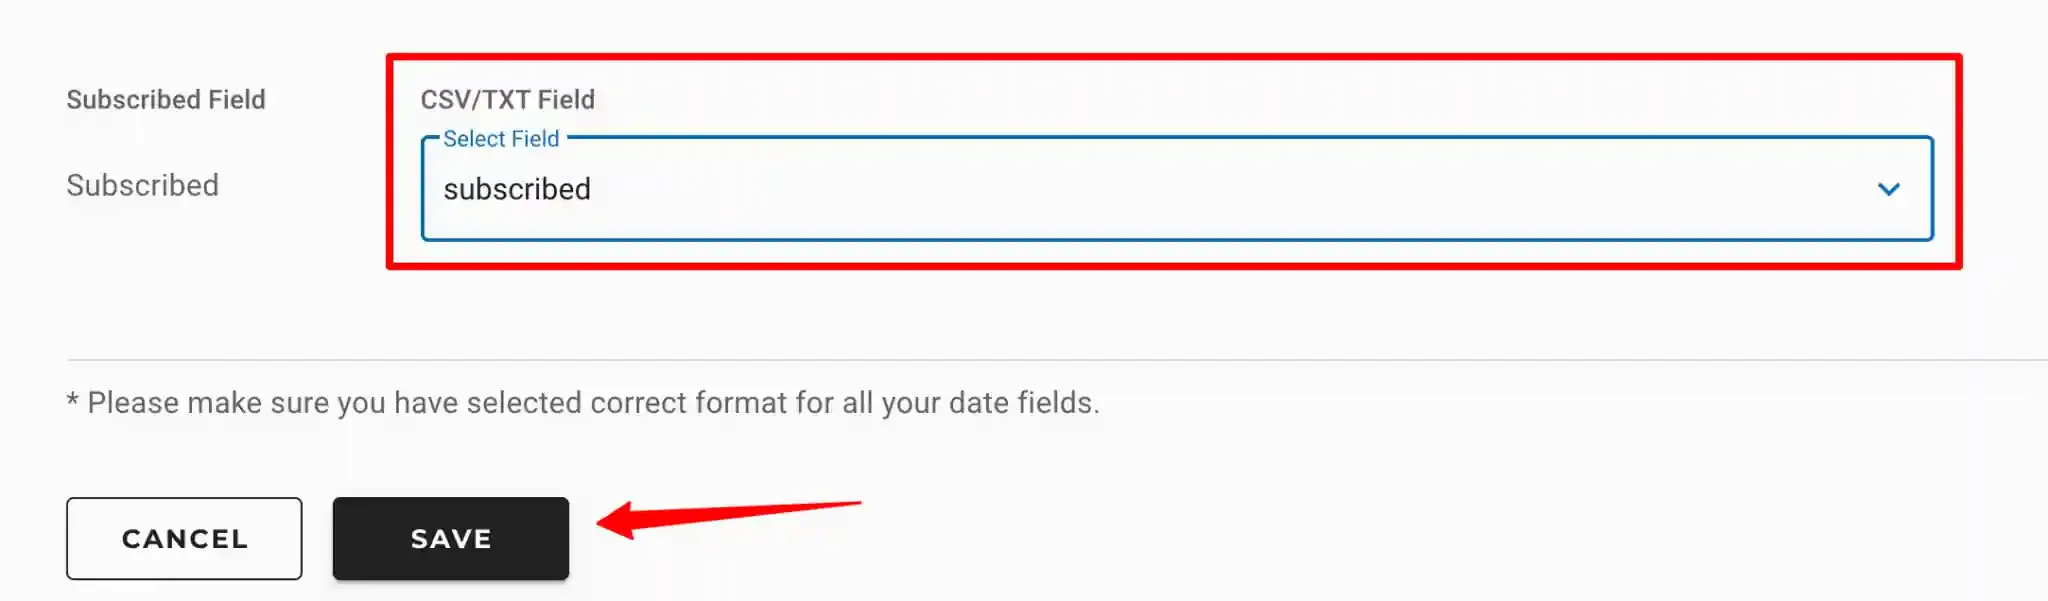
Configure the import settings:
Field Value Import Name A descriptive name for the import job File Path /uploads/<customerlabs_audience_name>/contacts.csvSubscribed Set to Subscribed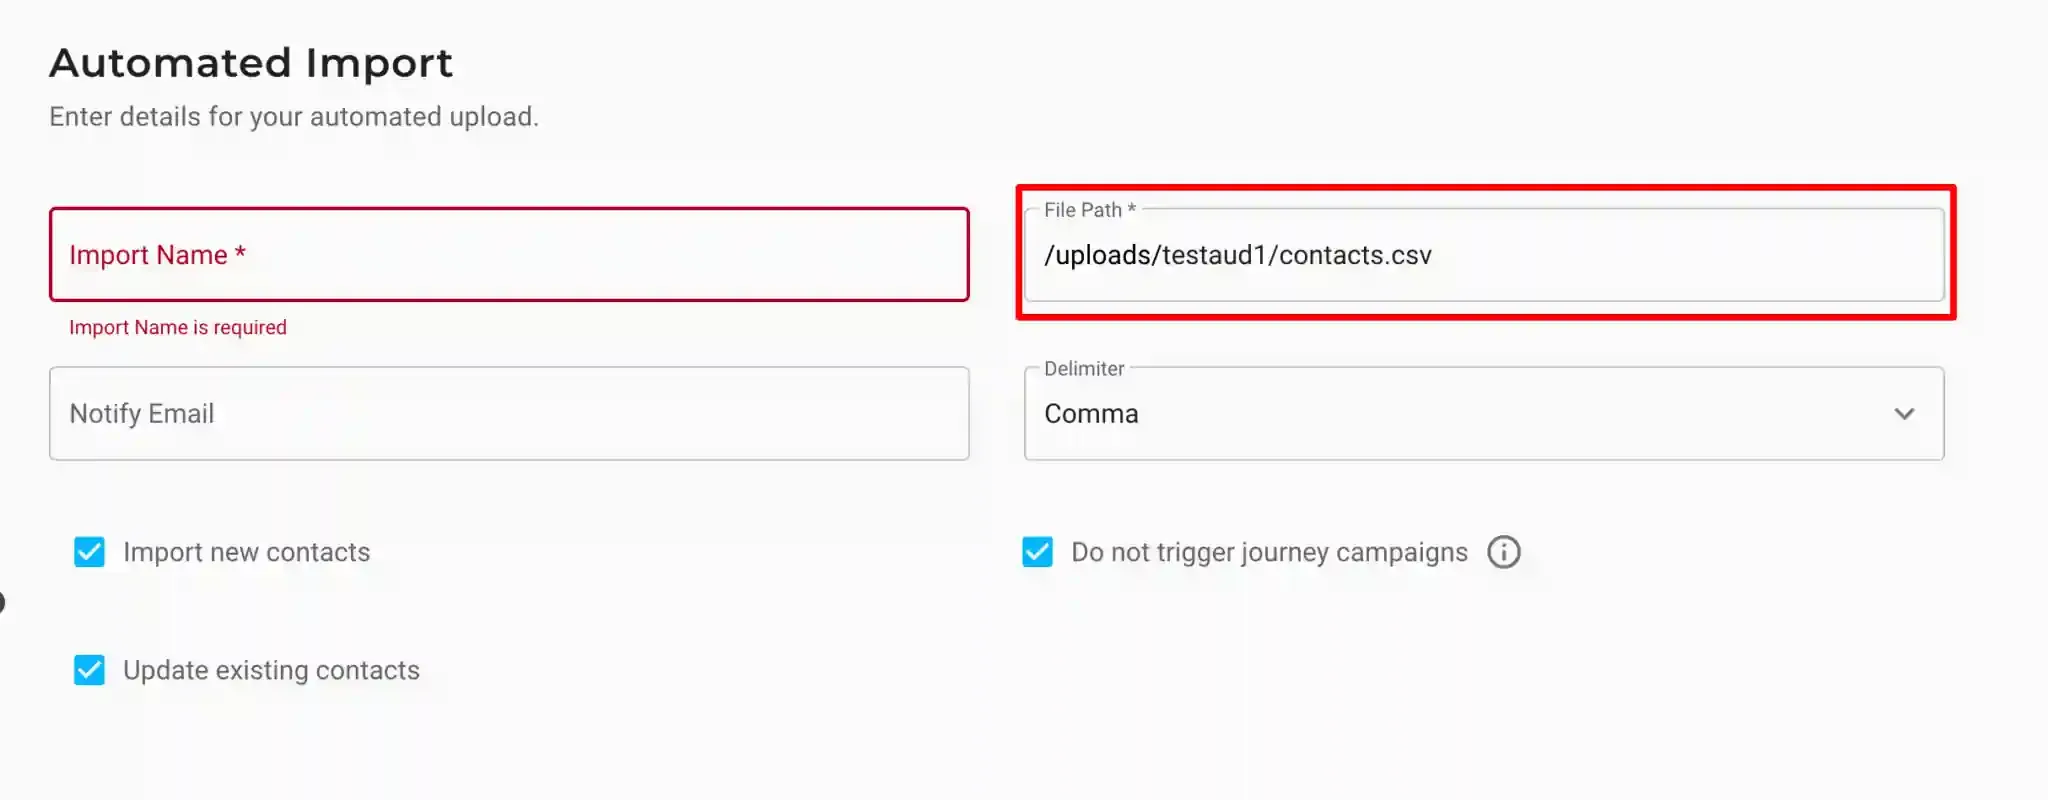
-
Field mappings will auto-populate based on the CSV headers. Configure any custom field mappings as required.
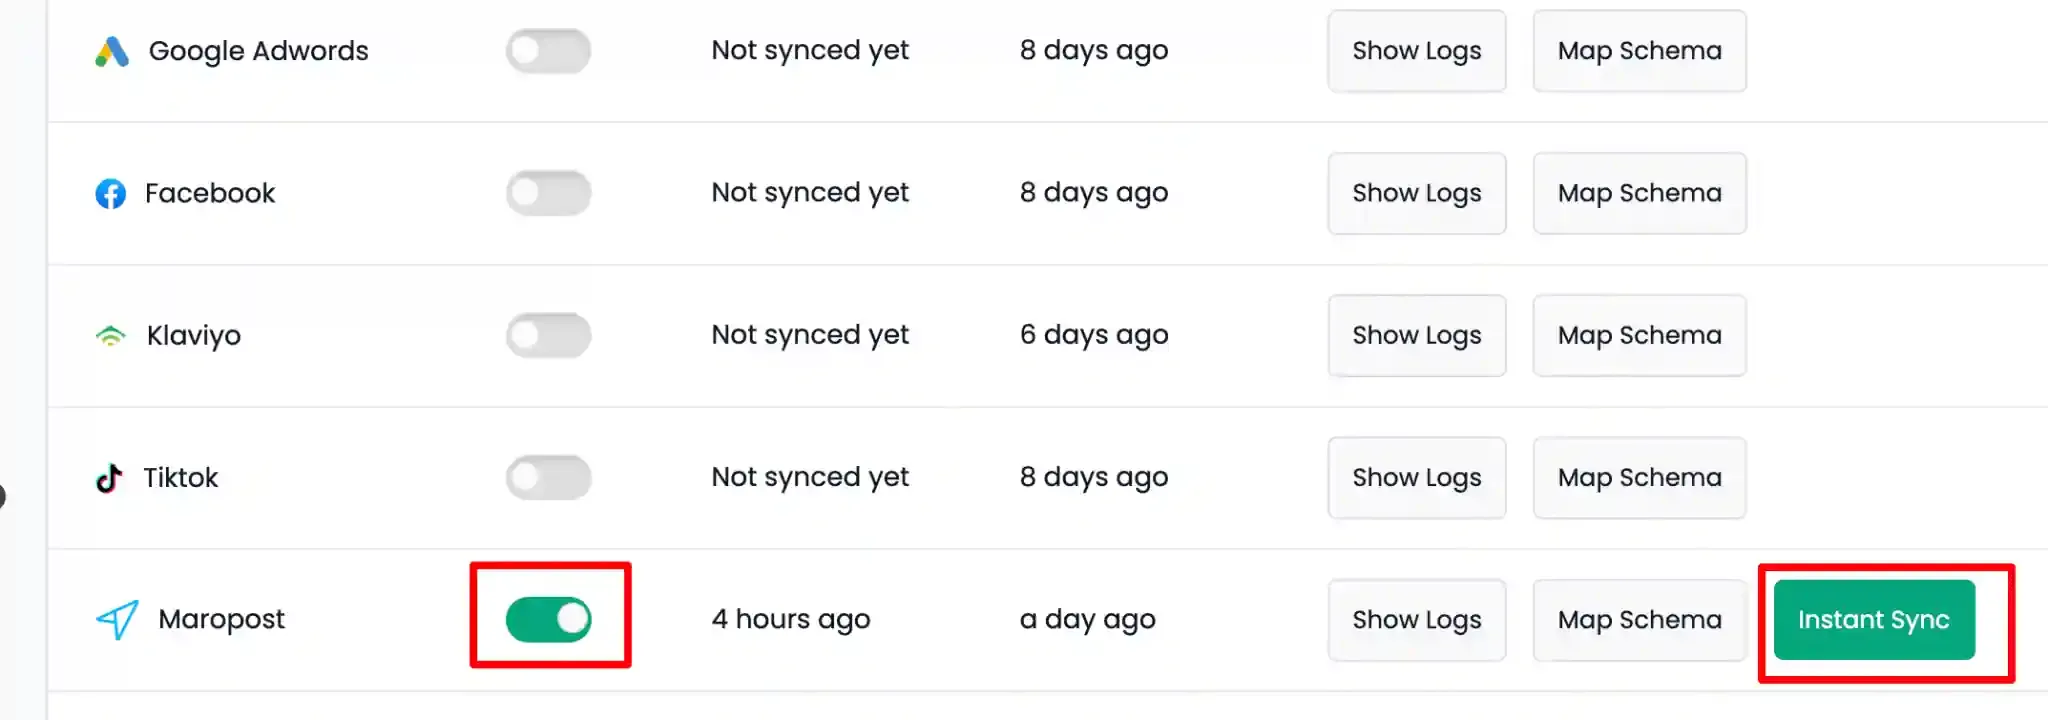
Part 3 — Activate the Sync
Section titled “Part 3 — Activate the Sync”Return to CustomerLabs, open the audience, and navigate to the List Sync tab. Enable the Maropost toggle and click Instant Sync to begin the initial audience delivery.