CheckoutChamp Setup and Event Tracking Guide
CheckoutChamp is a powerful platform for building high-converting checkout pages and sales funnels. However, many businesses face challenges when tracking events accurately and sending conversion data to advertising platforms like Meta and Google Ads.
Common issues include:
- Cross-domain tracking limitations
- Pixel firing inconsistencies
- Difficulty managing multiple pixels
- Button clicks not being tracked properly
- Low event match quality in Meta
- Inaccurate attribution in Google Ads
By leveraging CustomerLabs’ first-party tracking (1PD) approach, businesses can overcome these limitations and ensure accurate event tracking and reliable data delivery to Meta and Google Ads.
Why This Is Important
Section titled “Why This Is Important”Improved Meta Event Match Quality
Section titled “Improved Meta Event Match Quality”Higher event match quality helps the Meta algorithm better understand:
- Which users are converting
- What audience signals to optimize toward
- How to scale campaigns effectively
When event match quality improves, Meta’s optimization becomes more accurate, leading to better campaign performance.
Better Google Ads Attribution
Section titled “Better Google Ads Attribution”CustomerLabs stores key identifiers such as:
- GCLID
- First-party cookie IDs
- Browser-level tracking data
This ensures more accurate conversion reporting, improved attribution visibility, and better campaign performance analysis.
Step-by-Step Guide to Configure Event Tracking in CheckoutChamp
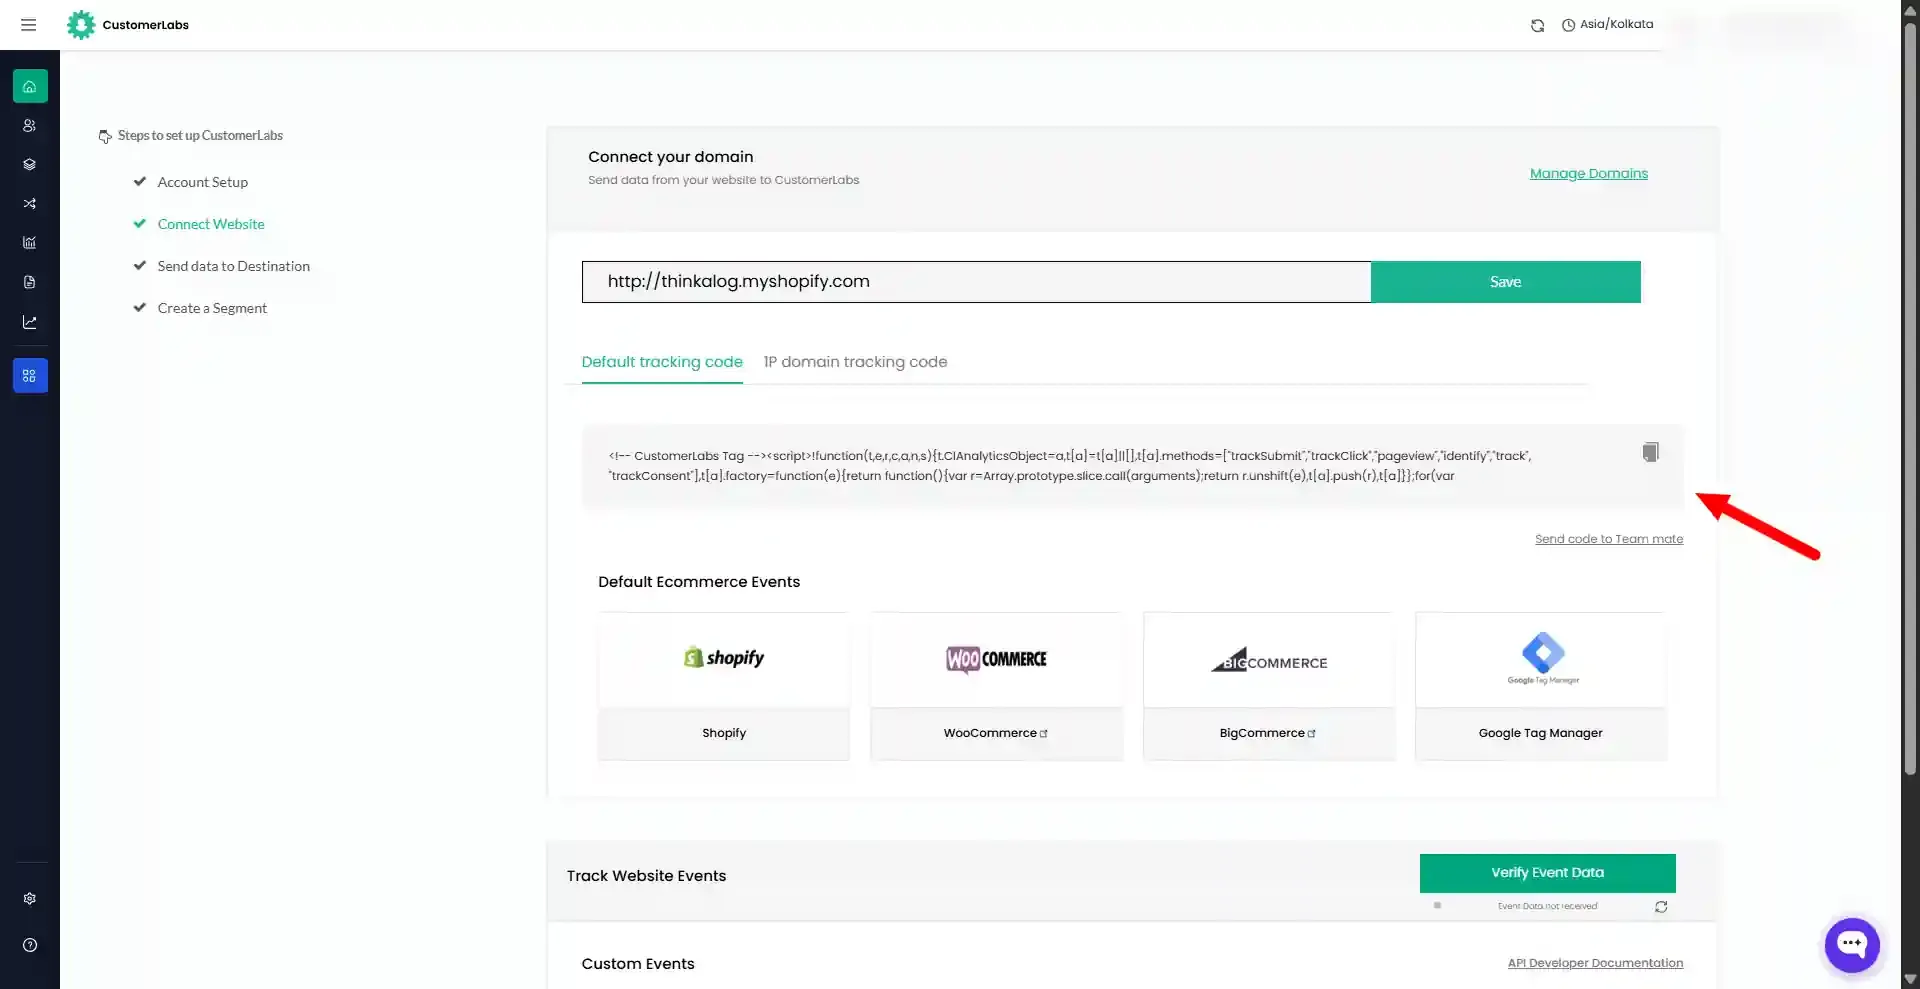
Section titled “Step-by-Step Guide to Configure Event Tracking in CheckoutChamp”Step 1: Sign In to CustomerLabs
Section titled “Step 1: Sign In to CustomerLabs”- Log in to your CustomerLabs account.
- Copy the tracking code available on the homepage.
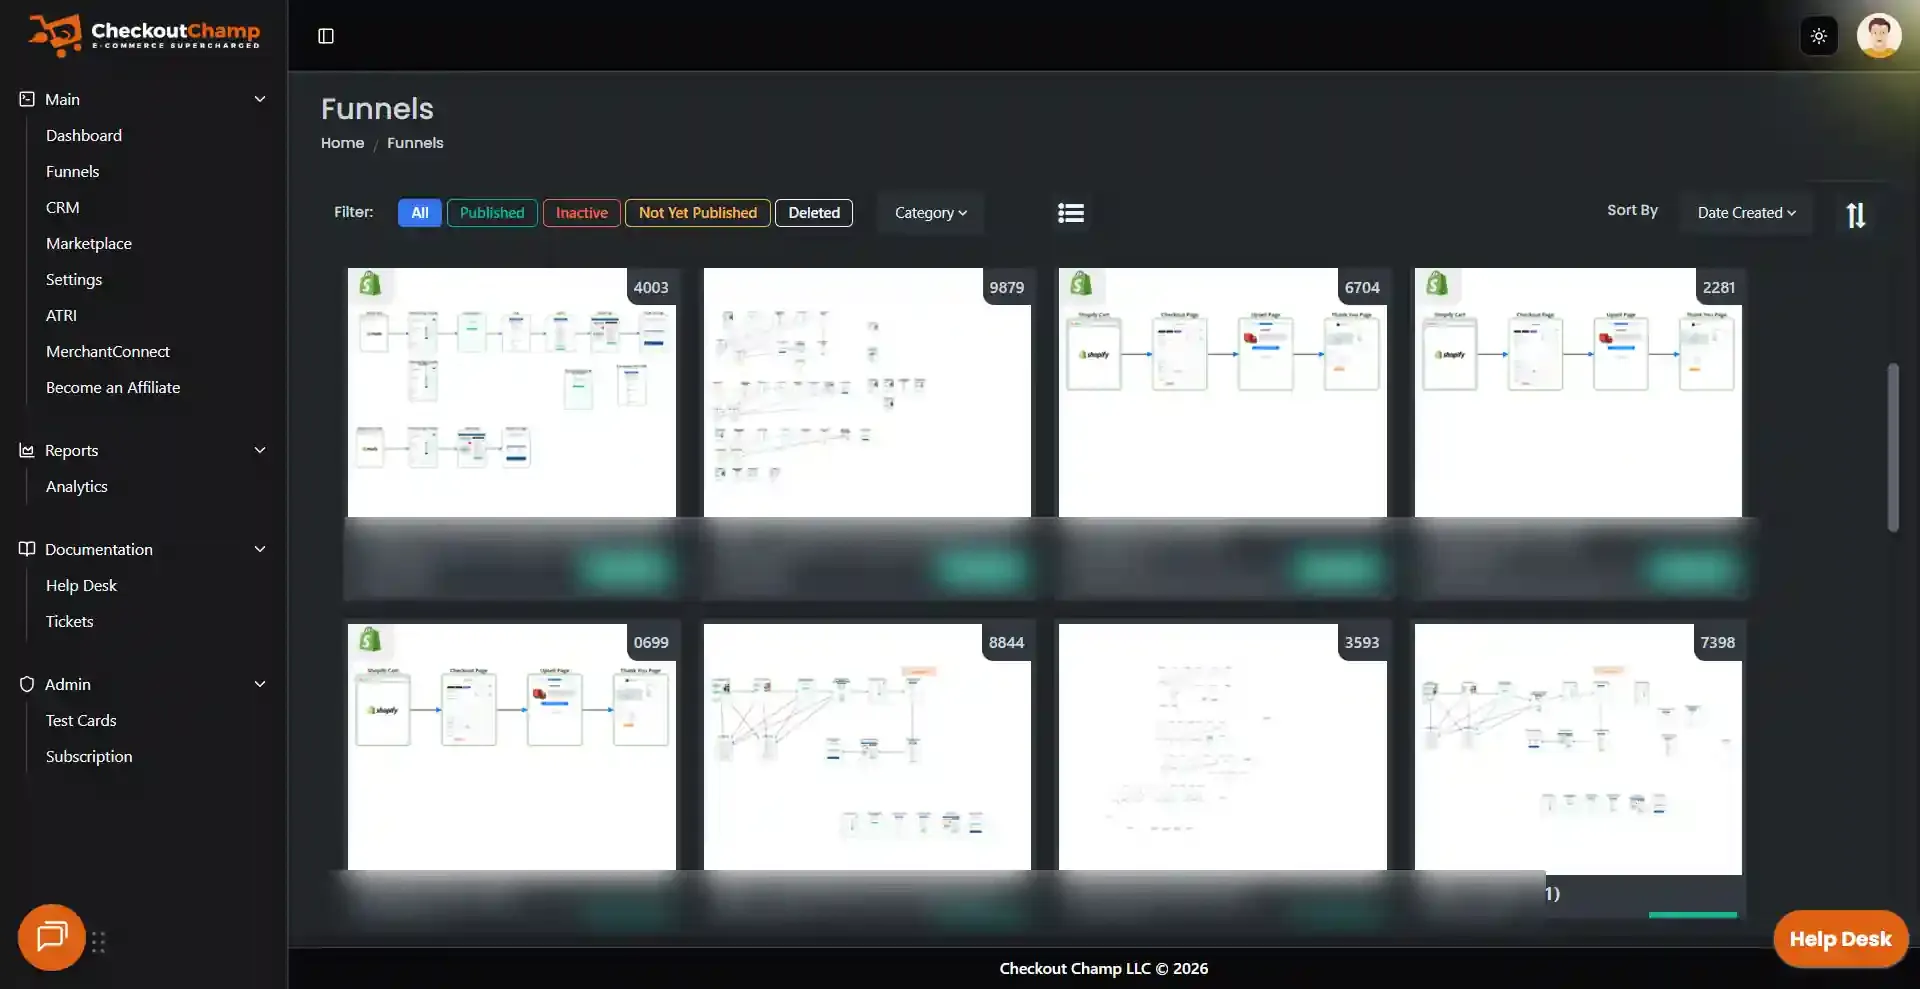
Step 2: Sign In to CheckoutChamp
Section titled “Step 2: Sign In to CheckoutChamp”- Log in to your CheckoutChamp account.
- You will be redirected to your dashboard. Navigate to the Funnels section.
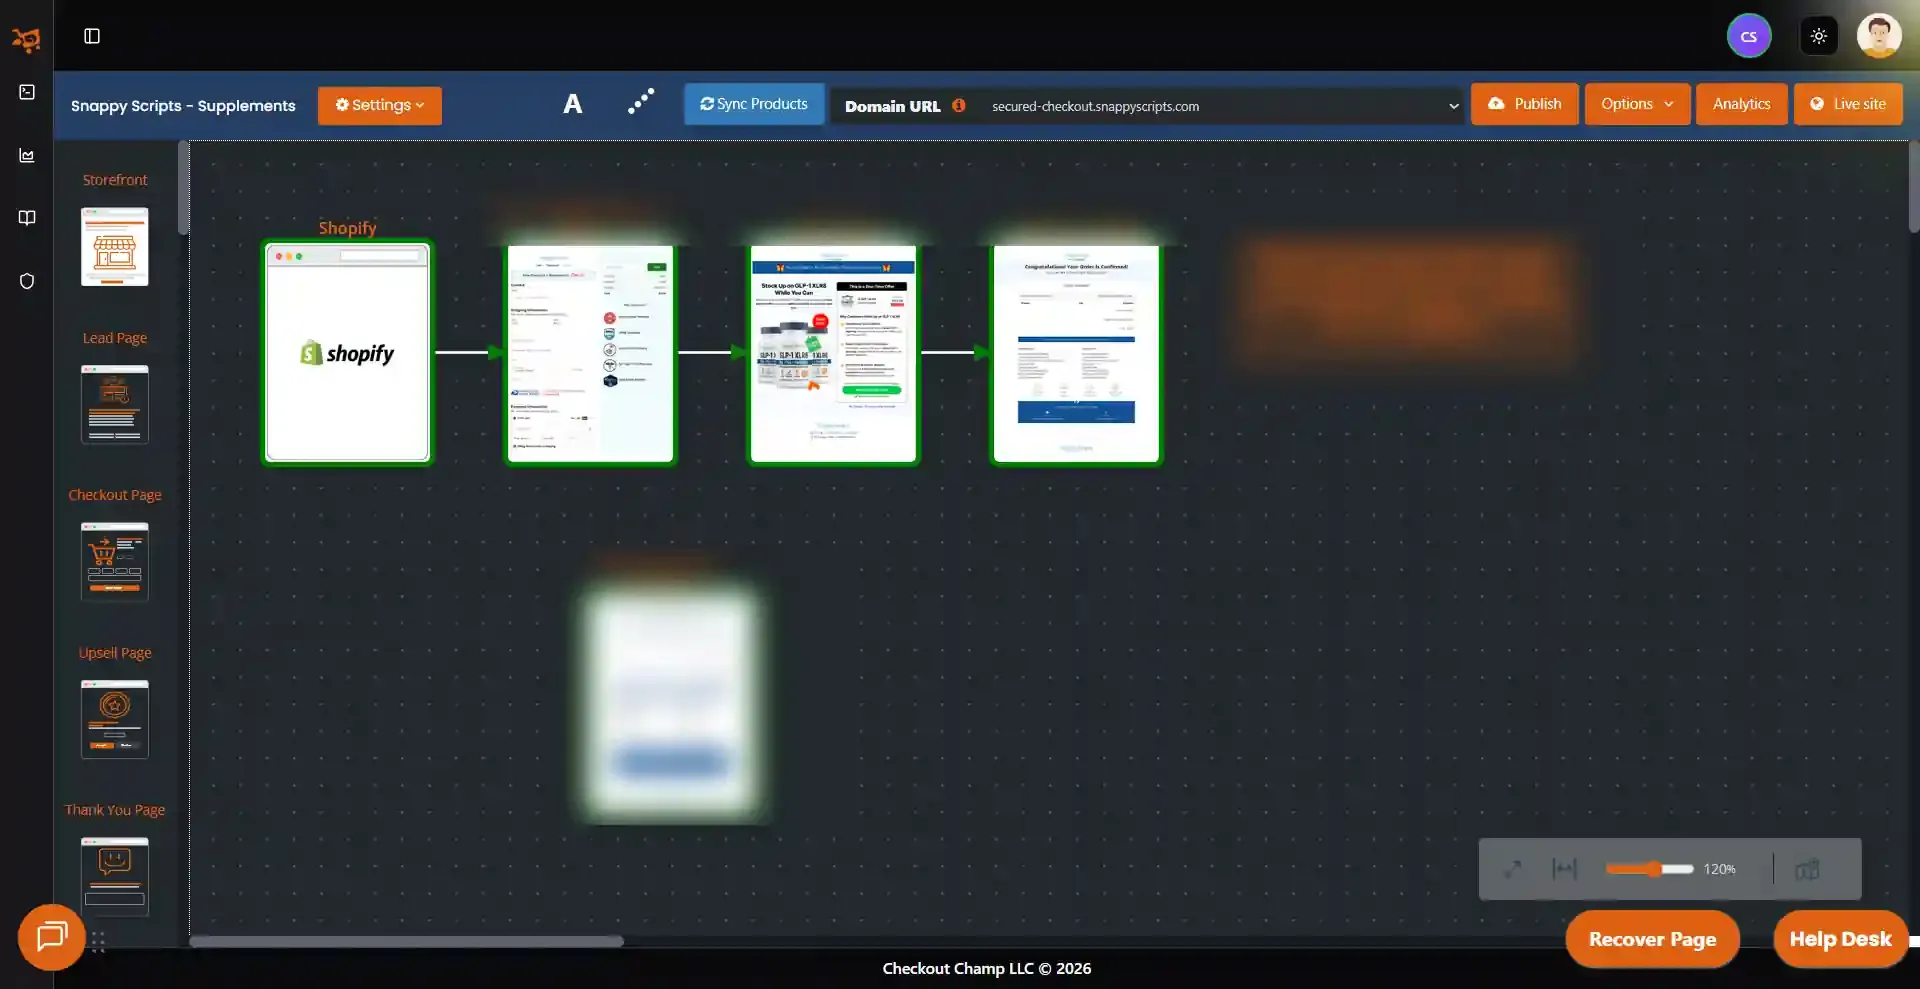
Step 3: Navigate to Funnel Settings
Section titled “Step 3: Navigate to Funnel Settings”- Go to your funnel or checkout flow.
- Select the specific funnel where you want to enable tracking.
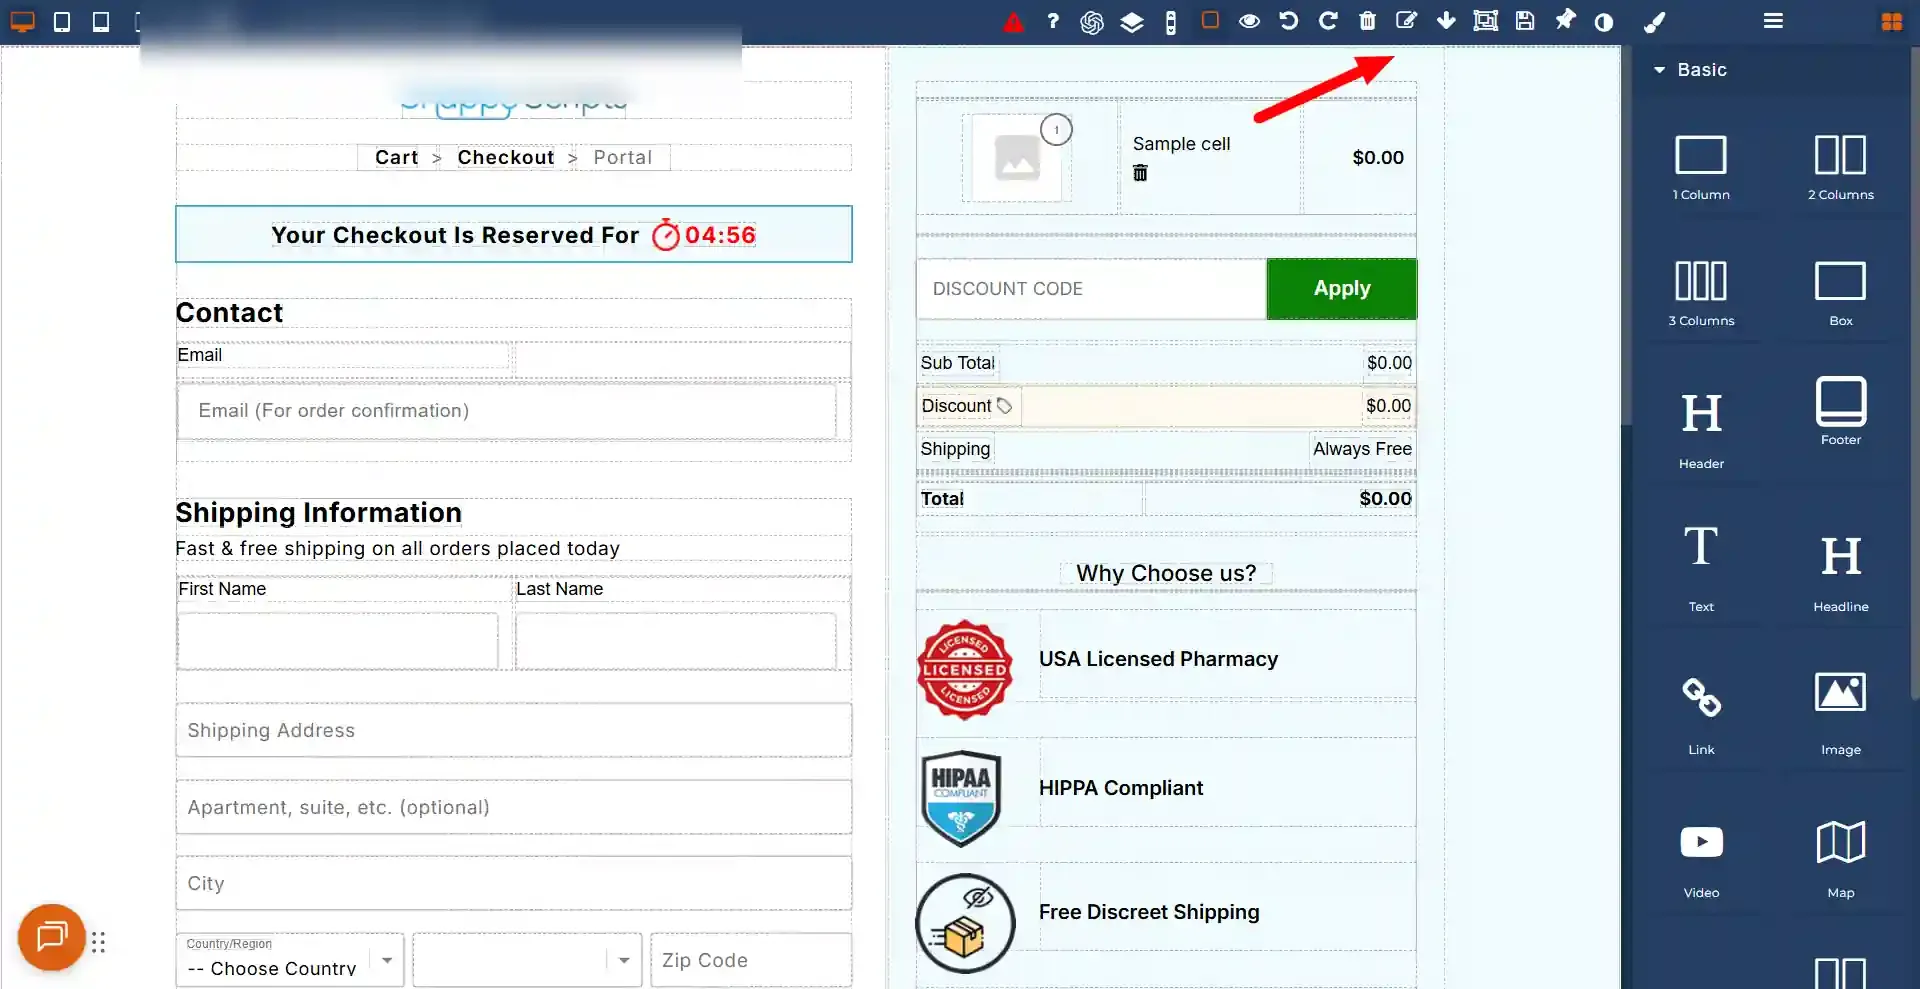
Step 4: Add the Tracking Code
Section titled “Step 4: Add the Tracking Code”- Open the selected funnel.
- Click the Pencil icon to navigate to the tracking script section. You will be redirected to the Code Editor page.
- Select the Pencil icon again to enable editing and insert the tracking script.
- Paste the CustomerLabs tracking code above the
</head>tag. - Save the changes.
Step 5: Configure Event Tracking
Section titled “Step 5: Configure Event Tracking”Depending on your funnel structure, you may need to configure tracking for specific steps such as:
- Product View
- Add to Cart
- Checkout Initiated
- Lead
- Purchase
For each funnel step:
- Open the specific page and ensure the CustomerLabs tracking code is available across all pages in the funnel.
- Navigate to Funnel Settings → Code Space.
- Add the required event tracking script.
- Save the changes.
Custom Event Configuration
Section titled “Custom Event Configuration”You can capture form information using DOM elements. With the help of CustomerLabs APIs, you can collect and send website data to CustomerLabs.
Refer to the CustomerLabs JavaScript API Documentation to modify the code as per your requirements and track events based on user actions such as form submissions, page views, and clicks.
Step 6: Testing the Events
Section titled “Step 6: Testing the Events”- Install the CustomerLabs Pixel Helper Chrome extension using the link below: CustomerLabs Pixel Helper.
- Once the plugin is installed, perform key activities on your website (e.g., page view, product view, purchase) to trigger events.
- The CustomerLabs Pixel Helper allows you to track, inspect, and debug CustomerLabs events fired from your website.
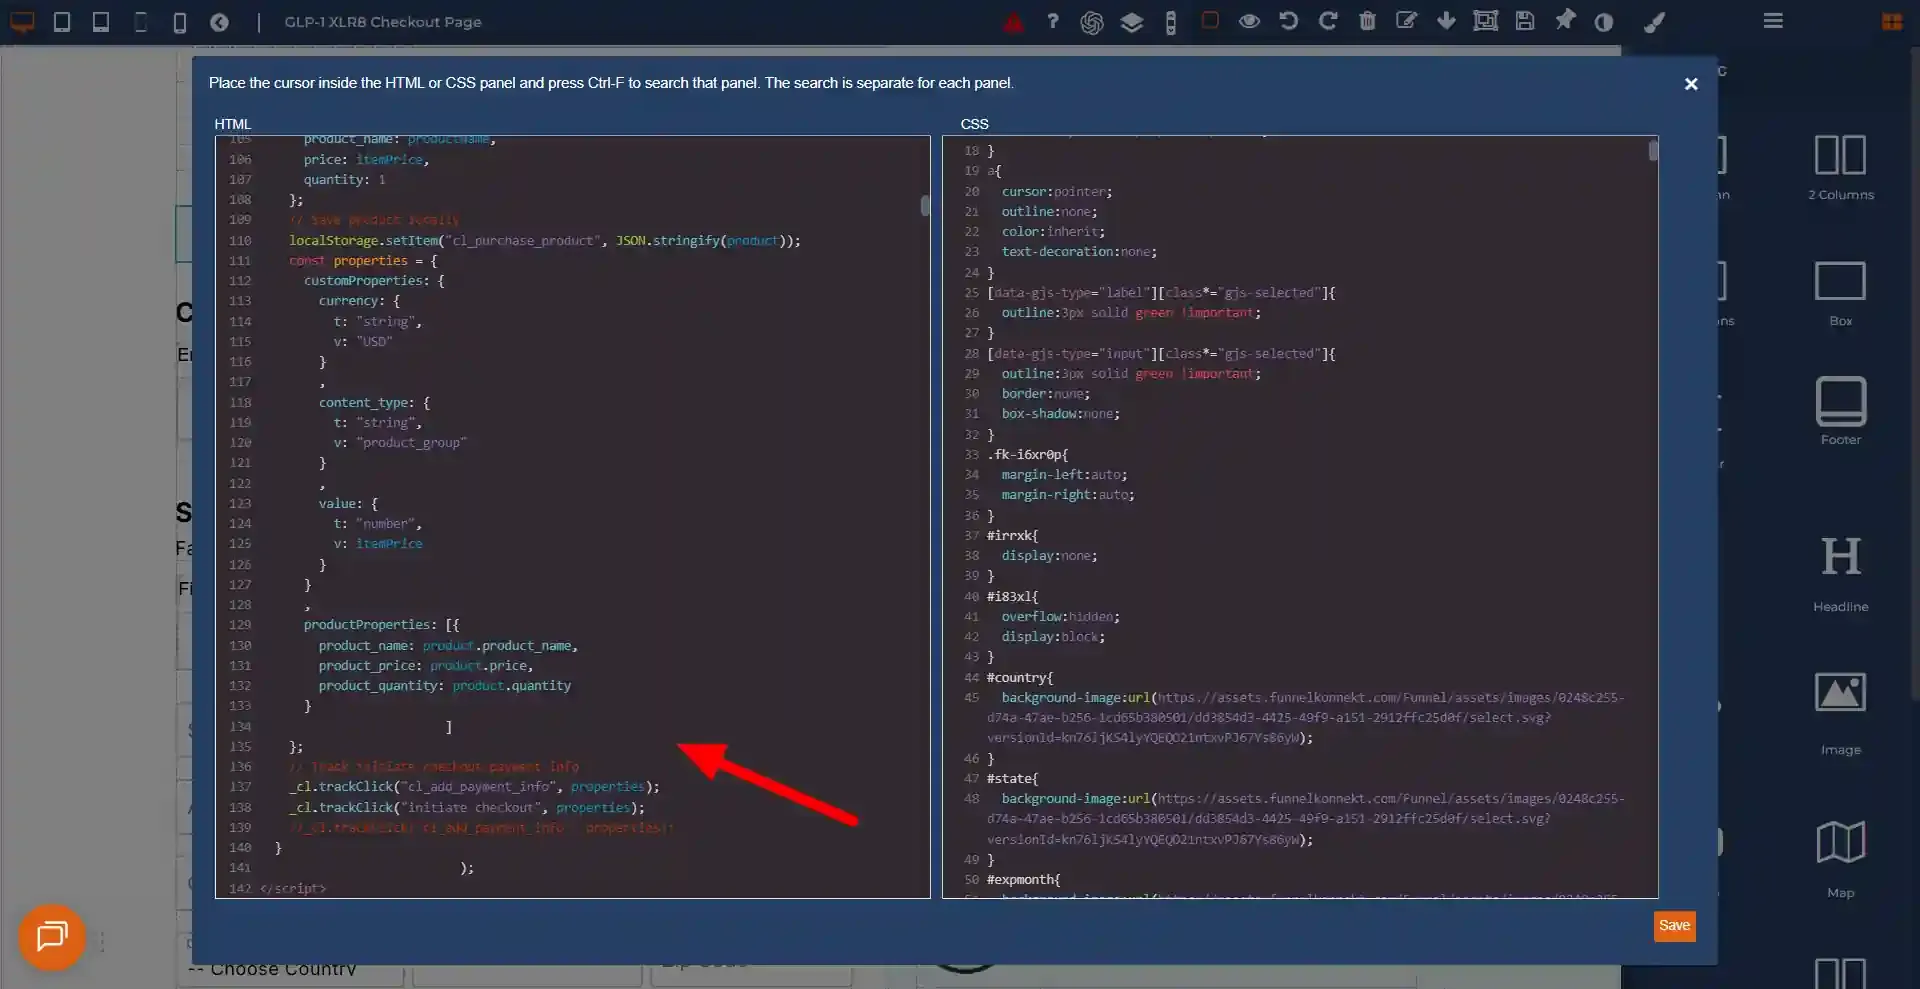
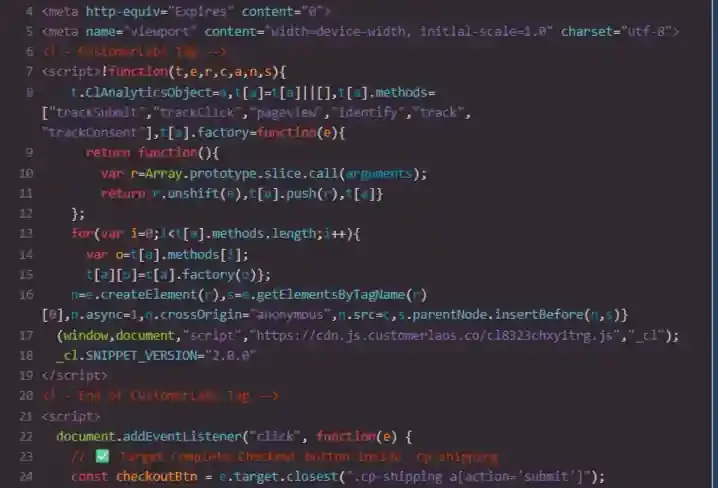
Event Tracking Code Snippets
Section titled “Event Tracking Code Snippets”Use the following scripts to track key checkout events in CheckoutChamp.
<script>  document.addEventListener("click", function(e) {    // ✅ Target Complete Checkout button inside .cp-shipping    const checkoutBtn = e.target.closest(".cp-shipping a[action='submit']");    if (!checkoutBtn) return;
    // ----- 1️⃣ Capture user fields -----    const first_name = document.querySelector('input[name="shipFirstName"]')?.value || "";    const lastName = document.querySelector('input[name="shipLastName"]')?.value || "";    const email = document.querySelector('input[name="emailAddress"]')?.value || "";    const city = document.querySelector('#city')?.value || "";    const zip = document.querySelector('#zip')?.value || "";    const country = document.querySelector('#country')?.value || "";    const state = document.querySelector('#state')?.value || "";    const phone = document.querySelector('input[id="phone"]')?.value || "";
    // ----- 2️⃣ Build custom properties -----    const customProperties = {      user_traits: {        t: "Object",        v: {          first_name: { t: "string", v: first_name },          last_name: { t: "string", v: lastName },          email: { t: "string", v: email },          city: { t: "string", v: city },          country: { t: "string", v: country },          zip: { t: "string", v: zip },          state: { t: "string", v: state },          phone: { t: "string", v: phone }        }      },      external_ids: {        t: "Object",        v: {}      }    };
    if (email) {      customProperties.identify_by_email = {        t: "string",        v: email,        ib: true      };    }
    // ----- 3️⃣ Send identify -----    _cl.identify({ customProperties: customProperties });
    // ----- 4️⃣ Product tracking -----    const productName = document.getElementById("im58el")?.textContent.trim() || "";    const itemPriceText = document.getElementById("iuyl92")?.textContent.trim() || "";    const itemPrice = Number(itemPriceText.replace(/[^0-9.]/g, "")) || 0;
    const product = {      product_name: productName,      price: itemPrice,      quantity: 1    };
    // Save product locally    localStorage.setItem("cl_purchase_product", JSON.stringify(product));
    const properties = {      customProperties: {        currency: { t: "string", v: "USD" },        content_type: { t: "string", v: "product_group" },        value: { t: "number", v: itemPrice }      },      productProperties: [{        product_name: product.product_name,        product_price: product.price,        product_quantity: product.quantity      }]    };
// Track initiate checkout payment info _cl.trackClick("cl_add_payment_info", properties); _cl.trackClick("initiate checkout", properties); });</script><script> document.addEventListener("click", function(e) { const checkoutBtn = e.target.closest(".order_button[action='submit']"); if (!checkoutBtn) return; localStorage.setItem('upsell_clicked', 'true'); });
(function() { const productData = localStorage.getItem("cl_purchase_product"); if (!productData) return;
const product = JSON.parse(productData); var properties = {};
var productsProperties = [{ product_name: product.product_name, product_price: product.price, product_quantity: product.quantity }];
properties["customProperties"] = { currency: { t: "string", v: "USD" }, content_type: { t: "string", v: "product_group" }, value: { t: "number", v: product.price } };
properties["productProperties"] = productsProperties;
if (typeof _cl !== "undefined") { _cl.trackClick("cl_purchase", properties); localStorage.removeItem("cl_purchase_product"); } })();</script><script> document.addEventListener("click", function(e) { const checkoutBtn = e.target.closest(".order_button[action='submit']"); if (!checkoutBtn) return; localStorage.setItem('upsell_clicked', 'true'); });
(function() { const productData = localStorage.getItem("cl_purchase_product"); if (!productData) return;
const product = JSON.parse(productData); var properties = {};
var productsProperties = [{ product_name: product.product_name, product_price: product.price, product_quantity: product.quantity }];
properties["customProperties"] = { currency: { t: "string", v: "USD" }, content_type: { t: "string", v: "product_group" }, value: { t: "number", v: product.price } };
properties["productProperties"] = productsProperties;
if (typeof _cl !== "undefined") { _cl.trackClick("cl_purchase", properties); localStorage.removeItem("cl_purchase_product"); } })();</script>