Mixpanel Integration
Mixpanel is a product analytics platform that helps you understand how users interact with your website or product. With Mixpanel, you can track events, create user segments, build cohorts, and analyze funnels to optimize your marketing and product strategies.
By integrating CustomerLabs with Mixpanel, you can automatically send all your tracked events and their associated properties directly to Mixpanel — with just a few clicks.
Prerequisites
Section titled “Prerequisites”Before you begin, make sure you have:
- An active Mixpanel account
- An active CustomerLabs account
- Access to your Mixpanel Project Token (found under Project Settings)
Setup Instructions
Section titled “Setup Instructions”Step 1: Get Your Project Token from Mixpanel
Section titled “Step 1: Get Your Project Token from Mixpanel”-
Log in to your Mixpanel account.
-
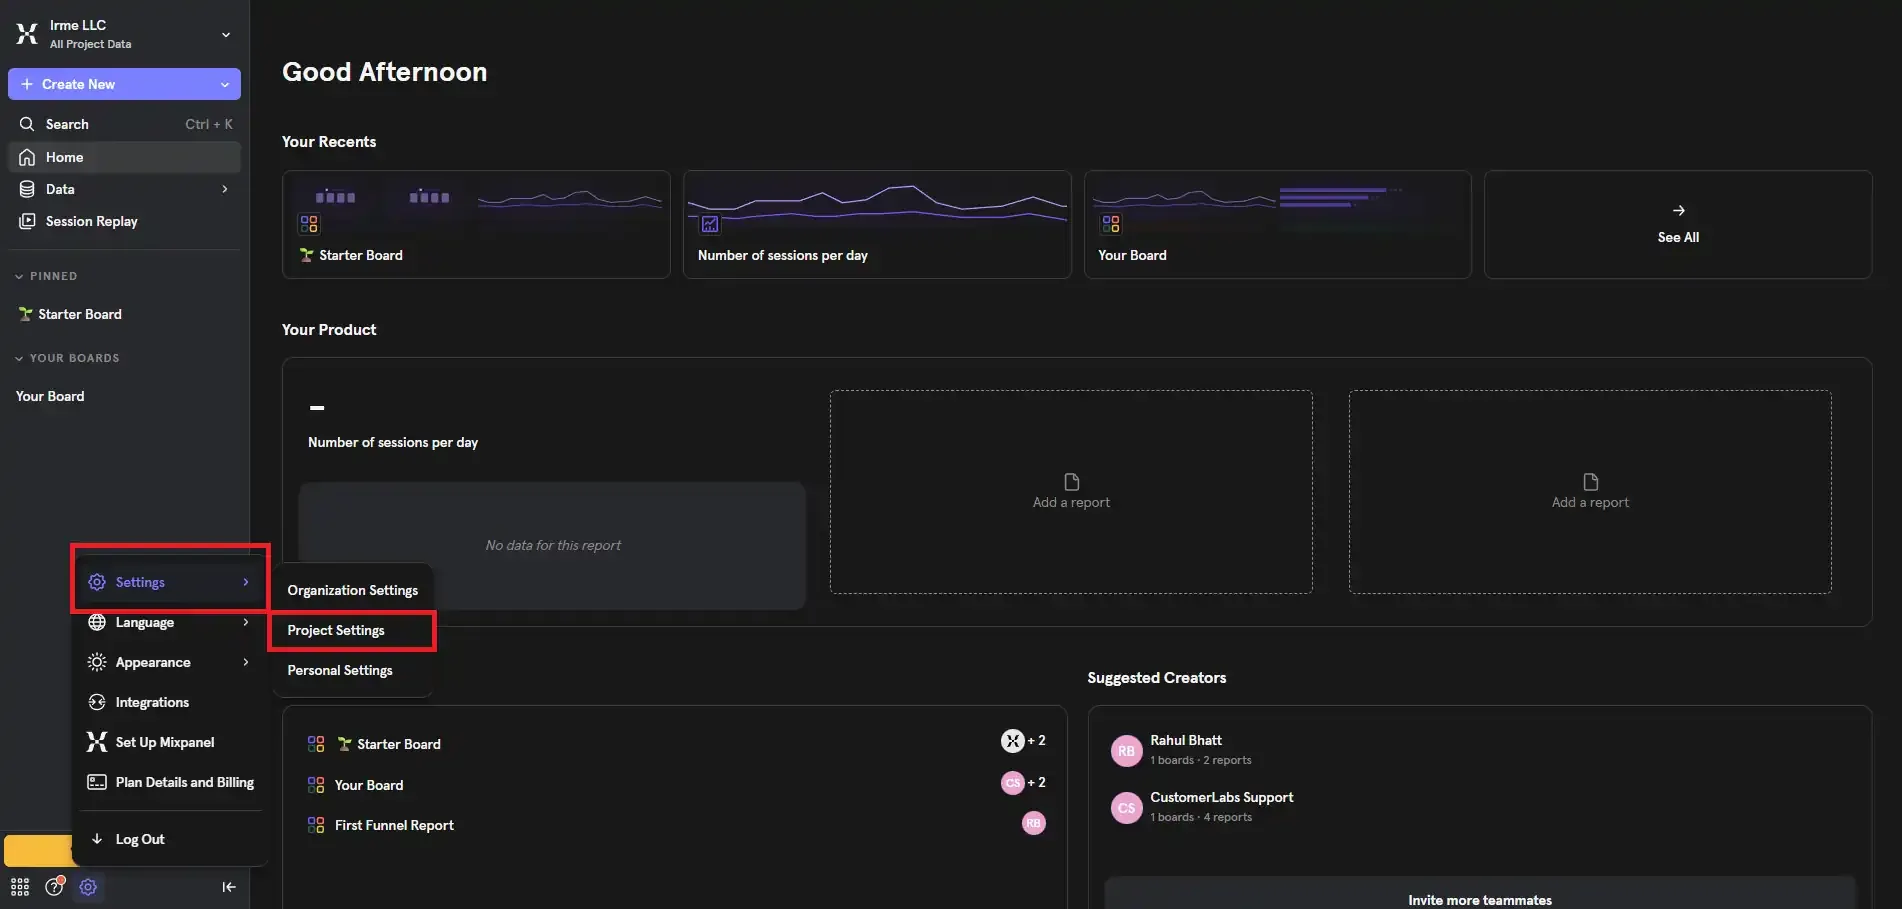
Click the gear icon (⚙️) located at the bottom-left corner of the screen.
-
Navigate to Settings → Project Settings.
-
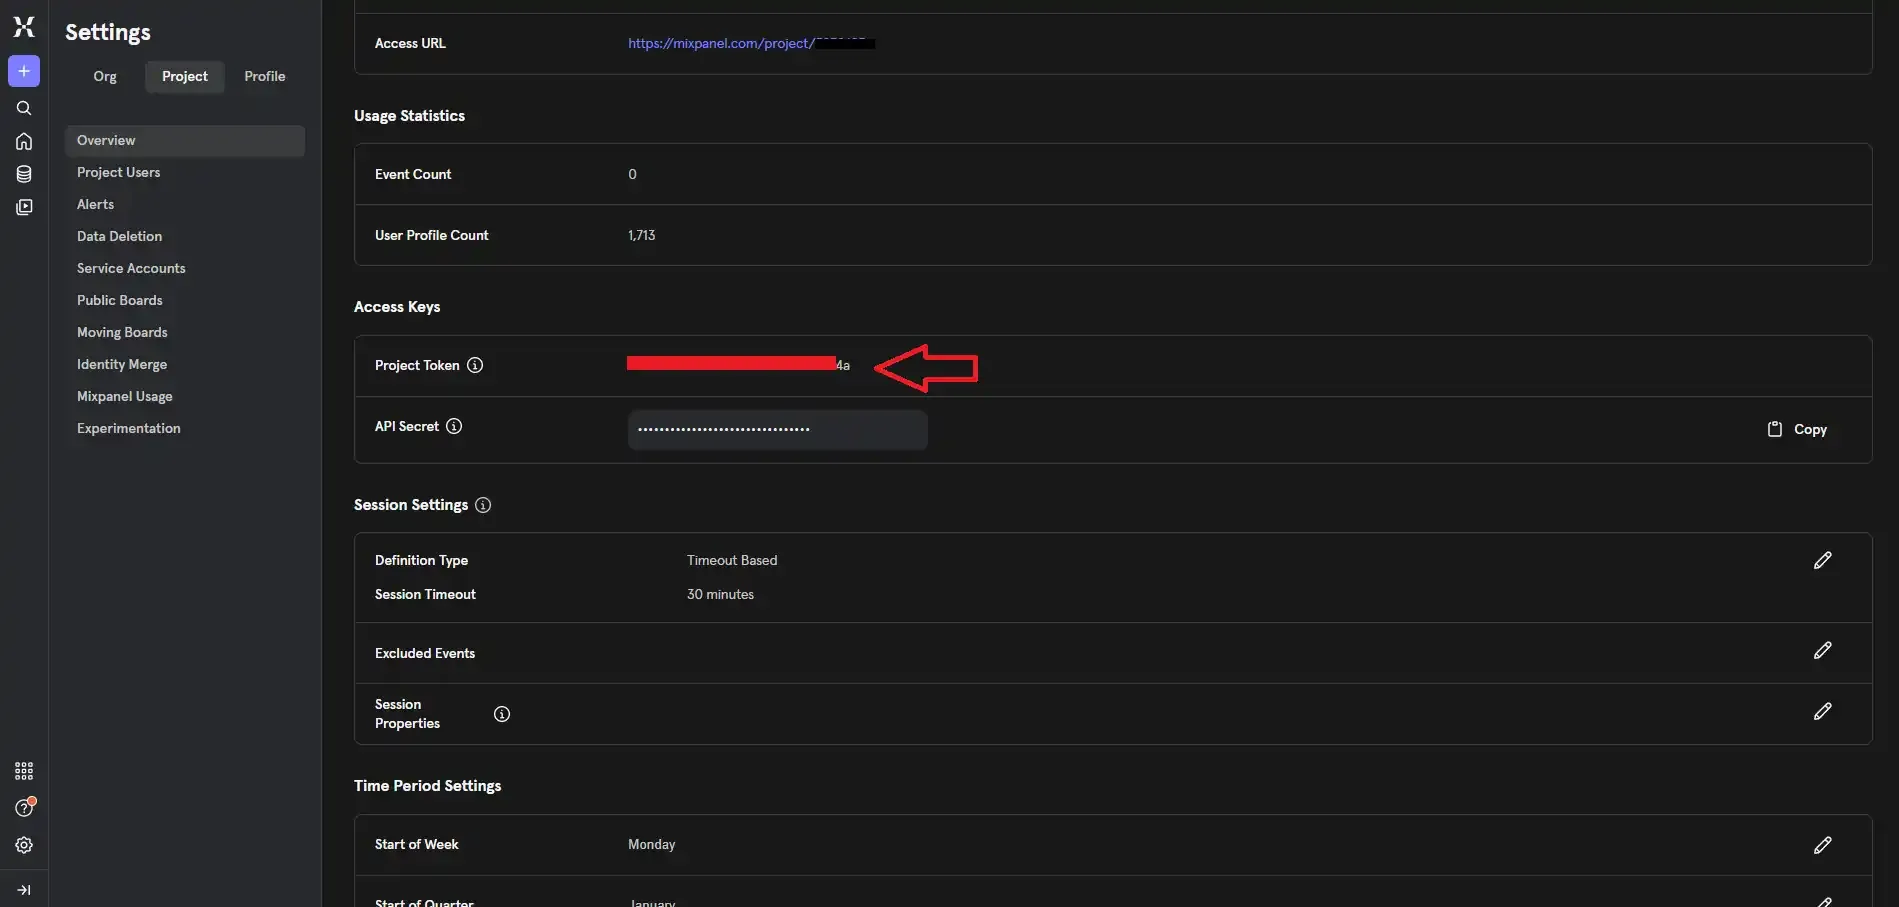
Locate the Project Token under the Access Keys section.
-
Copy the Project Token. You will need it in the next step.
Step 2: Connect Mixpanel in CustomerLabs
Section titled “Step 2: Connect Mixpanel in CustomerLabs”-
Log in to your CustomerLabs account.
-
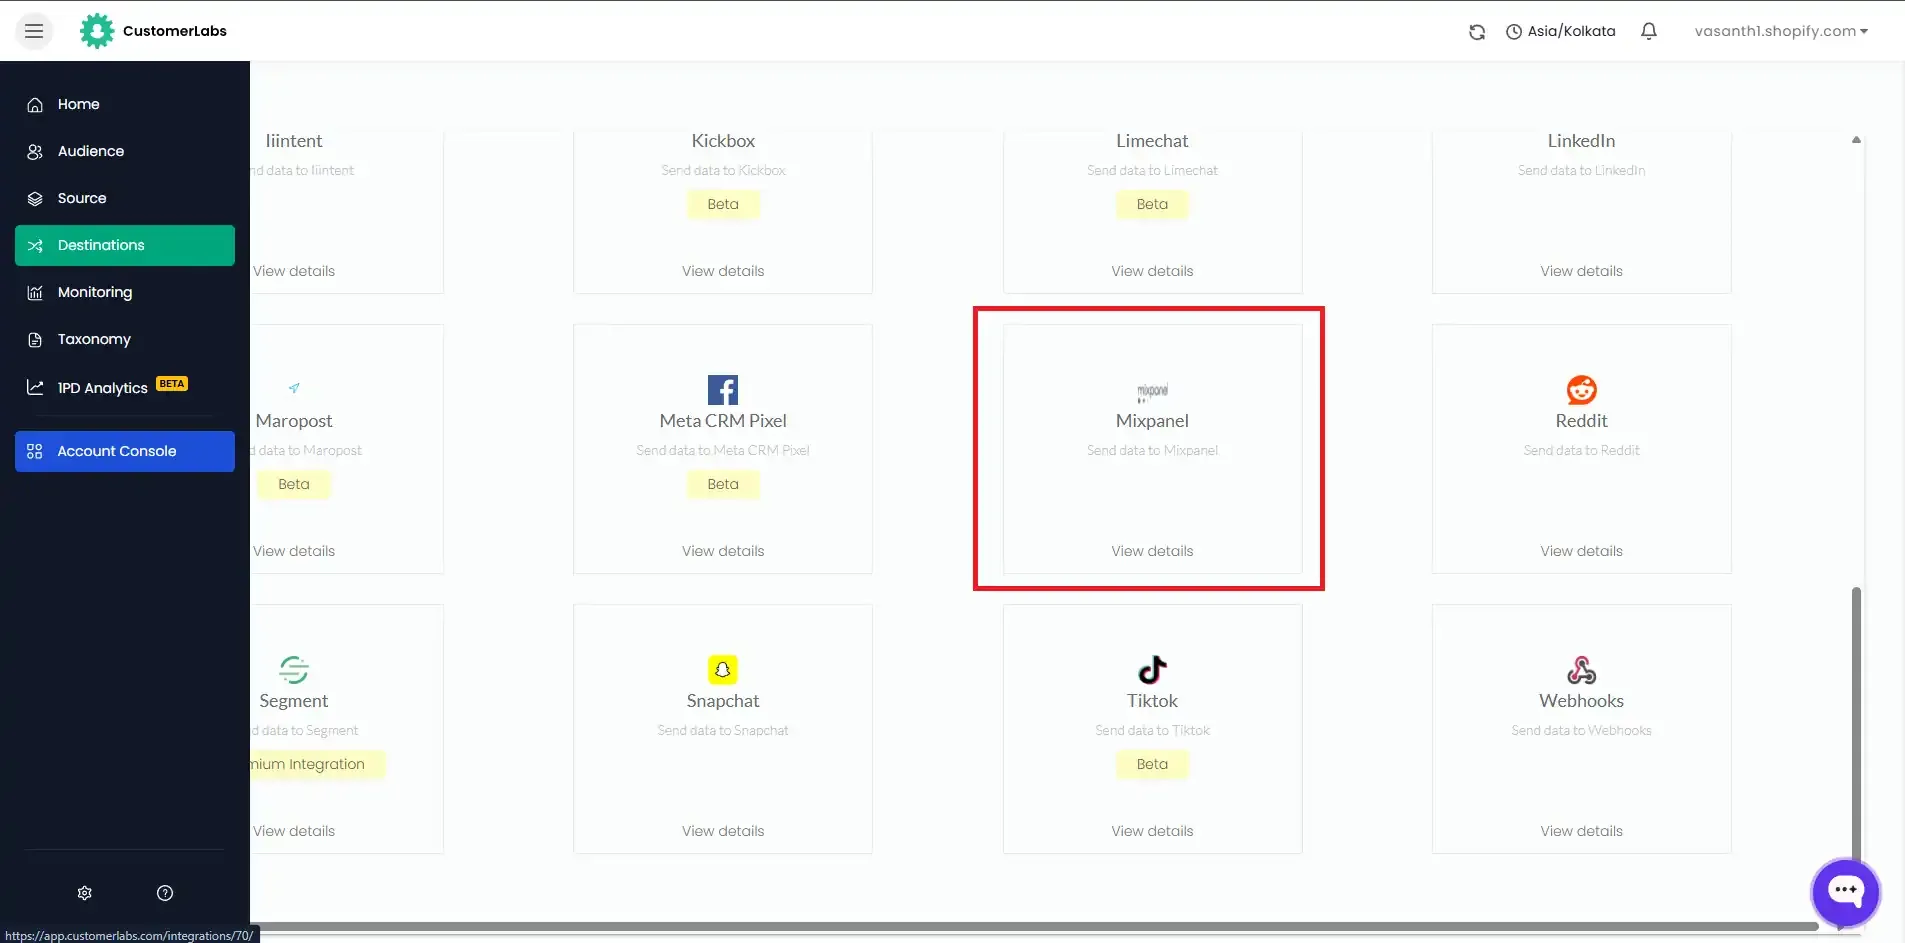
Navigate to Destinations and select All Destinations.
-
Search for Mixpanel and click on it.
-
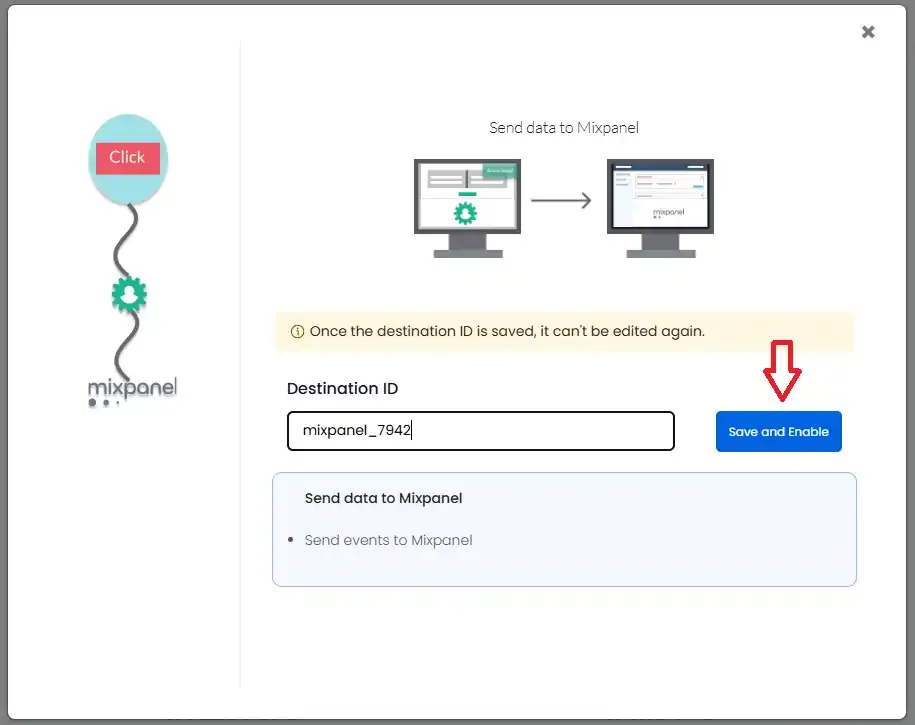
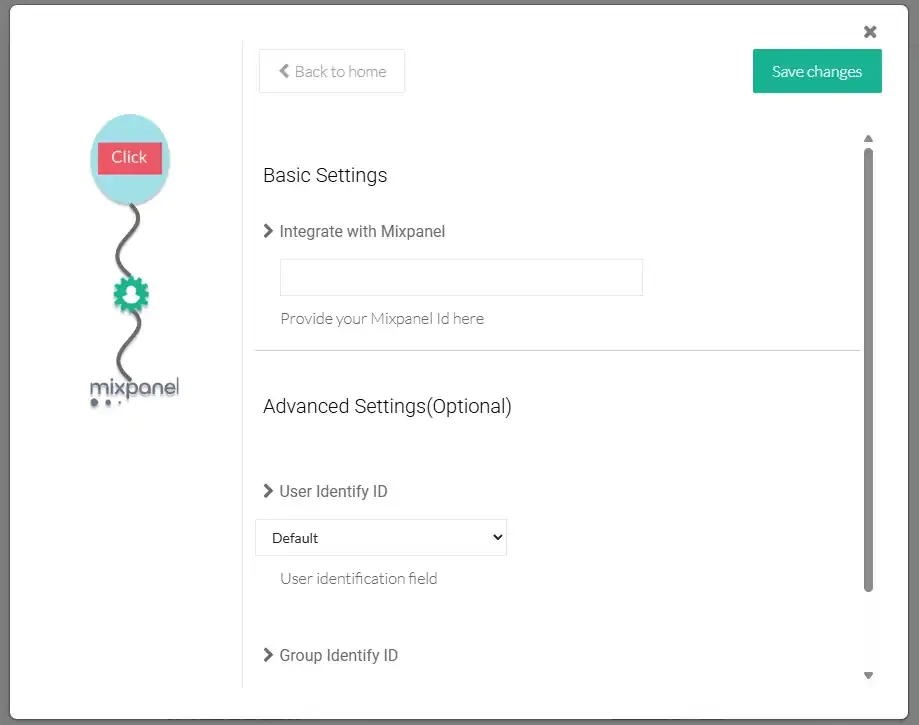
A pop-up screen will appear. Click Save and Enable, then go to Configuration Settings.

-
Paste your Project Token (copied from Mixpanel) into the designated field.
-
Click Save Changes.
Step 3: Set Up Event Workflow
Section titled “Step 3: Set Up Event Workflow”The Event Workflow allows you to choose which events are sent from CustomerLabs to Mixpanel.
-
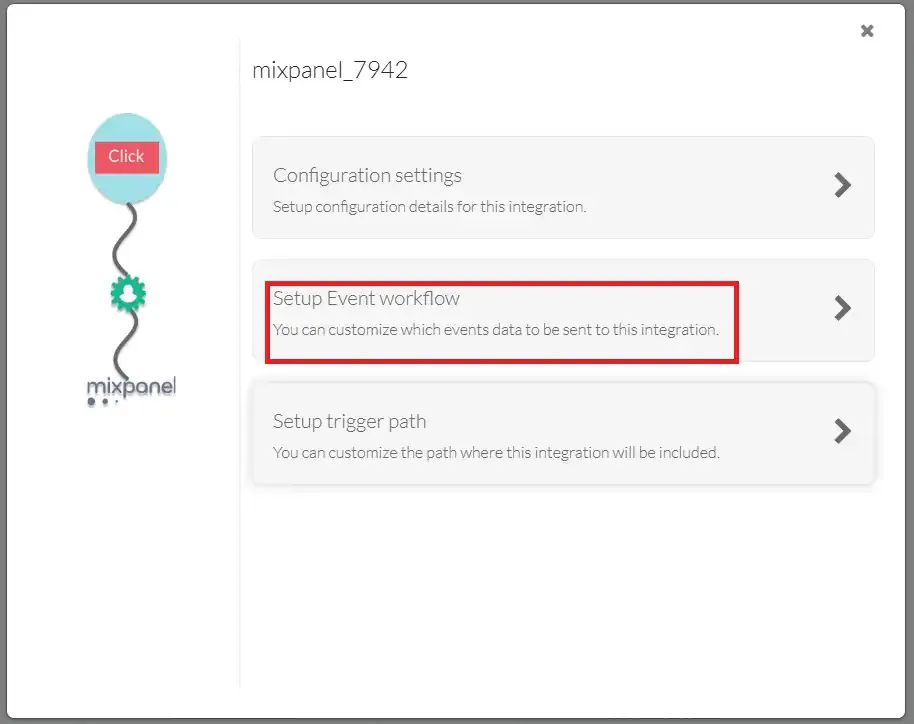
Return to the Mixpanel customization screen in CustomerLabs.
-
Click on Setup Event Workflow.
-
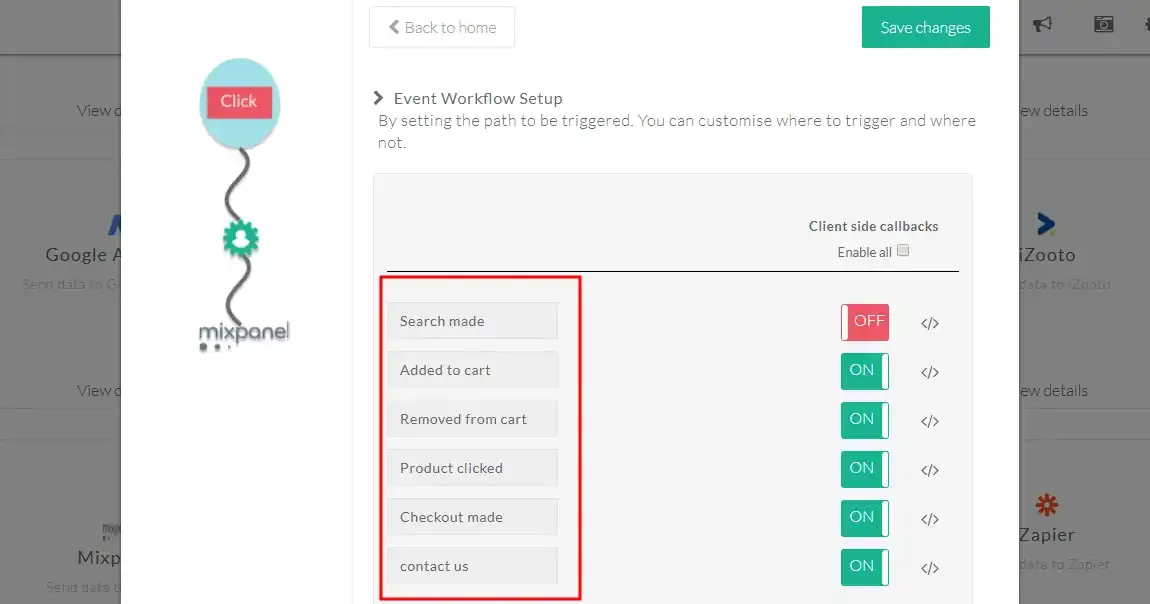
A list of all tracked events will be displayed.
-
Use the On / Off toggle next to each event to enable or disable sending that event to Mixpanel.
-
Click Save Changes when you are done.
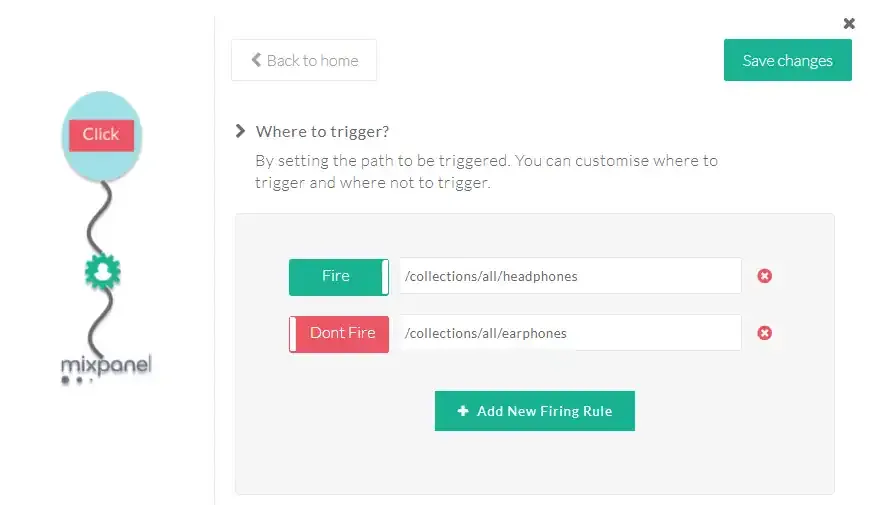
Step 4: Set Up Trigger Paths
Section titled “Step 4: Set Up Trigger Paths”Trigger paths let you control which website URLs should fire or suppress specific events.
-
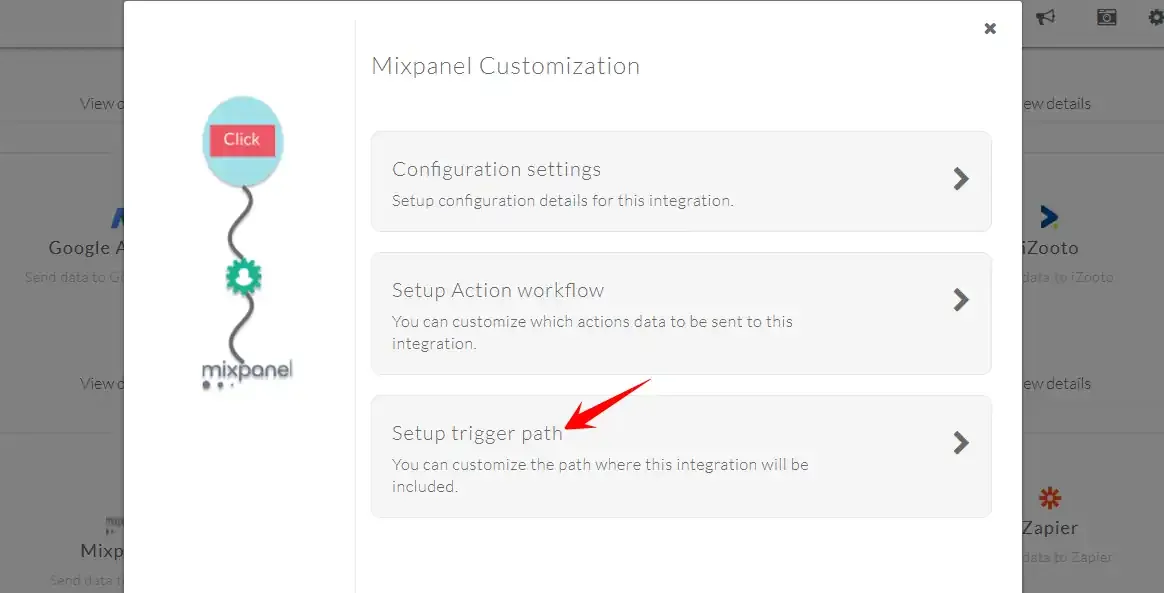
Return to the Mixpanel customization screen in CustomerLabs.
-
Click on Setup Trigger Path.
-
Enter the URLs where you want events to be triggered.
-
Use the Fire or Don’t Fire toggle to set whether the event should be triggered on that path.
-
Click Save Changes once you have configured your firing rules.
Verify the Integration
Section titled “Verify the Integration”After completing the setup, it is important to confirm that data is flowing correctly from CustomerLabs to Mixpanel.
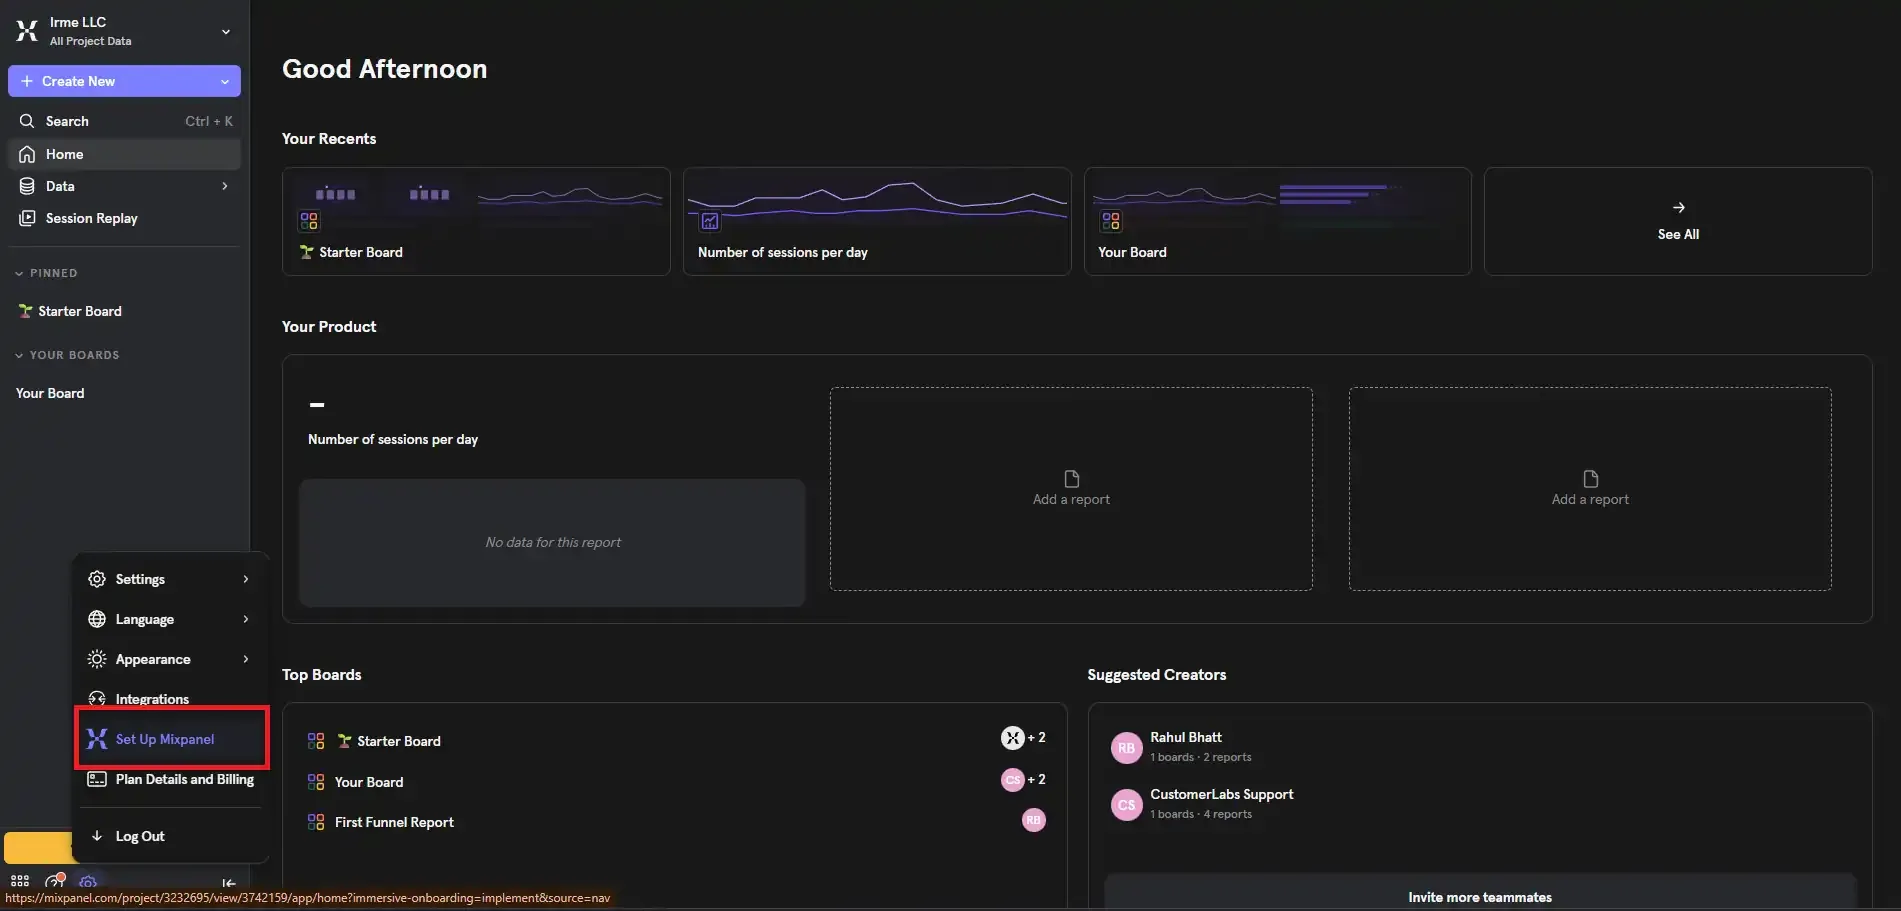
Check Implementation Status
Section titled “Check Implementation Status”-
Go to your Mixpanel account.
-
Navigate to Settings → Set Up Mixpanel.
-
Look for the Check your implementation status indicator. If you see a “Data Connected” message, the integration is working successfully.

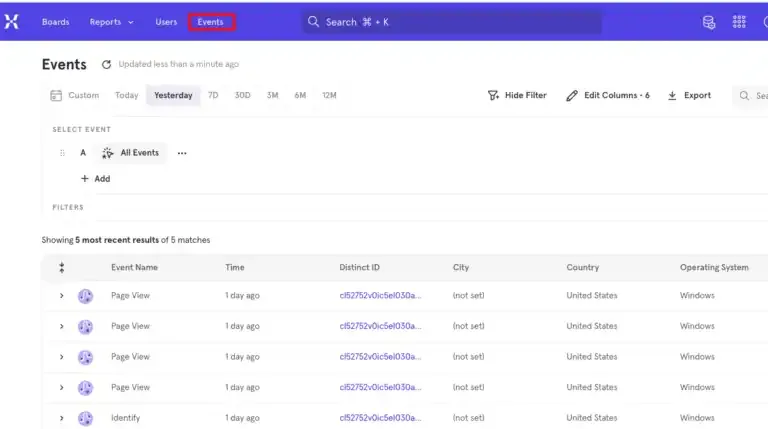
Verify Events
Section titled “Verify Events”-
In Mixpanel, navigate to the Events section.
-
Confirm that the events configured in CustomerLabs are appearing in the event stream.
Troubleshooting
Section titled “Troubleshooting”| Issue | Possible Cause | Solution |
|---|---|---|
| No data appearing in Mixpanel | Incorrect Project Token | Verify the Project Token in CustomerLabs matches the one in Mixpanel Project Settings. |
| Events not showing up | Event workflow is disabled | Go to Setup Event Workflow in CustomerLabs and ensure the desired events are toggled On. |
| Events firing on wrong pages | Trigger path misconfiguration | Review your Trigger Path settings and confirm the correct URLs and Fire/Don’t Fire rules. |
| ”Data Not Connected” status | Integration not saved properly | Re-check the setup steps and click Save Changes after entering the Project Token. |
Summary
Section titled “Summary”| Configuration Item | Description |
|---|---|
| Destination | Mixpanel |
| Required Credential | Mixpanel Project Token |
| Data Sent | Events and event properties |
| Event Control | Toggle individual events On/Off via Event Workflow |
| Path Control | Set Fire/Don’t Fire rules per URL via Trigger Paths |
| Verification | Check “Data Connected” status in Mixpanel Settings |