Systeme.io + CustomerLabs
Systeme.io is an all-in-one marketing platform designed to help businesses create, automate, and optimize their sales funnels. With Customerlabs 1PD Ops, you can configure both client-side and server-side tracking to capture detailed user journeys and form submissions without native platform limitations.
The following guide breaks down how to configure client-side scripts to track interactions, as well as an advanced webhook pipeline for tracking form submissions directly from the funnel.
Part 1: Client-Side Event Tracking Setup
Section titled “Part 1: Client-Side Event Tracking Setup”To track page views and interactions natively on your website:
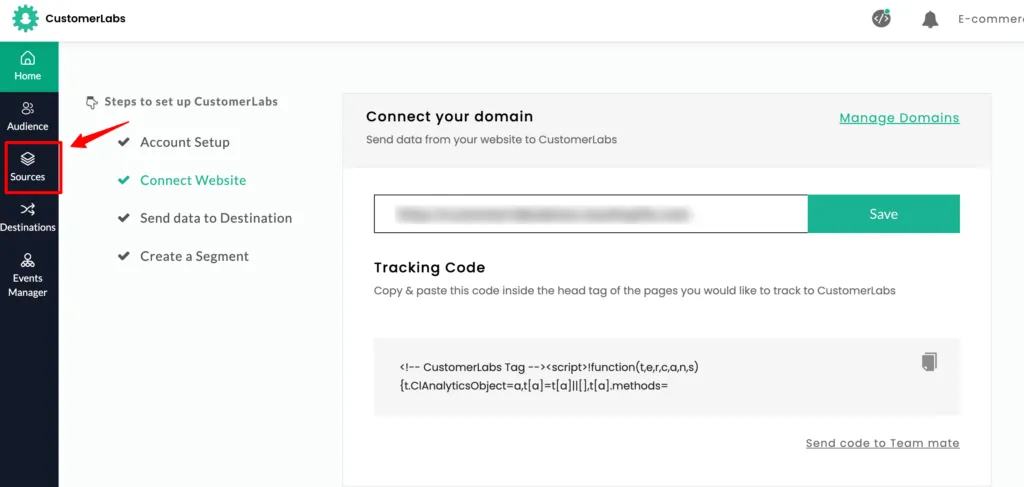
Step 1.1: Install CustomerLabs Base Code
Section titled “Step 1.1: Install CustomerLabs Base Code”To get started, copy the core tracking code from your CustomerLabs workspace under Sources → Connect Website and add it to your Systeme.io global header or funnel tracking settings.
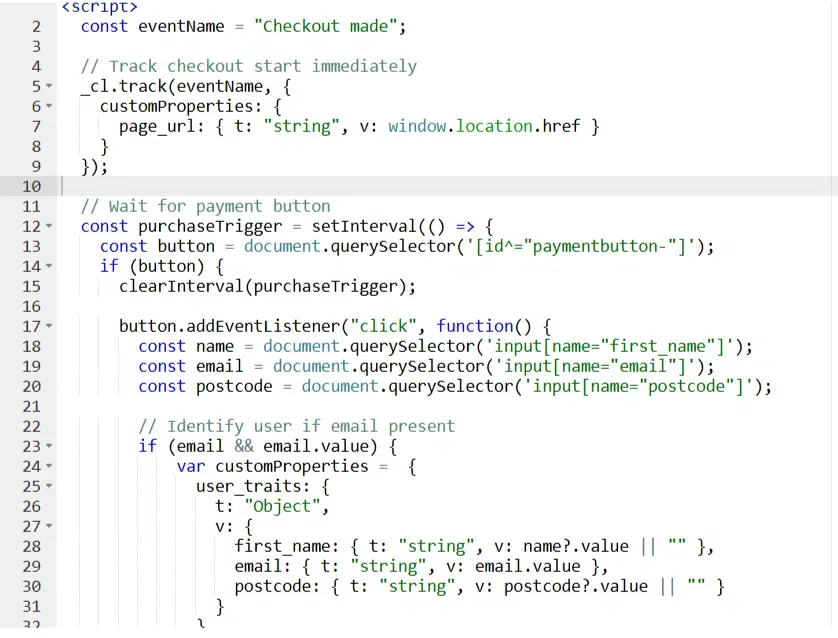
Step 1.2: Implement Action Scripts
Section titled “Step 1.2: Implement Action Scripts”Systeme.io operates with varying field identifiers depending on the sales step. You can deploy custom JavaScript locally to listen for dynamic events like “Checkout made” directly from your funnel elements.
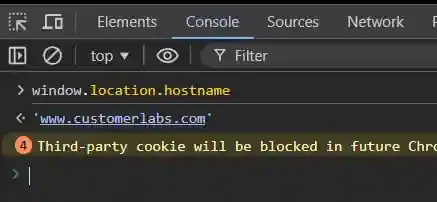
Step 1.3: Verifying Hostnames and Paths
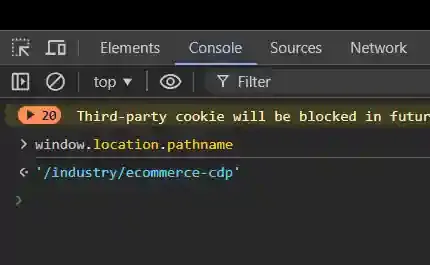
Section titled “Step 1.3: Verifying Hostnames and Paths”For your scripts to operate accurately across funnels, it is advised to map logic by URL paths. Utilize your browser’s Developer Tools (Console) to verify your operating hostname and pathname.
Check Hostname:
Check Pathname:
Step 1.4: Injecting Dynamic Destination Scripts
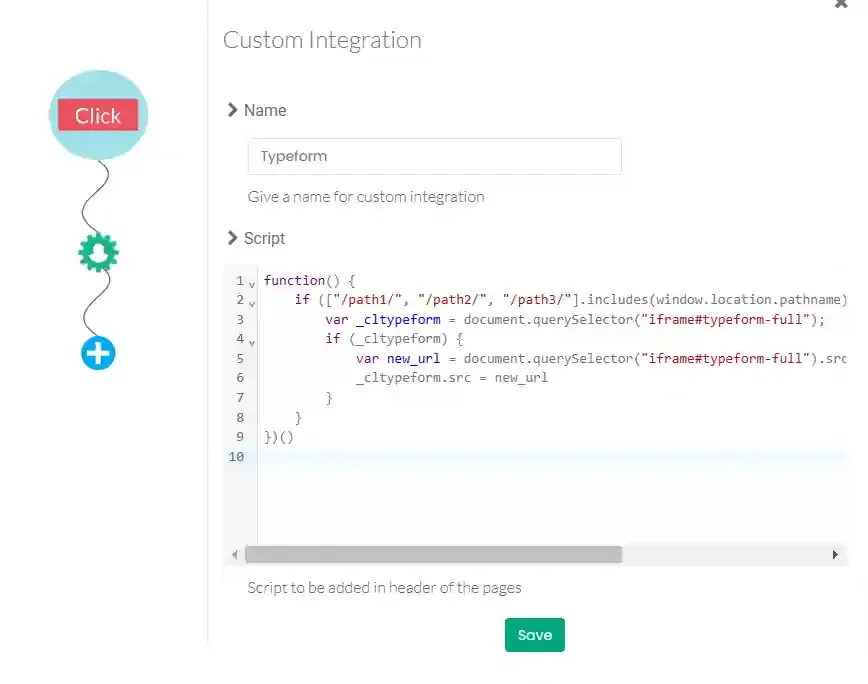
Section titled “Step 1.4: Injecting Dynamic Destination Scripts”If you need to manipulate specific embedded elements across dynamic funnels (such as dynamic form iframes on specific paths), you can enforce script execution universally by setting up a Custom Integration within CustomerLabs Destinations.
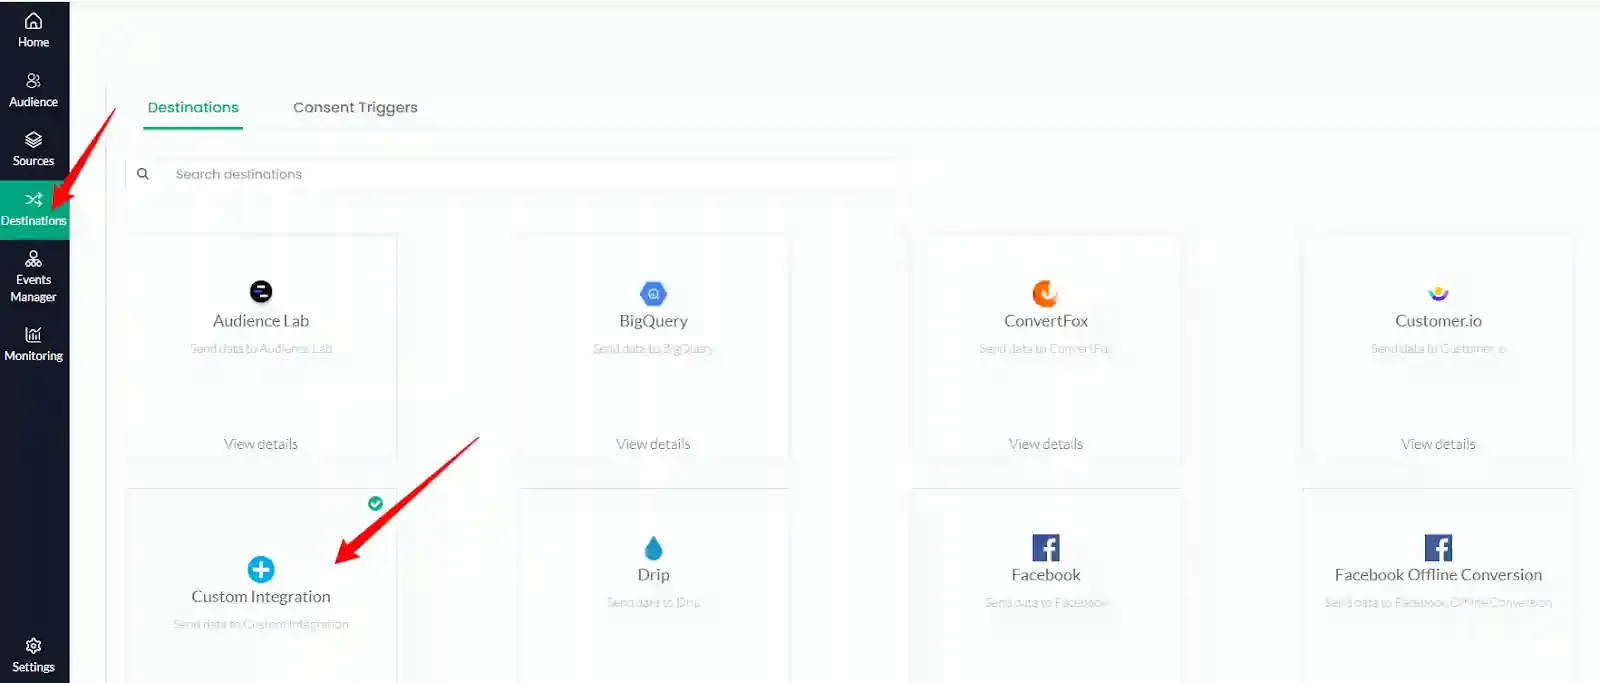
By adding your script targeting logic here, CustomerLabs will automatically deliver this configuration when the appropriate triggers occur.
Part 2: Server-Side Webhook Tracking (Custom Sources)
Section titled “Part 2: Server-Side Webhook Tracking (Custom Sources)”For highly reliable lead capturing and form submission mapping, it is recommended to bridge Systeme.io’s automation functionality directly into CustomerLabs via a Custom Webhook Source.
Step 2.1: Initialize a Custom Webhook Source
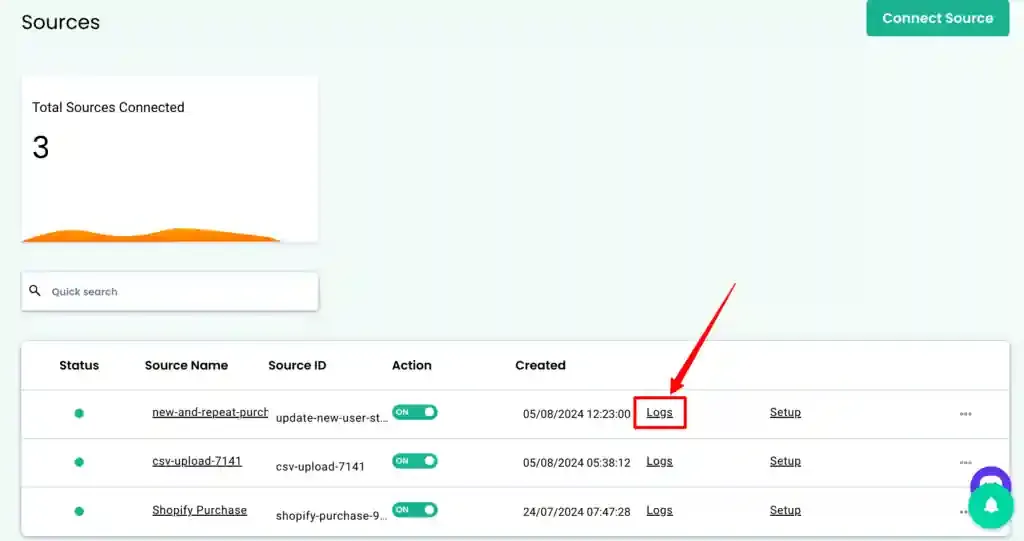
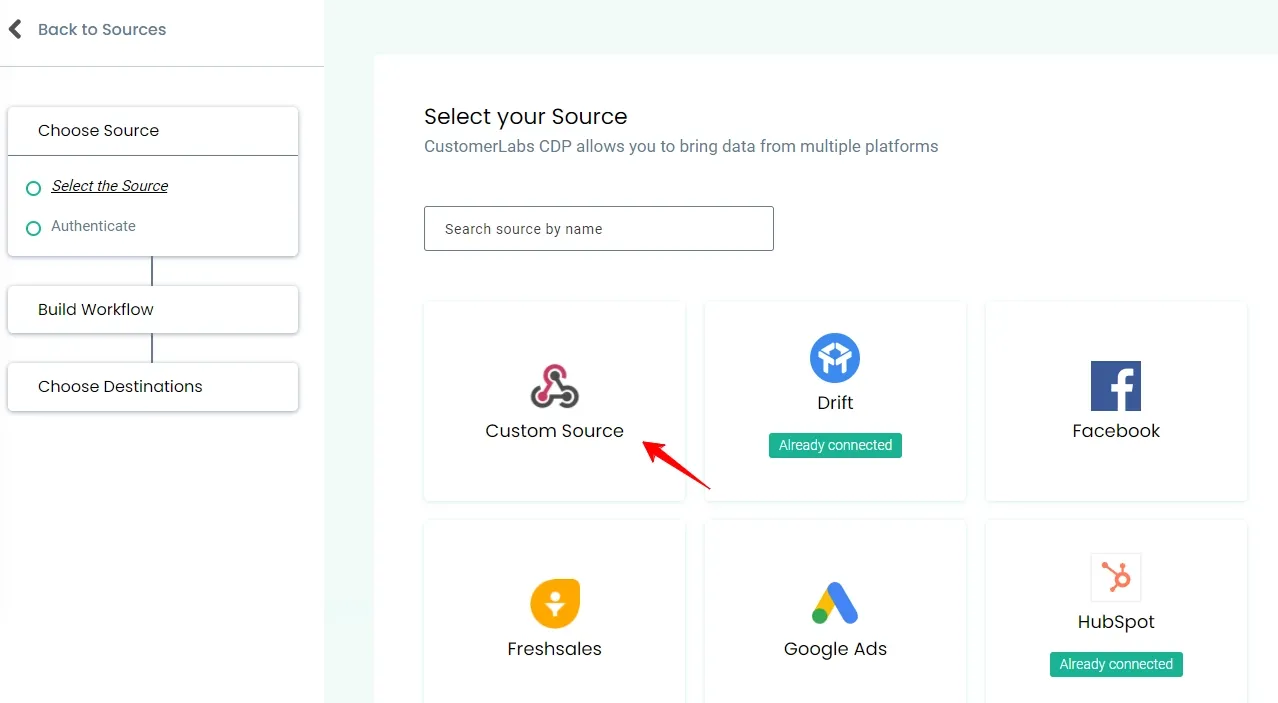
Section titled “Step 2.1: Initialize a Custom Webhook Source”Navigate to the Sources dashboard in CustomerLabs to view your connected tracking sources.
Click Connect Source and select Custom Source as your data ingestion method.
Step 2.2: Create the Form Workflow
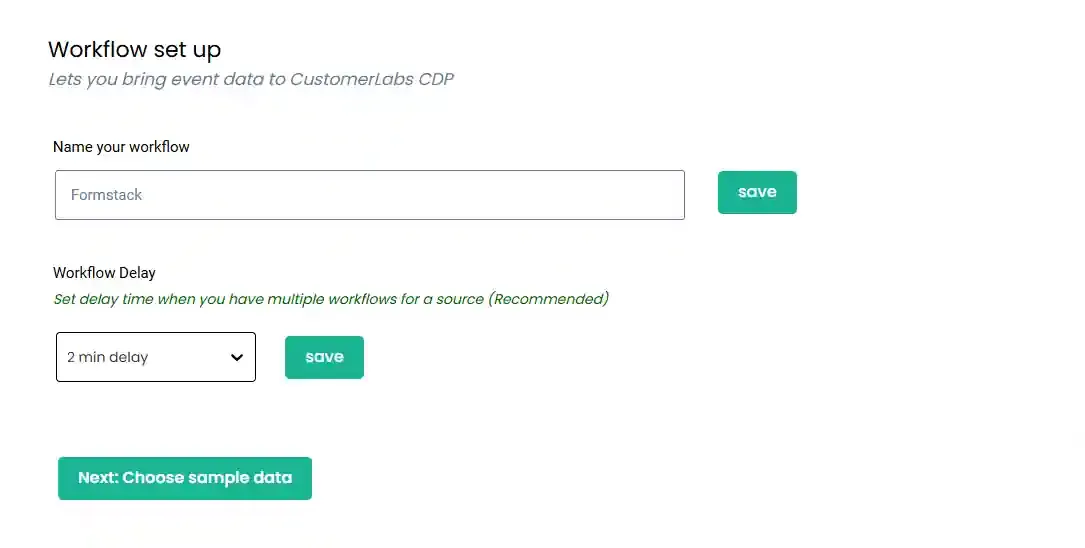
Section titled “Step 2.2: Create the Form Workflow”Create a new workflow connection for the funnel or mechanism emitting the webhook data, providing a descriptive name to easily audit logs later.
Step 2.3: Fetch Form Output Payload
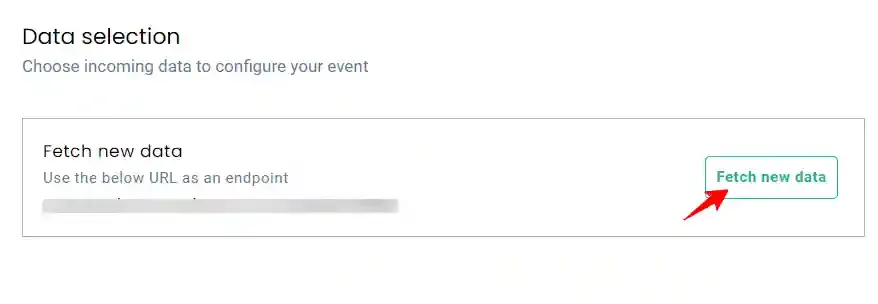
Section titled “Step 2.3: Fetch Form Output Payload”Under the Data selection step, a unique webhook URL endpoint will be generated. Map this endpoint in your Systeme.io automation rules and execute a test submission. Within CustomerLabs, click Fetch new data to receive the webhook payload.
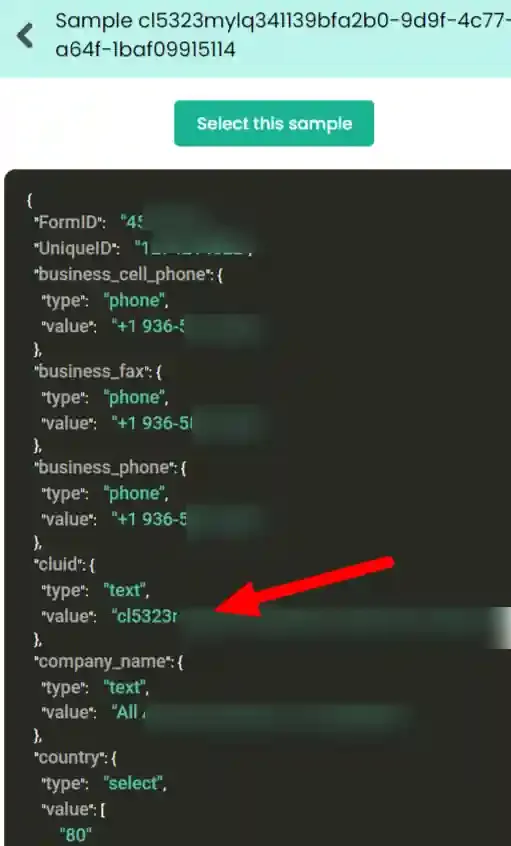
Once triggered, select the incoming sample payload from the list of captured events. Ensure the payload contains the relevant data attributes.
Step 2.4: Submitting as a Mapped Event
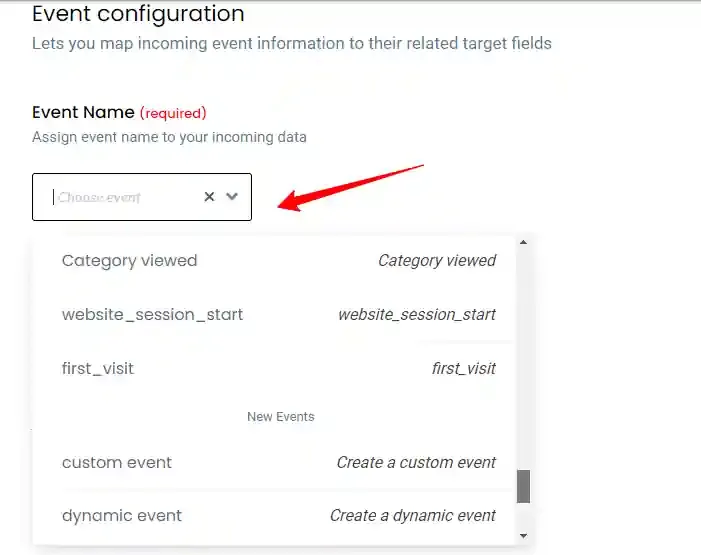
Section titled “Step 2.4: Submitting as a Mapped Event”Navigate to the Event Configuration section.
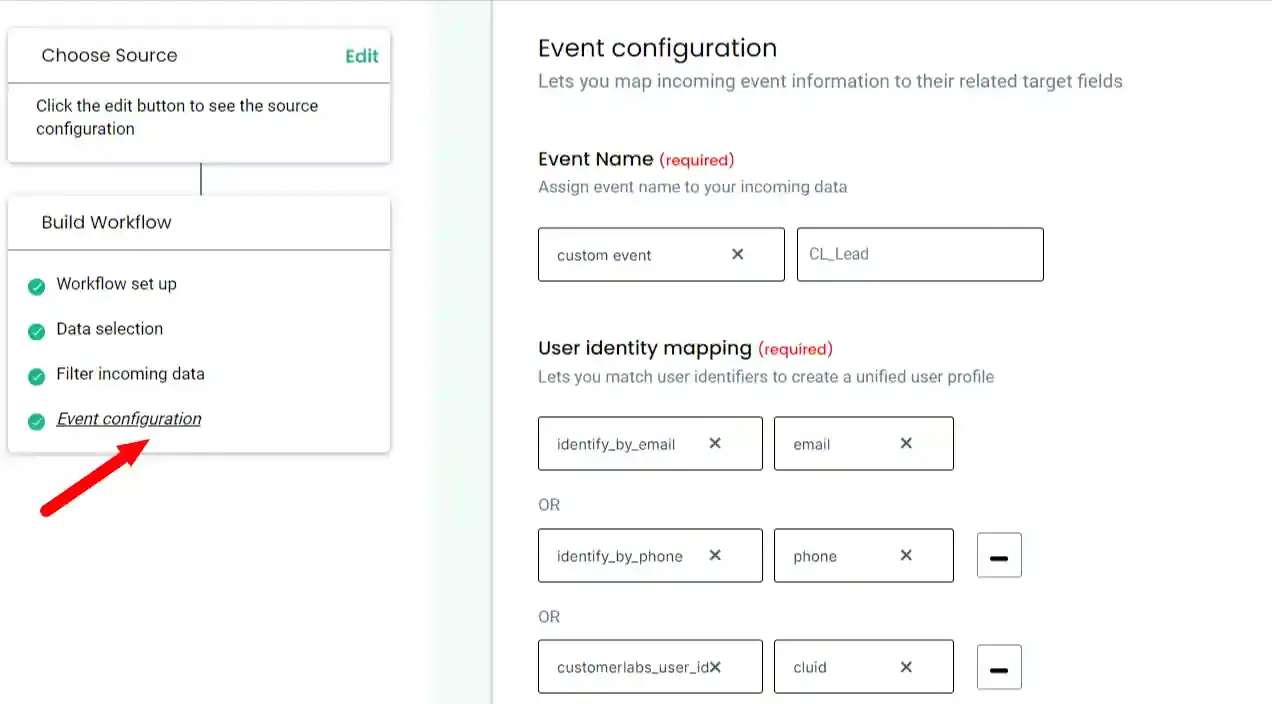
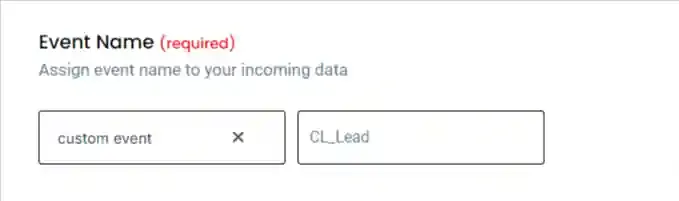
Assign the incoming webhook payload an event structure using the dropdown options. Select custom event and map the value appropriately, for example to CL_Lead.
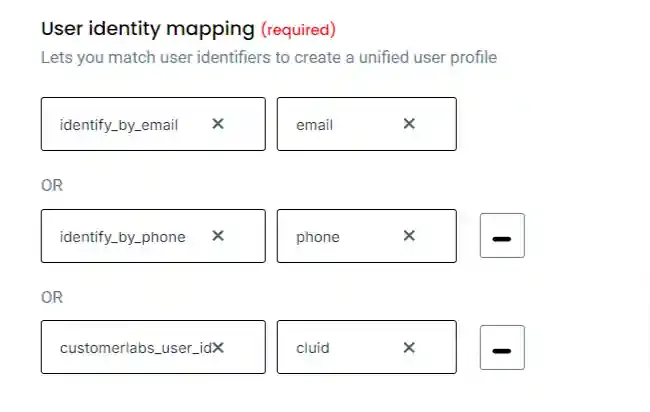
Step 2.5: User Identity and Trait Mapping
Section titled “Step 2.5: User Identity and Trait Mapping”To ensure data points correctly associate with unique customer profiles, configure your User identity mapping. Map incoming identifiers like email or phone to standard CustomerLabs identity fields.
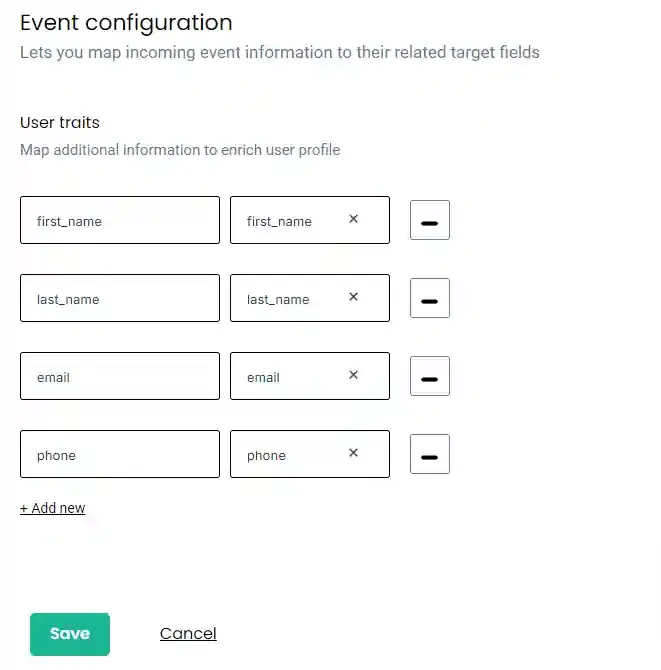
Click on Map other attributes and expand the User traits section to enrich profiles further.
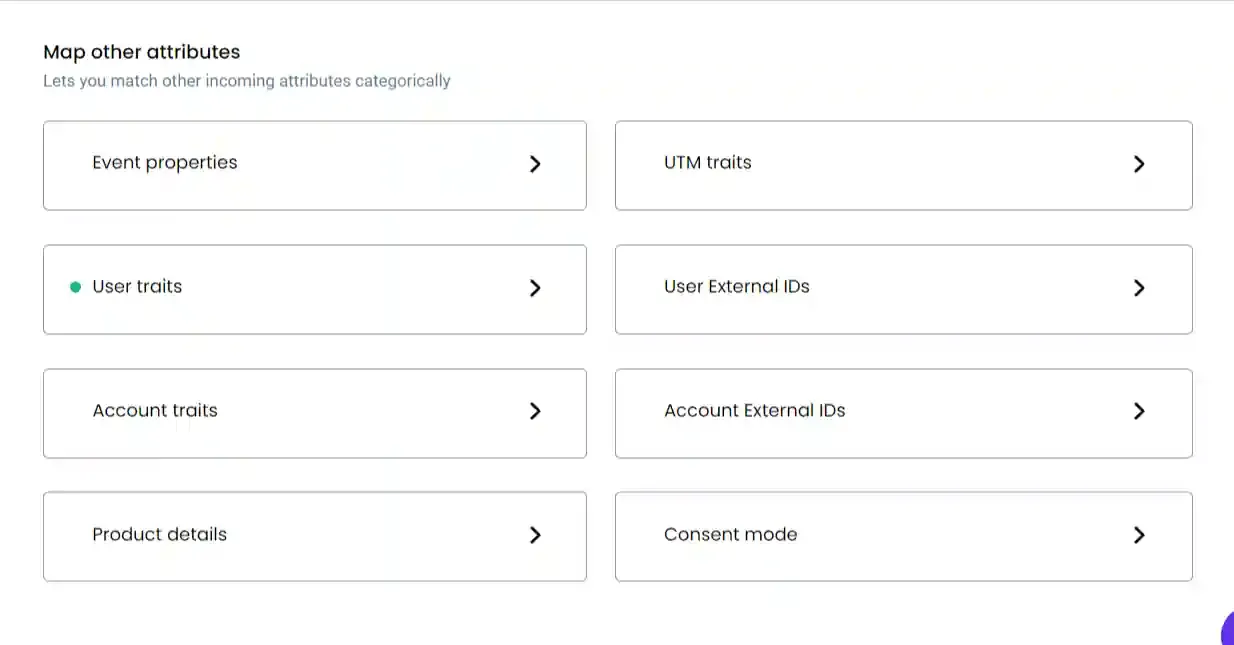
Map your secondary webhook fields, such as first_name and last_name, to fully enrich the new user’s profile with the form answers.
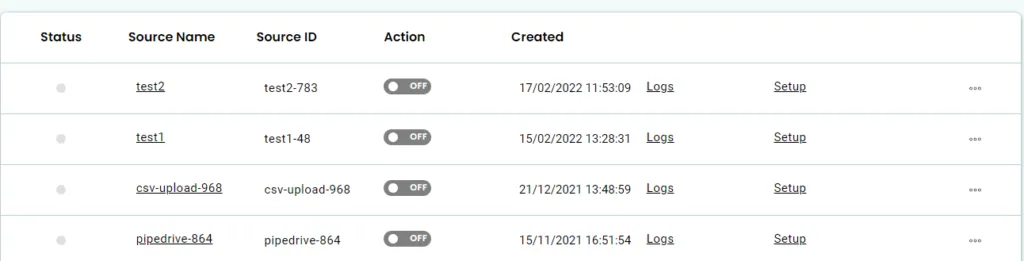
Step 2.6: Audit Workflow Logs
Section titled “Step 2.6: Audit Workflow Logs”Once configuration is finalized and saved, you should continuously monitor the health of your webhook streams. Navigate to the Source listing and review the Logs tab to verify that production events are correctly flowing and parsing without errors.