Customerlabs CDP Documentation
CustomerLabs CDP + Drip Integration
Drip is the first ECRM–an Ecommerce CRM designed for building personal and profitable relationships with customers at scale. With CustomerLabs + Drip Integration take your customer experience to the next level by delivering the right message at the right time
1. Log-in to your Drip account.
2. Go to Settings → Account → Account ID
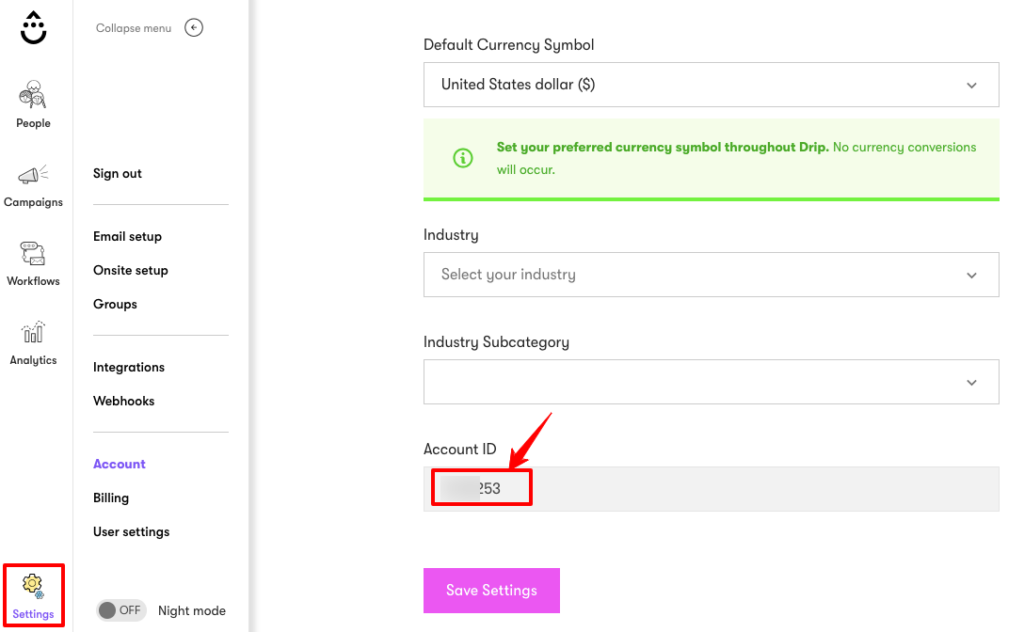
3. Find your Drip account ID and copy it to your clipboard. (You will need this later in this integration)
4. Login to your CustomerLabs account
5. Navigate to the “Destinations” section, search for Drip and select it.
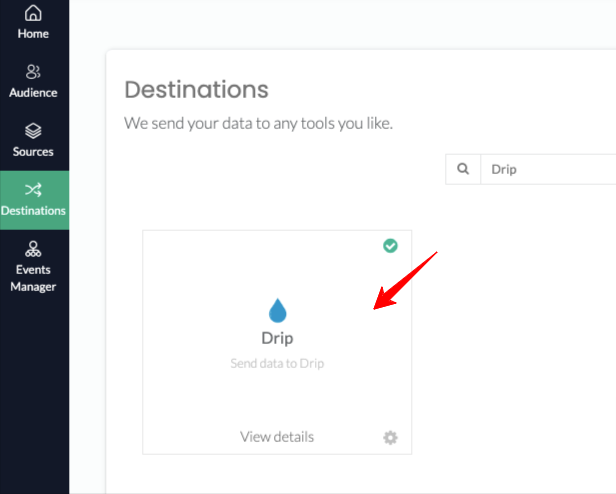
6. You will see a pop-up screen
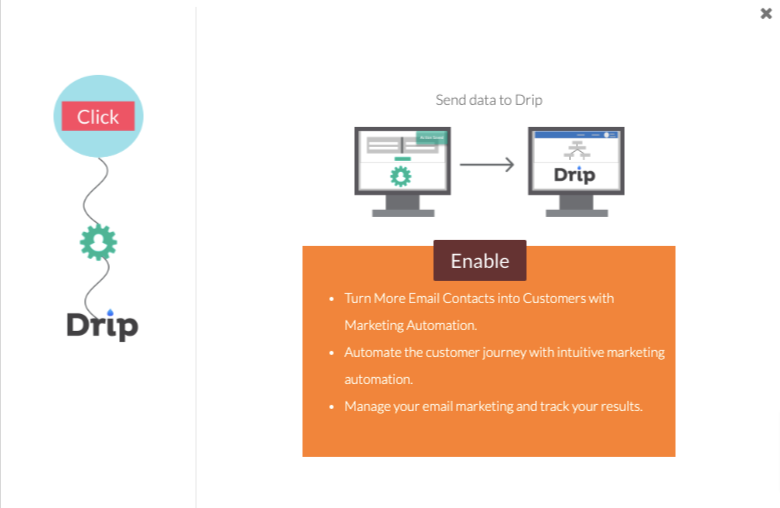
7. Click on “Enable” and go to “Configuration Settings”
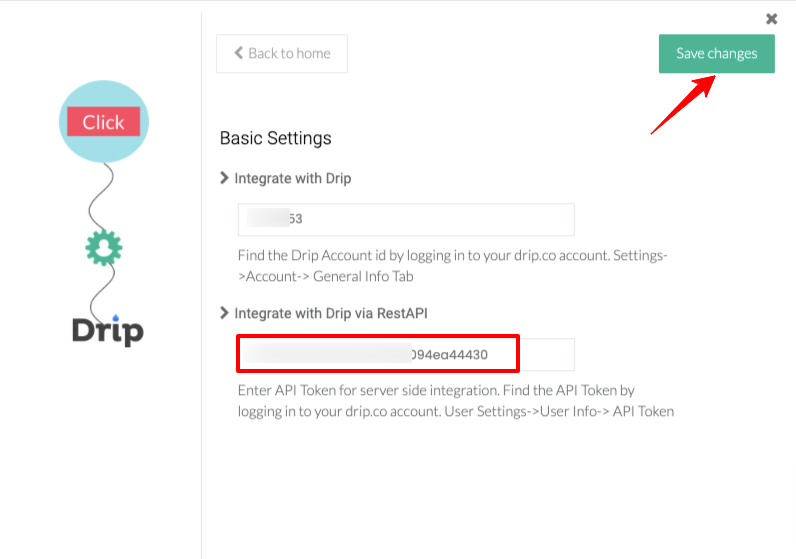
8. Now paste the copied Drip account ID
9. Click “Save changes” once you are done.
10. Go back to your Drip account. Go to Settings → Users → API token
11. Copy the API Token
12. Now go back to CustomerLabs account → Destinations → Drip → Configuration settings
13. Paste the API token under Integrate with Drip via RestAPI → Save changes
14. Return back to the Drip Customization screen and click on Setup Event workflow.
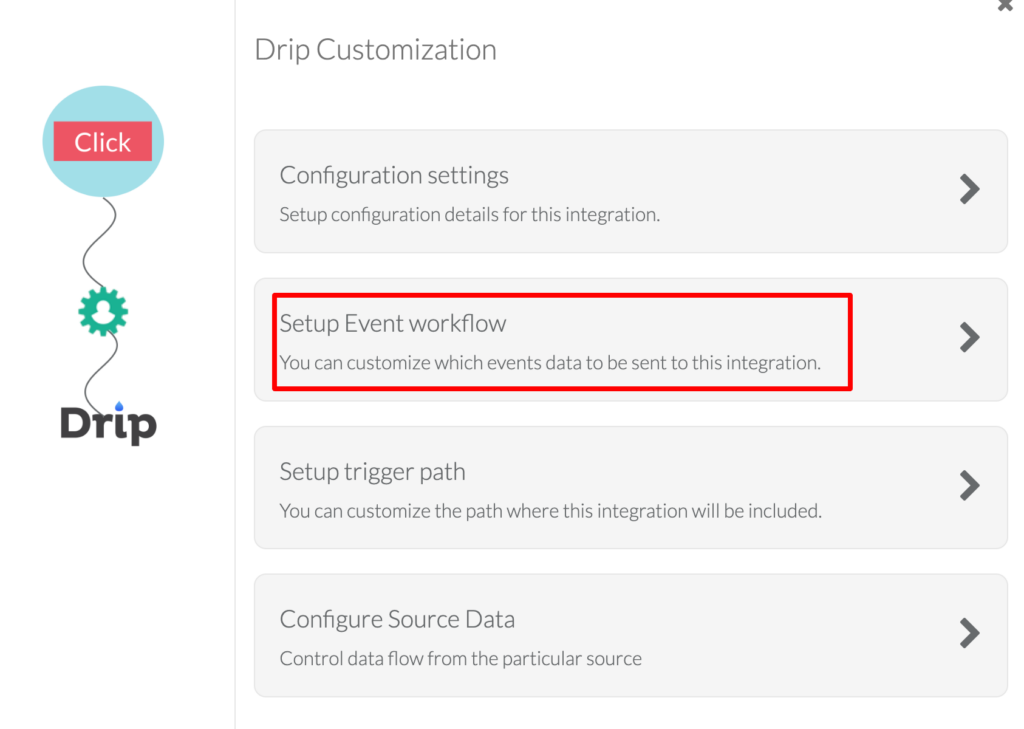
15. The list of events which you had previously configured appears with both server-side and client-side callback functions. Using callback functions you can modify and send data to destinations (eg: Drip).
16. The server-side callback function lets you modify data which you would like to send from your server to Drip. Whereas with the client-side callback functions, we collect users’ event data from their browser and you are free to modify data before sending it to the Drip.
17. Switch between “On and Off” to select whether the events should be sent or not and Click on Save changes
18. Once you are done, next step is to set trigger path.
19. Return back to Drip Customization screen and click on setup trigger path option.
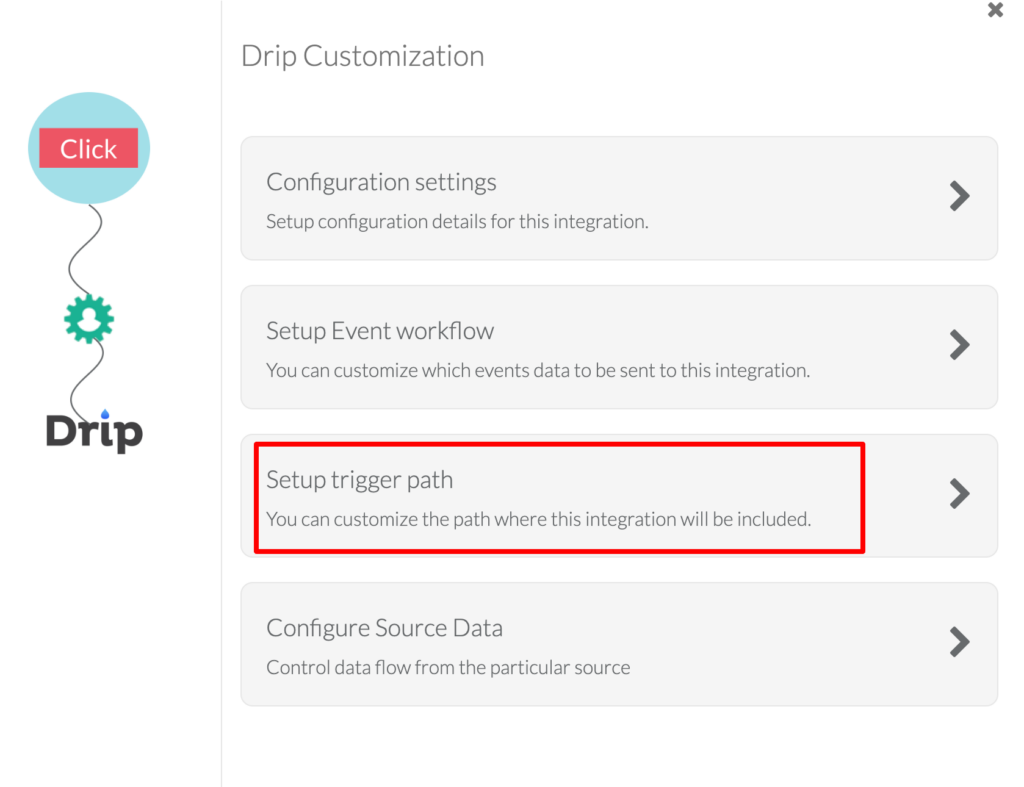
20. Enter the URL and switch between “Fire” or “Don’t Fire” to select whether the path should be triggered or not.
21. Once you set a firing rule as the paths to be triggered, click on Save changes.
22. You have now integrated Drip with your CustomerLabs account.


