Customerlabs CDP Documentation
Quick Start Guide
Welcome to CustomerLabs!
This document guides you through the entire product setup to achieve the milestones required to reach your GOAL – Adding 10% to your revenue.
The 3 major milestones are:
Milestone 1 – Higher Event Match Quality
Milestone 2 – Increased audience match rate of up to 3X times
Milestone 3 – Scale your retargeting campaigns with a larger audience size
To achieve each milestone, you will have to set up a few things without writing any code or any help from your developer.
Milestone 1 – Higher Event Match Quality
This milestone can be achieved by collecting your first-party audience data and unifying them which improves the Event Match Quality when data is sent to ad platforms.
This is divided into 3 steps:
1. Connect your website
2. Connect Sources
3. Connect Destinations
1. Connect your website
You will have to connect your website by installing CustomerLabs tracking code on your website header section.
The tracking code is available on the Home Page as shown below
If you have an e-commerce platform, we have direct integration with platforms like:
If you have already set up Google Tag manager for your website, you can integrate by authenticating your Tag manager account and providing access to the GTag container. Refer to our developer documentation for configuring events through data layers.
For other custom websites, you can simply install the code on your website header to start tracking the users.
Verify tracking code
After installing the tracking code, if you want to verify whether you have installed it correctly, follow the steps below.
1. Go to your website where you have installed the code → Right click anywhere on the screen and select “Inspect” – Click on “Sources” on the top pane
2. If you see the highlighted text below, it means you have successfully installed the tracking code
Once you’ve connected your website, you will start receiving the website events like pageview, product viewed, added to cart, etc which you can see in the Events manager
2. Connect Sources
Sources let you bring in data from the cloud apps like CRM, live chat, ad platforms, other marketing tools and servers that you currently use and unify the data to create 360-degree user profiles.
Connect your sources (if any) from the Sources page by following the steps below
- From the Main menu, go to Sources → Search and select the source you want to connect from the list of available sources
- If you want to connect a different source other than the available sources, you can choose the option Custom source

Frequently used Sources:
Some of the frequently used sources are Salesforce, Facebook, Freshsales, iiintent.io, Hubspot, Intercom, Drift, Pipedrive
Check out the Source documentation to know more about sources.
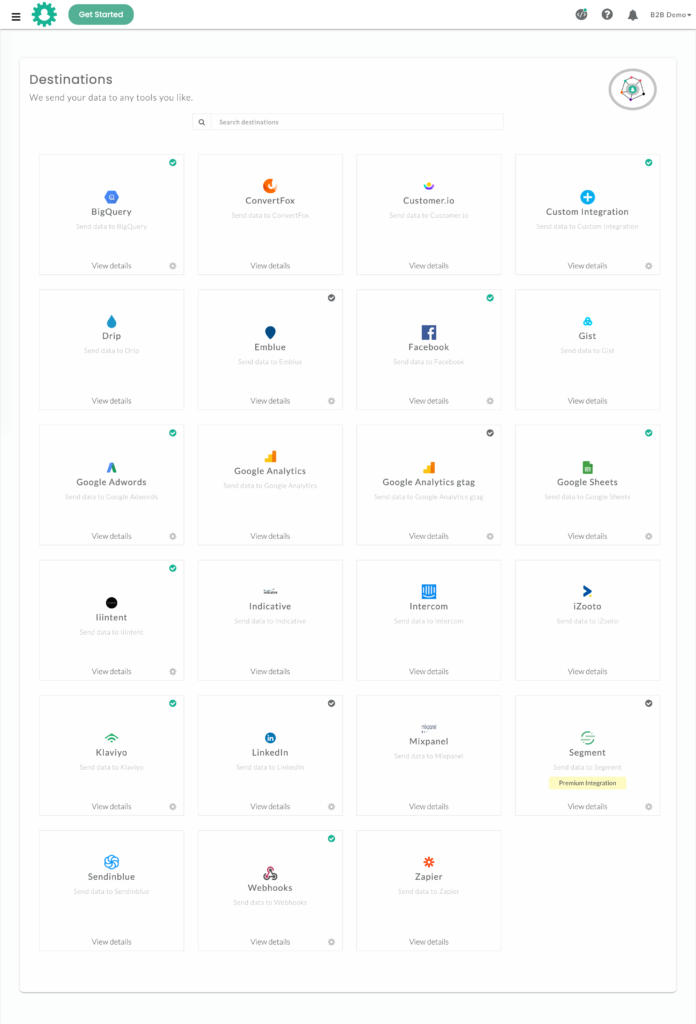
3. Connect Destinations
Destinations are external platforms like Facebook Ads, Google Ads, Google Analytics (GA4), LinkedIn, BigQuery and other similar marketing tools to which you send the unified first-party data to power your marketing performance.
You need to connect the destinations to start collecting the external IDs like Facebook login ID, Google Click ID, Google Analytics client ID, etc which helps in improving the Event Match Quality (EMQ) for your website events.
Connect the destinations by following the steps below:
- From the Main Menu, go to Destinations → Search and select the destination you want to connect
- Go to Configuration Settings → Authenticate your destination account and other necessary settings for the destination
- Go to Setup Event Workflow → Turn on the toggle for the events you want to send to the destination
Here are the 3 major destinations to connect to achieve the milestone:
1. Facebook Ads
2. Google Ads
Milestone 2 – Increased audience match rate of up to 3X times
This milestone is achieved by creating audience segments in CustomerLabs based on the first-party user behavioral data collected and sync these segments with ad platforms (destinations) like Facebook and Google.
This is divided into 2 steps:
1. Create behavioral segments
2. Sync these segments with Facebook & Google
1. Create behavioral segments
You can segment the users who visited your website or the users you pulled in from Source(s) based on their behavioral activity using our Audience Segmentation engine.
Follow the steps to create a segment of audience
1. From the Main Menu, go to Audience Page → Create new segment
2. You can filter the users based on user/group traits, demographics, technology, UTM parameters, etc and events which are nothing but users’ actions on your website or events configured from a Source.
(Note :To filter data based on above mentioned criteria. Click here)
3. You can further filter the users based on frequency, date range, event attributes, etc.
4. Save the segment by setting up a refresh interval.
Recommended segments to achieve the milestone:
- Page viewed 180 days (Refresh interval – 3 days)
- Viewed content/product not Purchased180 days (Refresh interval – 3 days)
- Added to cart not purchased 180 days (Refresh interval – 3 days)
- Purchased 180 days (Refresh interval – 3 days)
Read more about segmentation here.
2. Sync these segments with Facebook & Google
The next step is to sync the created audience segments with Facebook Ads, Google Ads, and Google Analytics (GA4) for an increase in match rates.
There are 2 types of sync:
- List Sync (Sync the audience as a list)
- Event Sync (Sync the audience as a website event)
You can sync the audience with platforms based on your requirements.
We suggest syncing the audiences with
- Facebook as an event sync (For 3X higher match rates for both known and anonymous users)
- Google Ads as a list sync (For up to 100% match rates for known and 3X higher match rates for anonymous users)
- Google Analytics as an event sync (For 3X higher match rates for both known and anonymous users)
Milestone 3 – Scale your retargeting campaigns with a larger audience size
The last milestone can be achieved by using these audiences in our retargeting campaigns.
By collecting your first-party data from your website, you have access to both known and anonymous users’ data who are usually stuck in the mid-funnel that can be nurtured and pushed into to bottom-of-the-funnel.
The size of this mid-funnel audience is huge (almost 98% of website visitors are anonymous) and here’s how this helps in your retargeting campaigns.
When you have a larger audience size, your time frame to scale your campaign budget and experiment with your audience becomes long. With enough time for you to test the campaign strategy, you can gradually scale the campaign and optimize it.
Since these are your mid-funnel high-intent users, the conversion rate is higher which in turn reduces the costs and improves your ROAS.
If you face any difficulties setting up the product, you can reach out to us.

