Customerlabs CDP Documentation
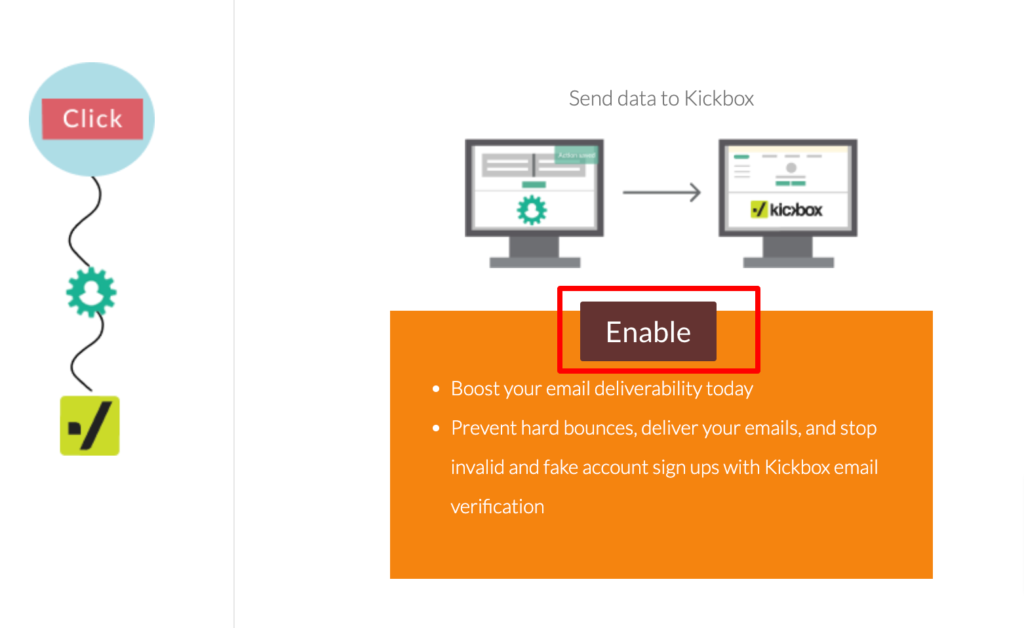
CustomerLabs + KickBox Integration
With CustomerLabs + KickBox integration, streamline your email outreach while ensuring every message lands in the right inbox, eliminating frustration for both you and your recipients.
With this integration enabled, you can send the email addresses for verification to KickBox and bring back the verified email addresses back to CustomerLabs via Source.
Here are the steps to integrate KickBox with CustomerLabs:
Authentication
1. Login to your CustomerLabs account
2. Go to Destinations page → Search and Select Kickbox

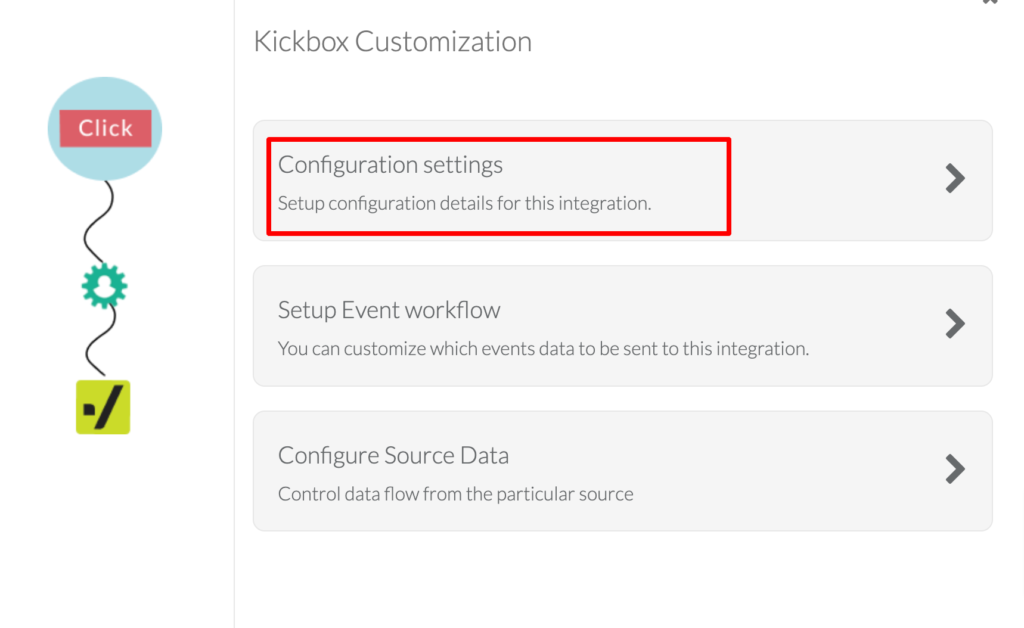
3. Enable KickBox → Go to Configuration settings
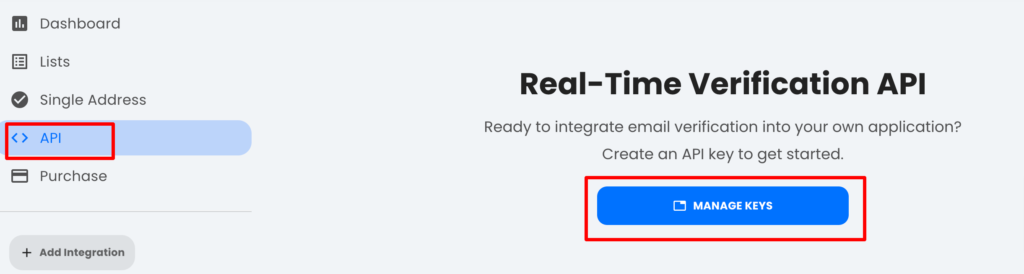
4. Go to your KickBox account → API Keys → Manage Keys
5. Click on “+” icon on the top right to create a new API key

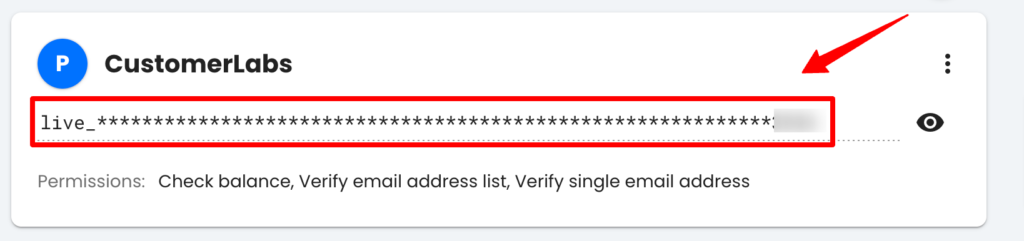
6. Name the Key as “CustomerLabs” and choose “Production Mode”
7. Give all permissions by ticking all the checkboxes (Check balance, Verify email address list, Verify single email address) as shown in the image below.
8. Click on “Create”

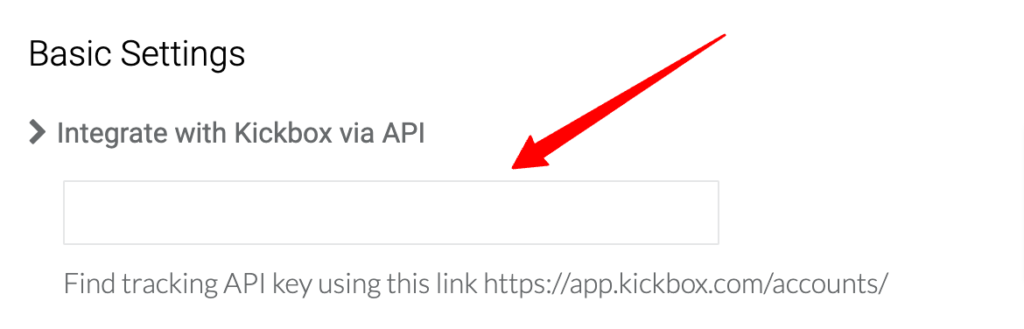
9. Copy this new API Key and go back to CustomerLabs account → Destinations → KickBox → Configuration settings.
10. Paste this API key in the box below “Integrate with Kickbox via API” and click on “Save Changes”
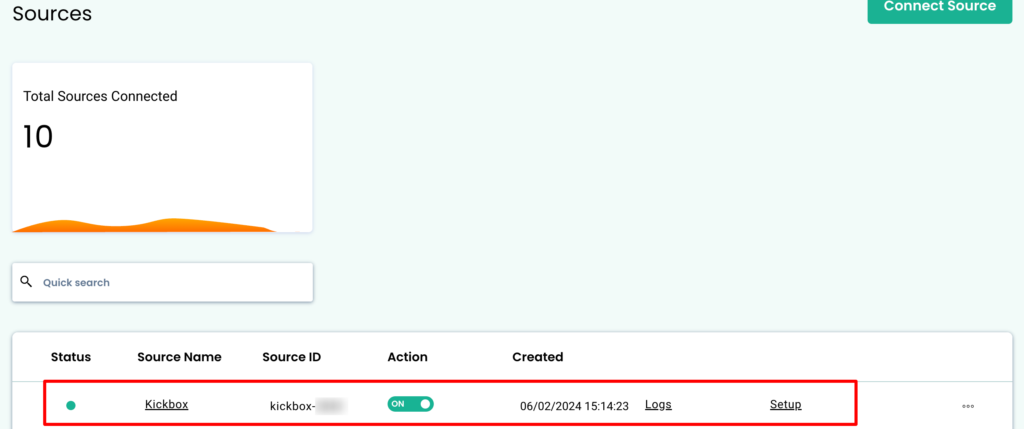
This would automatically create a KickBox Source connection without any workflows (Sources → KickBox)
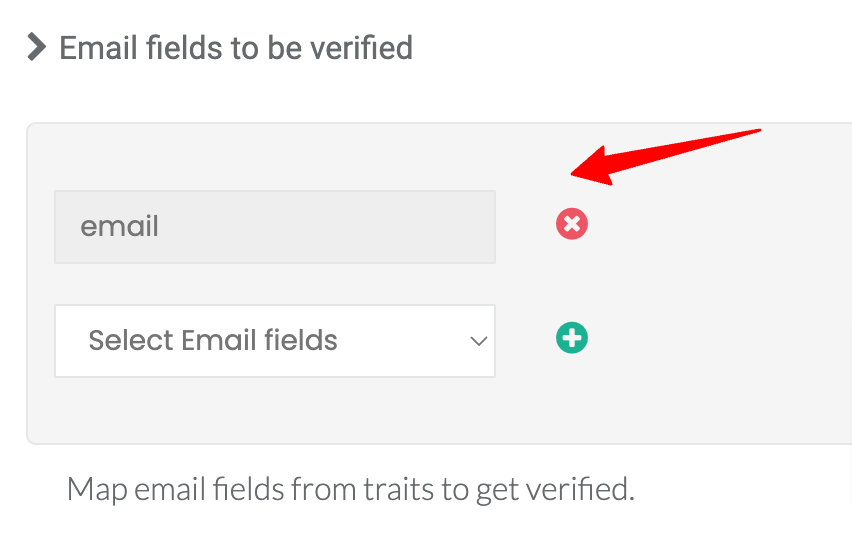
Map the Email fields to be verified (sent through events)
For the email verification to be done for the events, you should map the required email fields that you want to send to KickBox for verification.
For example, you’re bringing a list of users from your CRM through an event “Lead” and the email ids are brought in under “email_id” field name. This “email_id” field should be added to be verified by KickBox otherwise the email id captured under this field won’t be sent to KickBox for verification.
Likewise, if you’re tracking a form submission event “form_submitted” and the email id is captured under “email” field name, then this field should be added to send the data to KickBox for verification.
Steps to map email fields:
1. Go to Destinations → KickBox → Configuration Settings
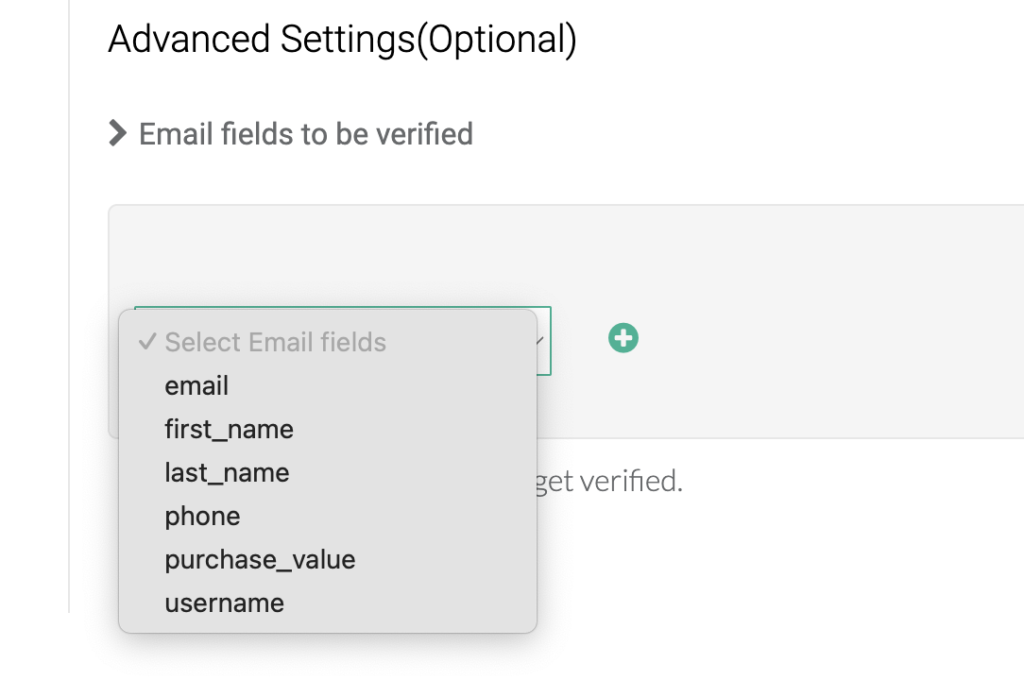
2. Under Advanced Settings, add the required email fields (based on the above use cases, you will add “email_id”, and “email” fields) from the drop-down to be sent to KickBox. (You can add a maximum of 3 email fields) → Click on “+” icon to add → Save changes
For each of the email fields added a new workflow is created in draft mode in the KickBox Source.
The configuration at the destination level for KickBox is done.
To configure and bring in the verified data back into CustomerLabs, check the already created KickBox Source integration.
KickBox Source – To bring in verified data
KickBox Source is configured to bring in the verified data along with other additional information for each of the email addresses sent to KickBox via the destination.
Note: KickBox Source is automatically created when you authenticate KickBox destination by adding the API key.
The draft workflows are also created automatically based on the email fields added in the Destination configuration respectively.
The draft workflows are named after the email fields you have added in the destination configuration. For example, for the email field – “email” added, the workflow would be named as “destination_email”

Now, you have to complete the source configuration and activate the workflows. Here are the steps to configure and complete the Source and workflow setup.
1. Go to Sources → KickBox → Edit the workflow created in draft
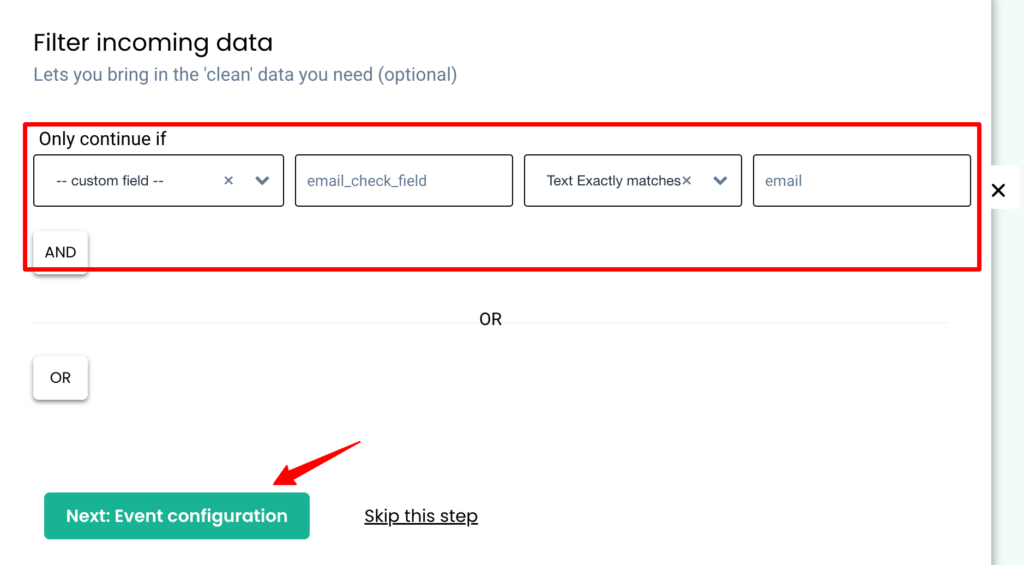
2. Sample data and Filter Incoming data are already configured here. DO NOT modify anything here and skip to Event Configuration by clicking on “Next: Event Configuration”
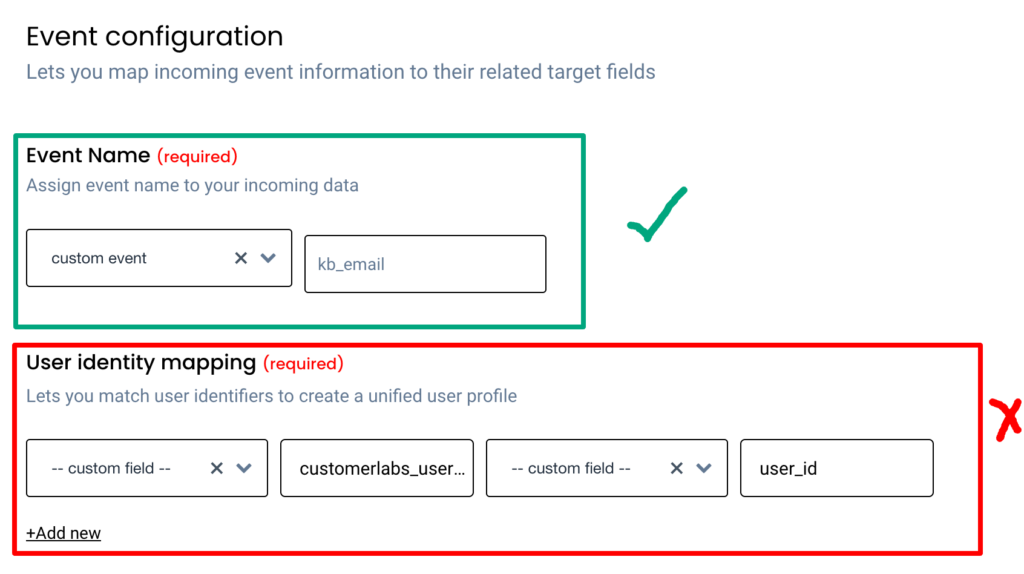
3. In the Event Configuration screen, you can modify the custom event name as how you want, but DO NOT modify the User identity mapping section as it enables the system to unify the data inside CustomerLabs.
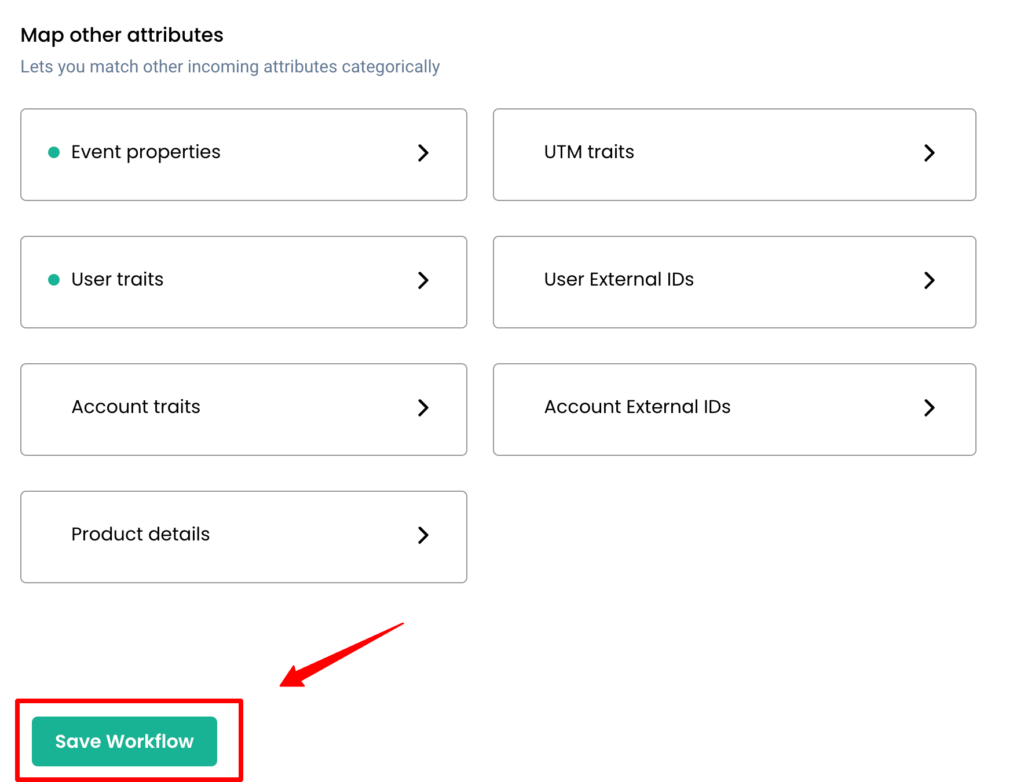
4. In the Event properties under Map other attributes section, some event properties are added by default. It is recommended not to modify any default properties added here.
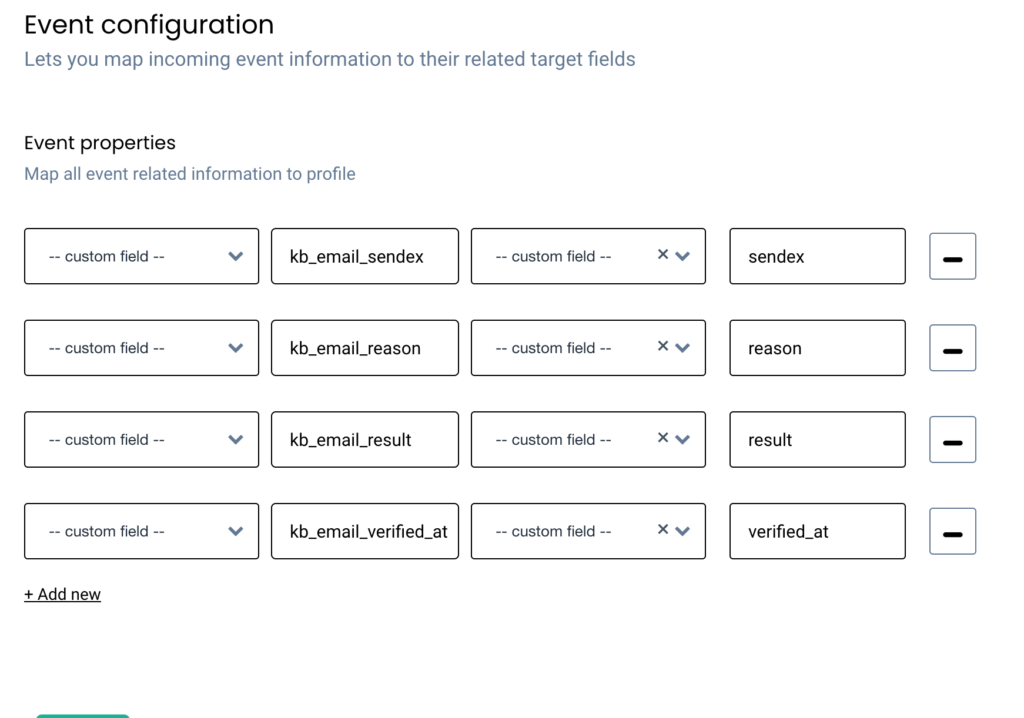
Details specific to the verification event that are received are added here.
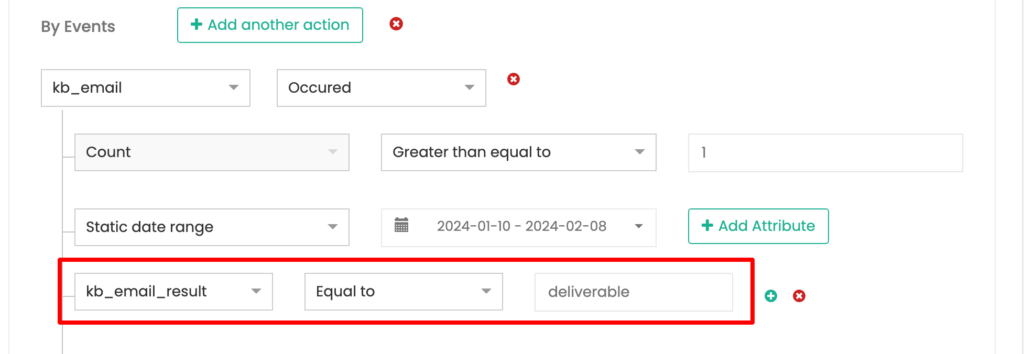
These events properties can specifically be used to filter the users whose email address status is “deliverable” that is captured by the field “kb_email_result” in this case. You can filter these users and create an audience. For such purpose mapping these event properties are important.
5. Similarly in the User Traits section, mandatory fields are already mapped. DO NOT modify the existing mappings, but you can add more if you want to.
Details specific to the user such as a field that says if the user’s email id is verified or not is added as user trait.
You can use this user traits field to filter the users whose email id is verified (i.e “true”) and create a segment of audience.

6. After updating the event configuration, click on “Save workflow” to activate the workflow.
Similarly, you can follow the same procedure for other draft workflows created based on the number of email fields you have added in the destination configuration.
After setting up the workflows and activating them, go to Destinations → KickBox → Setup Event workflow → Turn on the toggle for the events that have the email fields to be sent and verified → Save Changes
Now, the email fields will be verified and brought back into CustomerLabs system through KickBox Source as events. These events can also be used to create audiences for your email marketing or other purposes as required.
Send a list to KickBox for verification
You can also sync a list with KickBox at regular intervals to verify the email addresses.
Make sure, you have authenticated KickBox in the destinations before syncing the list.
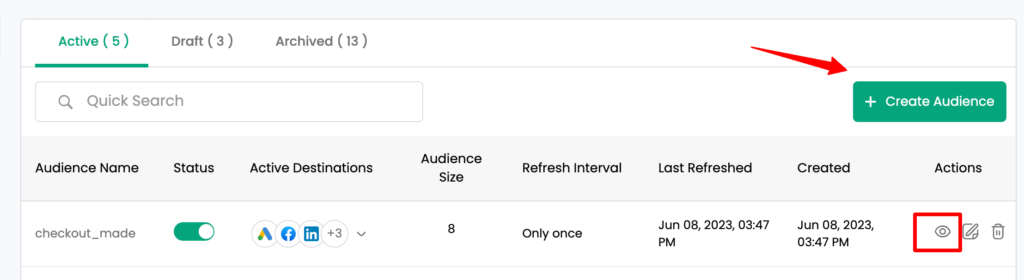
1. If you already have an audience to be synced, you can click on View audience icon otherwise create a new audience list to be synced with KickBox.
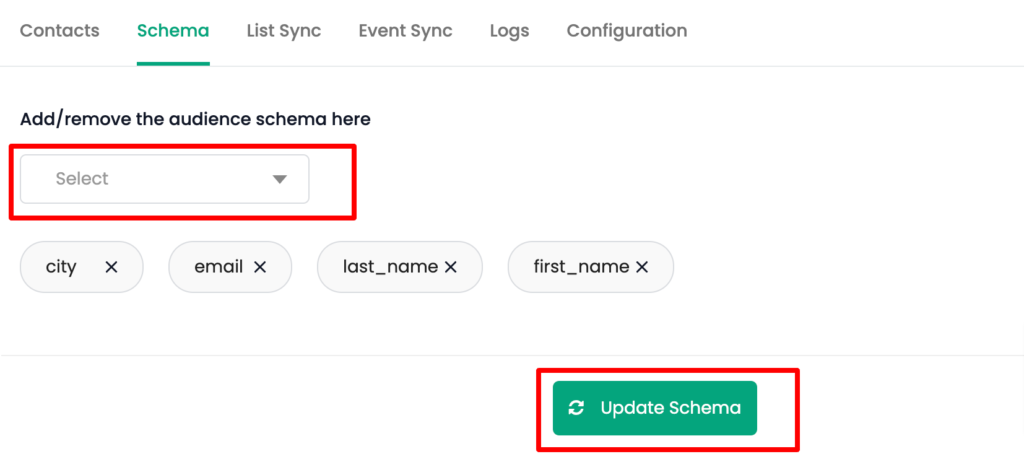
2. Go to “Schema” tab and add the email fields that you want to verify from the drop-down → Update Schema
3. Go to “List Sync” tab of the audience → KickBox → Map Schema

4. Map the email fields added in step 2 above, with the KickBox Email fields (Email 1, Email 2, Email 3) respectively → Save Schema (You can add a maximum of 3 email fields)
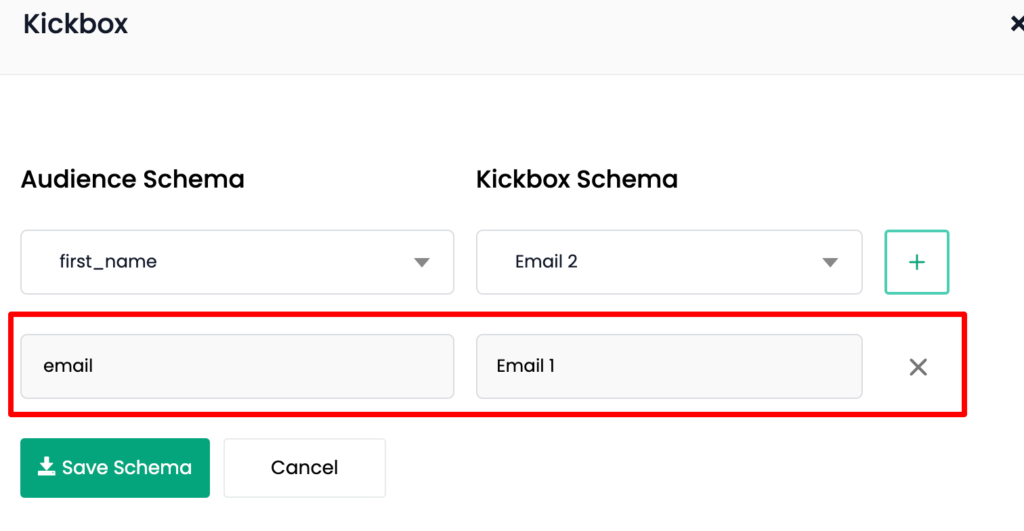
5. Turn on the toggle for KickBox and click “Instant Sync”

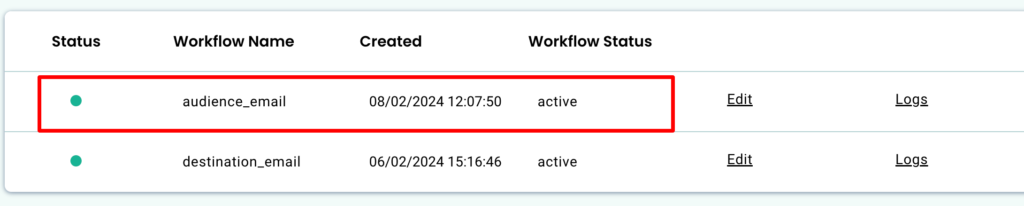
For each of the email fields mapped under Map Schema, a new workflow is created in draft mode under KickBox source.
The draft workflows are named after the email fields you have added in the Schema mapping. For example, for the email field – “email” added, the workflow would be named as “audience_email”
This list will be sent to KickBox for verification. To bring back the verified data, you need to configure the Source and Workflow as required.
You can configure the source and workflow as mentioned in the instructions above.


