CustomerLabs + Intercom Integration
Intercom is a messaging platform built on live chat, behavioral email, and automation. CustomerLabs unifies customer data across sources — including user traits and behavioral events — and forwards it to Intercom, enabling personalized engagement throughout the customer lifecycle.
Prerequisites
Section titled “Prerequisites”- An active CustomerLabs account
- An active Intercom account with admin access to the installation settings
Retrieving the Intercom App ID
Section titled “Retrieving the Intercom App ID”Access the Installation Settings
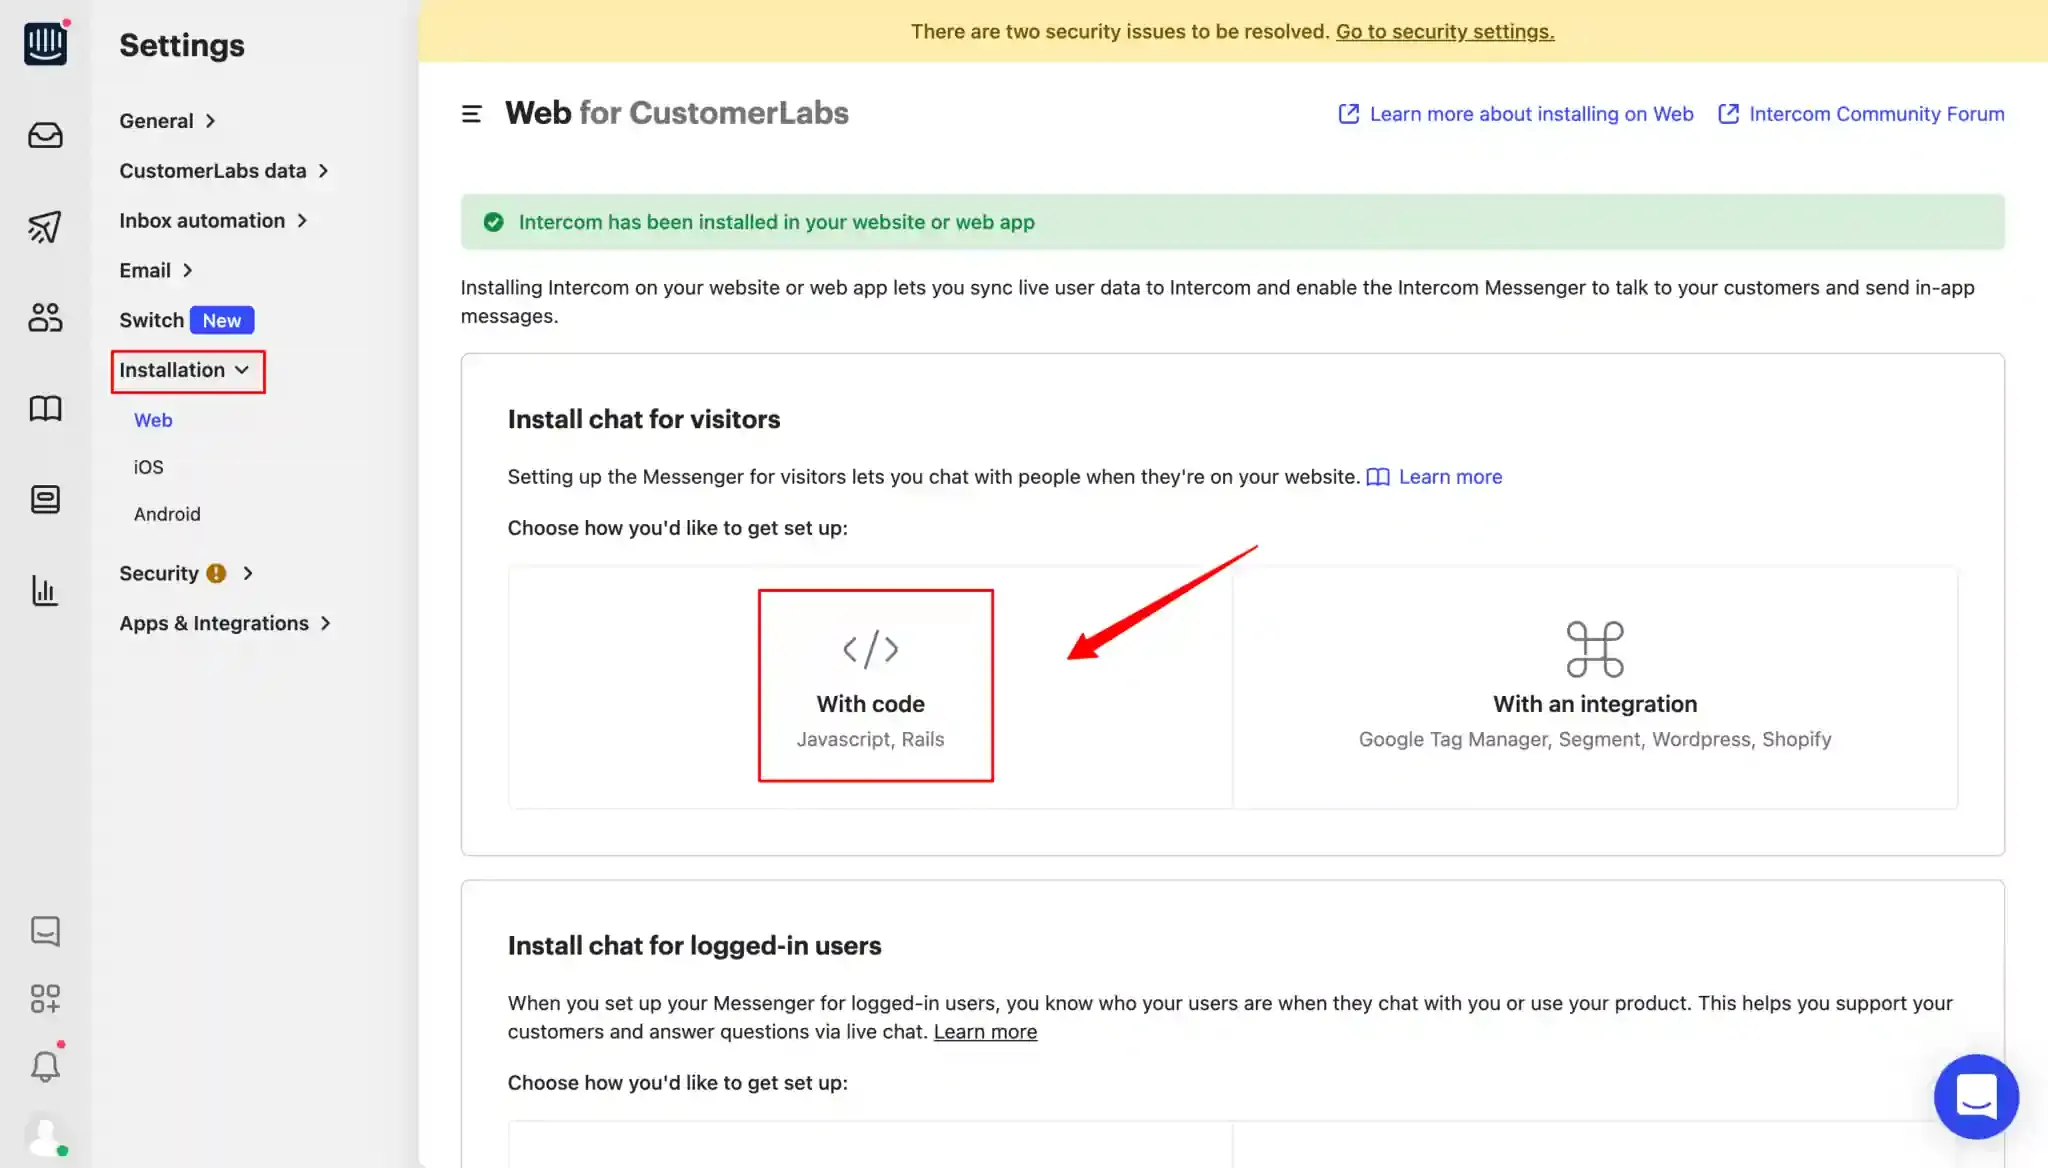
Section titled “Access the Installation Settings”Log in to your Intercom account and navigate to Settings → Installation → Web.
Copy the App ID
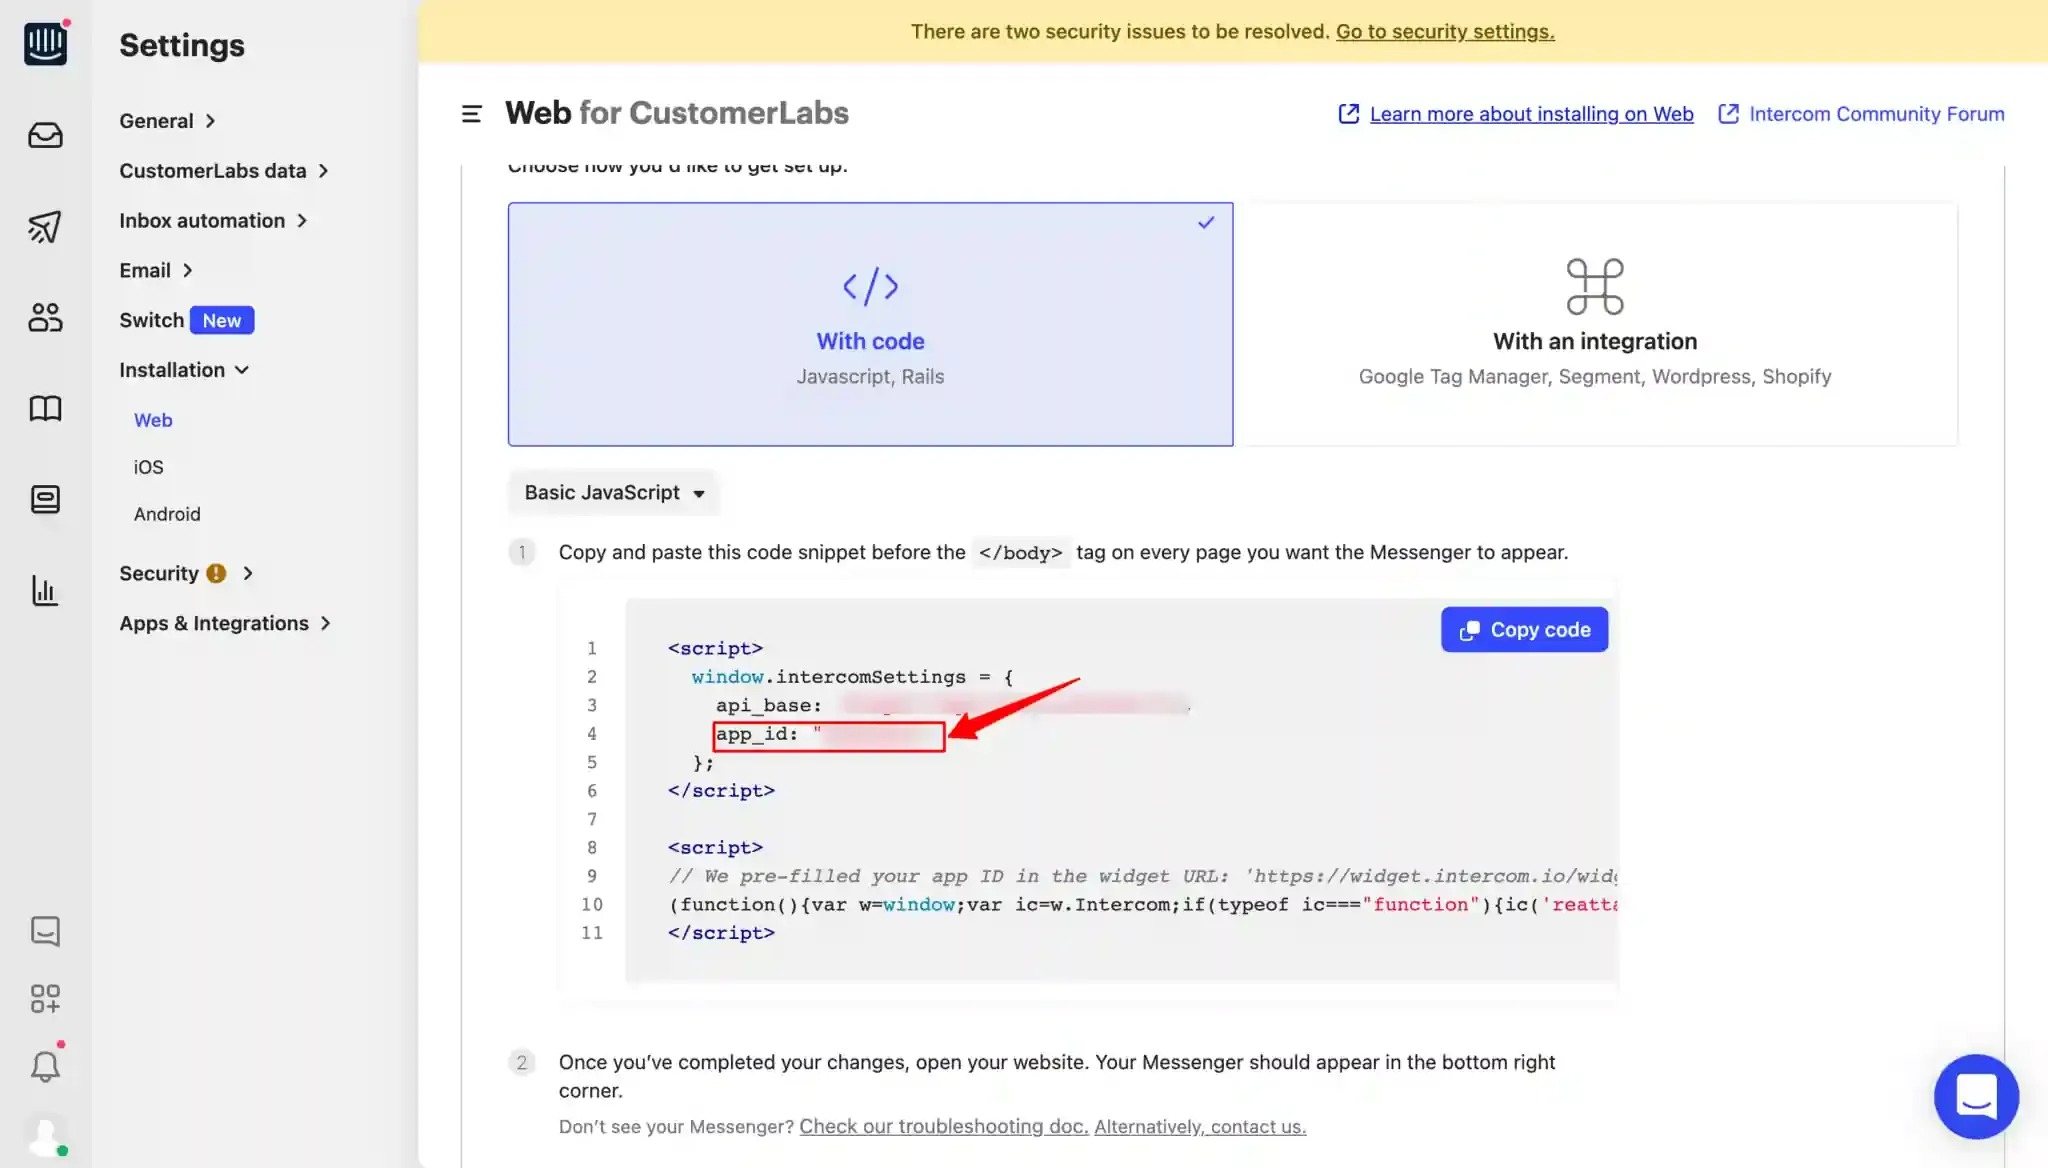
Section titled “Copy the App ID”Click the With code option to display the Intercom installation snippet. Locate the app_id value in the code block and copy it — this identifier will be used to authenticate the CustomerLabs destination.
Configuring the Intercom Destination in CustomerLabs
Section titled “Configuring the Intercom Destination in CustomerLabs”Select the Destination
Section titled “Select the Destination”Log in to your CustomerLabs account and navigate to Destinations from the home screen. Search for Intercom and select it from the list.

Enter the App ID
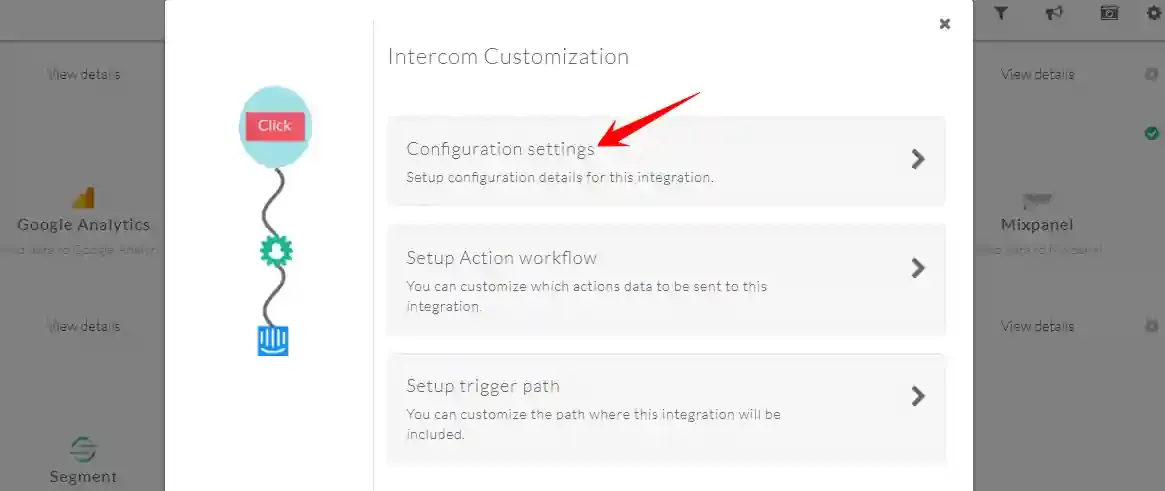
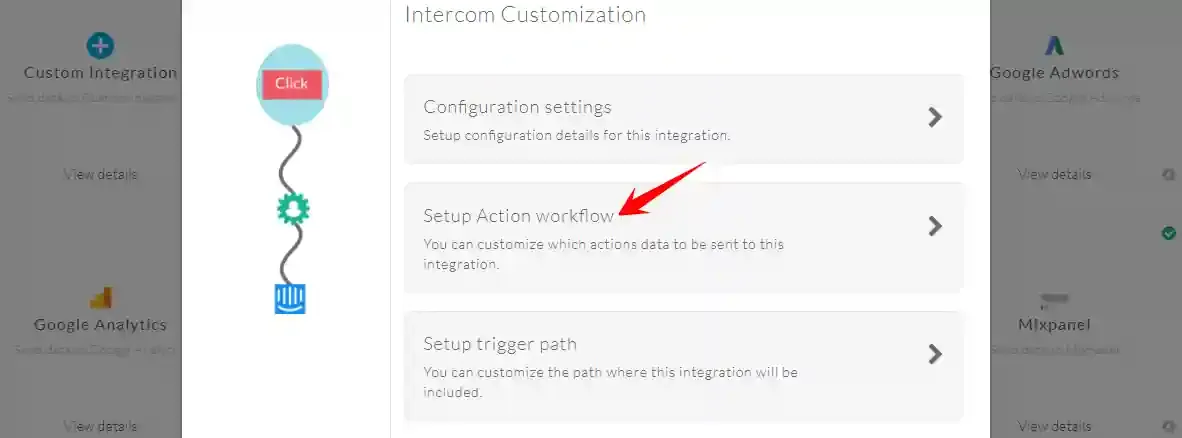
Section titled “Enter the App ID”- In the pop-up screen, click Configuration Settings.
- Paste the App ID copied from Intercom into the designated field.
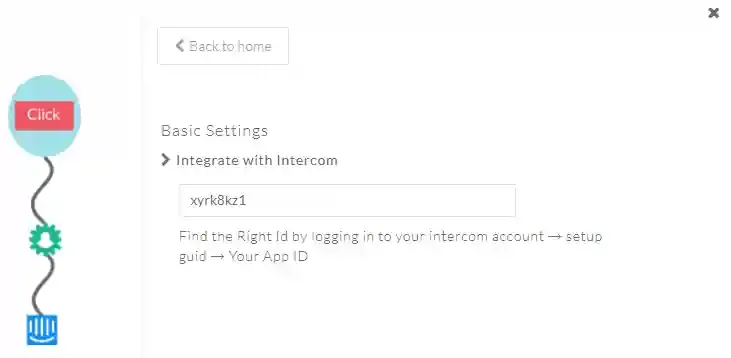
- Click Save Changes.
Configuring the Action Workflow
Section titled “Configuring the Action Workflow”The Action Workflow controls which tracked events are forwarded to Intercom and how they are processed before transmission.
Open the Action Workflow
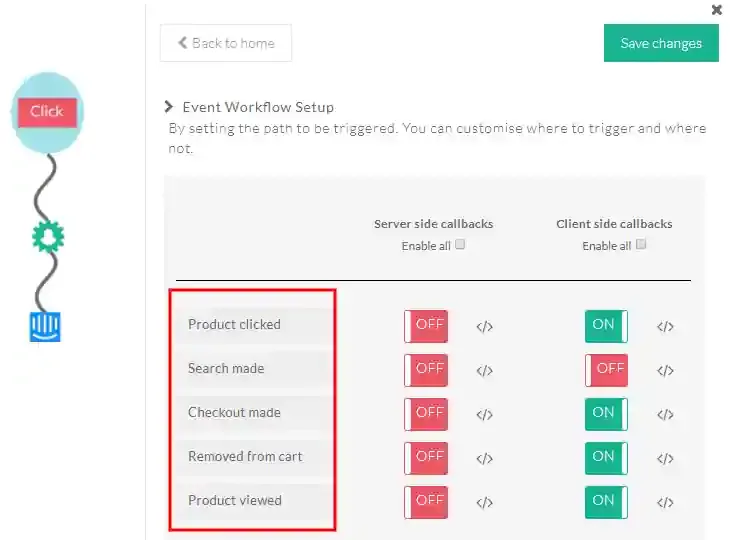
Section titled “Open the Action Workflow”From the Intercom destination screen, click Setup Action Workflow. The workflow displays the events previously configured in the CustomerLabs, each with server-side and client-side callback options.
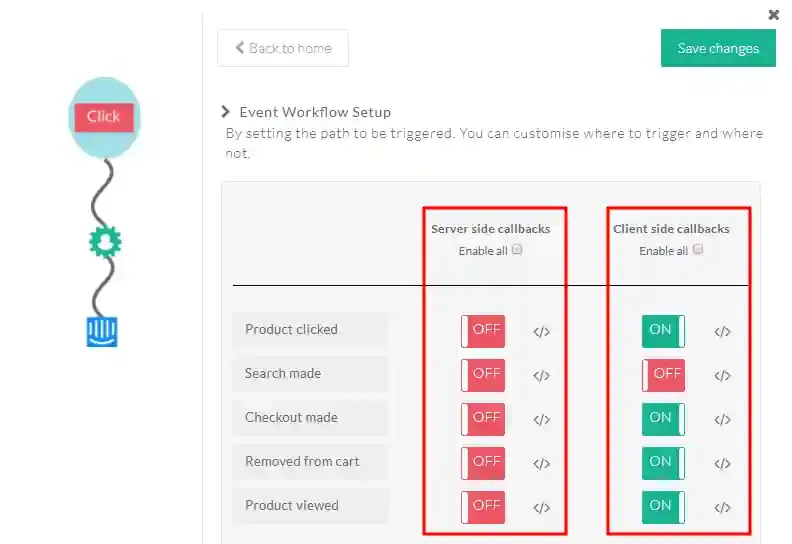
Server-Side and Client-Side Callbacks
Section titled “Server-Side and Client-Side Callbacks”Each event supports two callback modes:
| Callback Type | Description |
|---|---|
| Server-side | Modifies and forwards event data from the CustomerLabs server to Intercom. Suitable for reliable, unblockable delivery. |
| Client-side | Collects user event data from the browser via the CustomerLabs Action Recorder before forwarding. Suitable for real-time browser interactions. |
Use the On/Off toggle on each event to enable or disable it for the configured tracking paths. Click Save Changes after configuring the toggles.
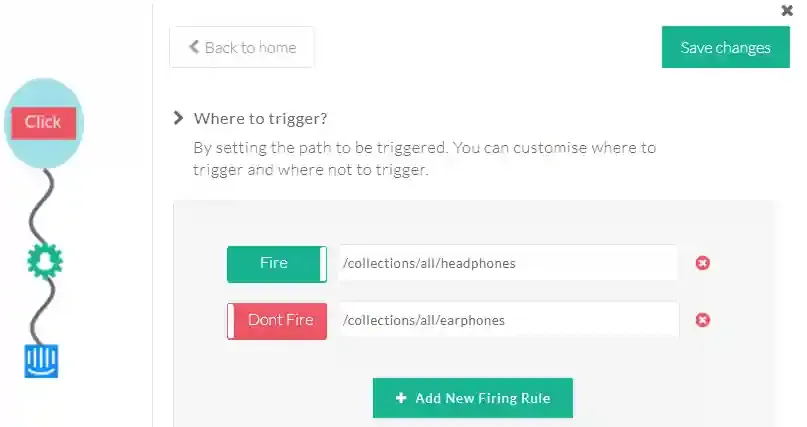
Configuring Trigger Paths
Section titled “Configuring Trigger Paths”Trigger paths define the URL conditions under which tracking for a given event fires.
Define URL Rules
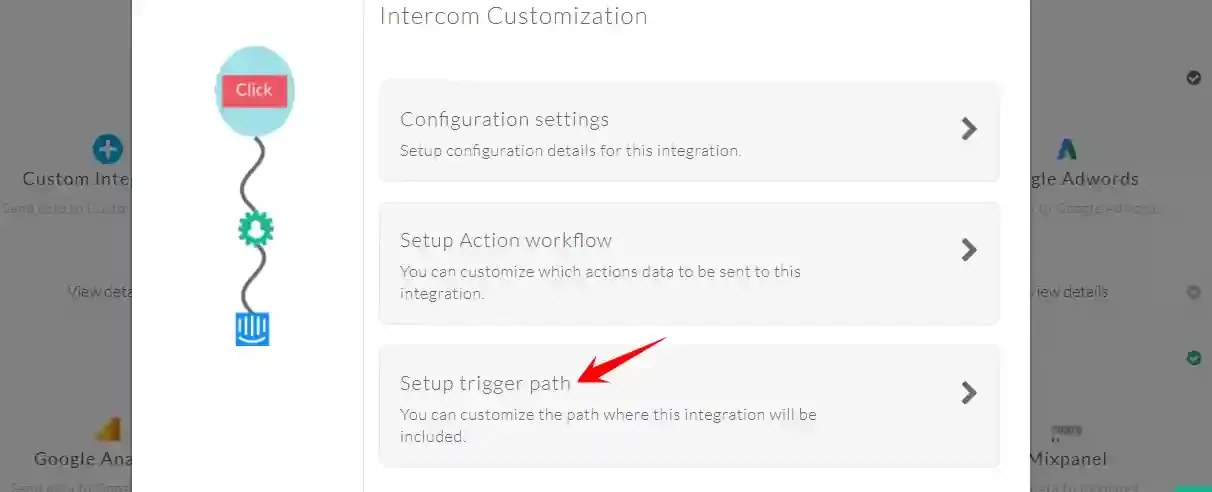
Section titled “Define URL Rules”Click Setup Trigger Path on the relevant event row. Then:
- Enter the URL or URL pattern for the page on which the event should fire.
- Use the Fire / Don’t Fire toggle to set whether the event should trigger or be suppressed on the specified path.
- Click Save Changes.
The Intercom destination is now active. CustomerLabs will forward the enabled events to Intercom based on the configured trigger paths, where they will be available for behavioral targeting, messaging automation, and user segmentation.
Quick Reference
Section titled “Quick Reference”| Setting | Value |
|---|---|
| Auth Type | App ID |
| Where to Get | Intercom → Settings → Installation → Web → With code |
| Where to Enter | CustomerLabs → Destinations → Intercom → Configuration Settings |