CustomerLabs + Custom Webhook Integration
Collect all your customer information seamlessly by sending event data via webhooks. CustomerLabs supports multiple webhooks, transferring data using the POST HTTP method. With a single click, CustomerLabs can route your event payload to your designated webhook endpoint without requiring any custom code.
Configuration Steps
Section titled “Configuration Steps”-
Log in to your CustomerLabs account.
-
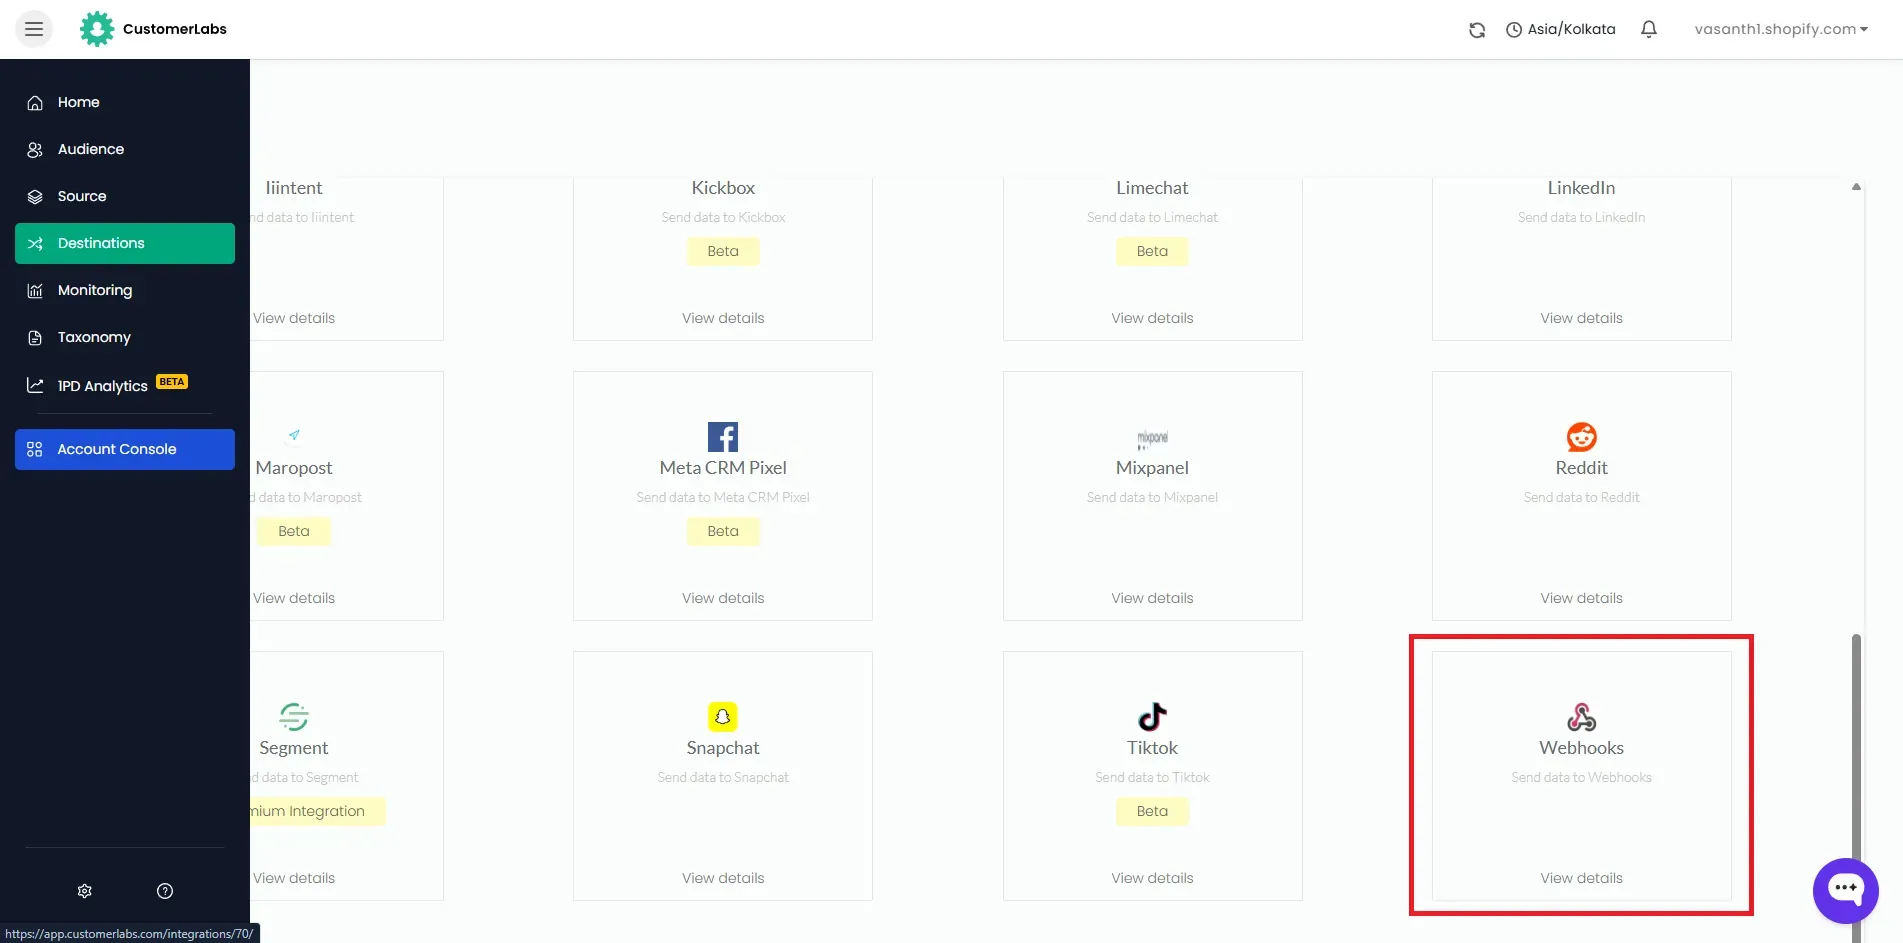
Navigate to the Destinations section, then search for and select Webhooks from the list of integrations.
-
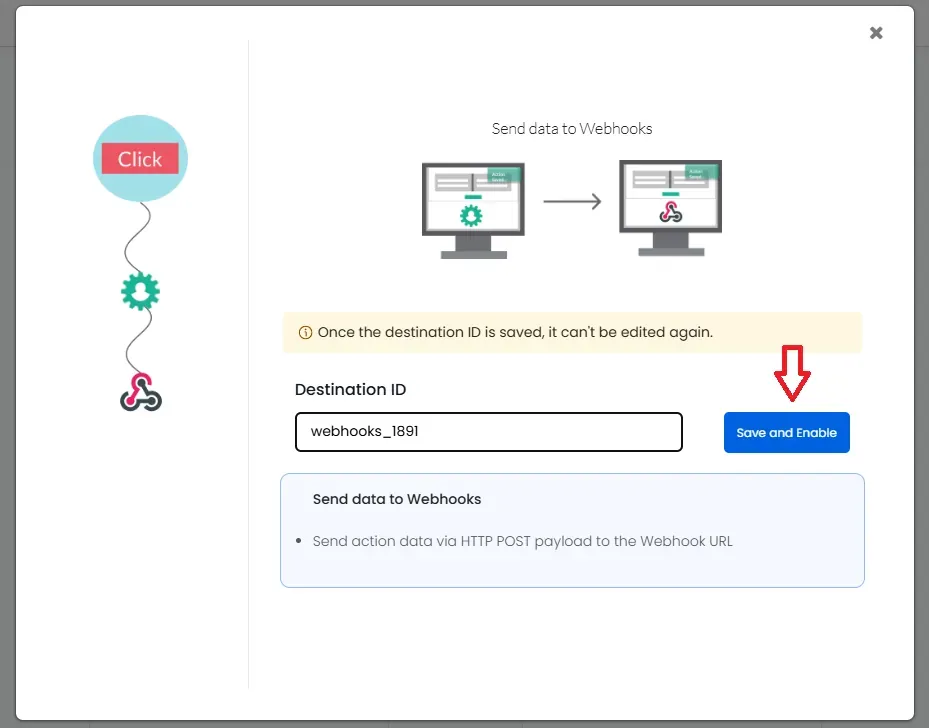
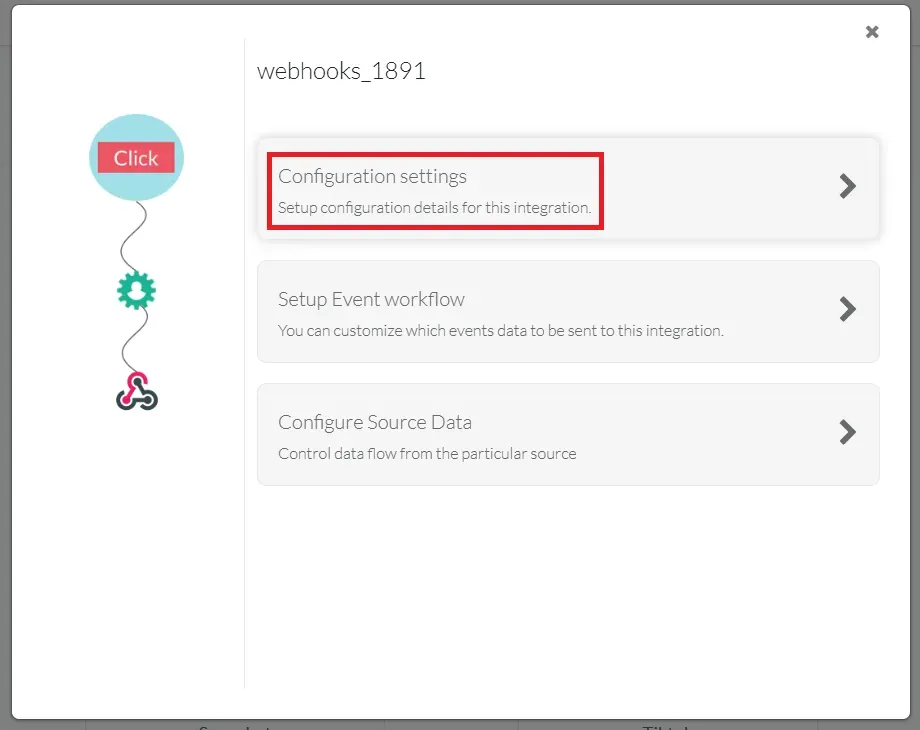
On the pop-up screen, click Enable, and then click Go to Configuration settings.
-
Enter the HTTP/HTTPS Endpoint URL (Webhook URL) where you want to receive the event payload.
-
Choose the appropriate webhook request format under the Version section based on your requirements:
Version Description Recommendation v1 Basic sample request Possibility of deprecation v2 Basic request with enriched data Preferred v2 without enriched data Basic request without enriched data Recommended to use 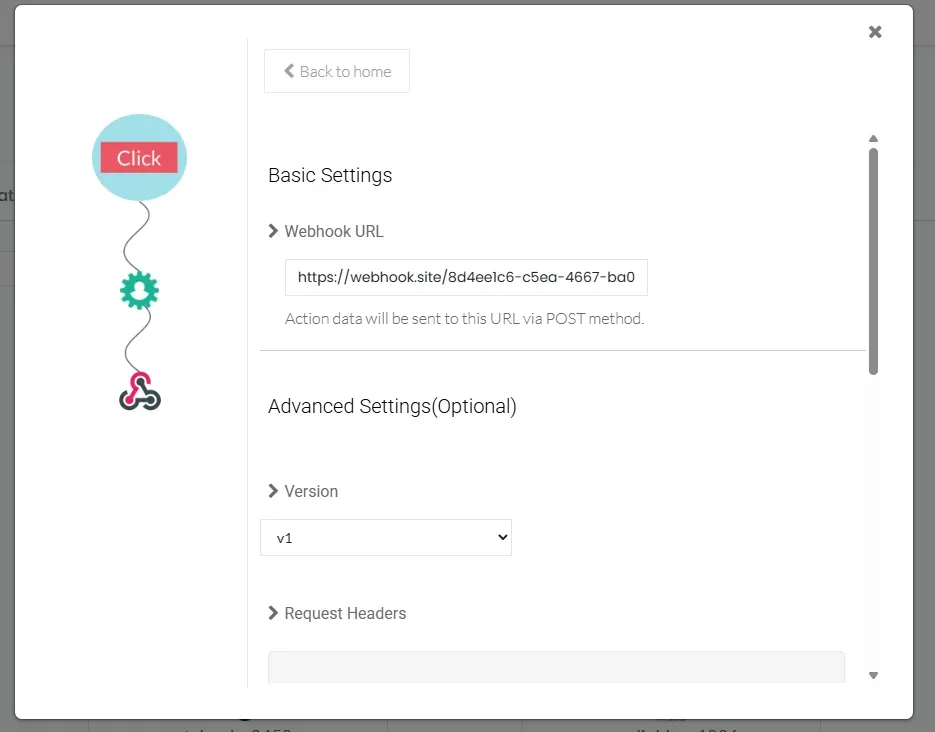
-
If your endpoint requires specific authentication headers, you can configure them:
- Header Type: Choose the appropriate header type for your request.
- Header Value: Enter the corresponding value for the selected header.
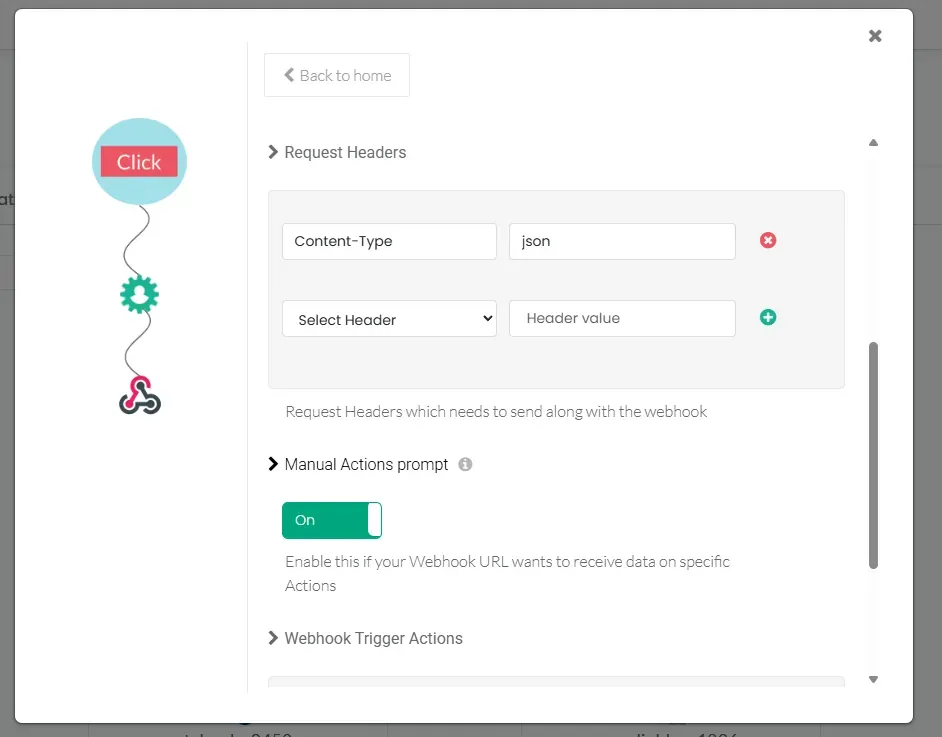
-
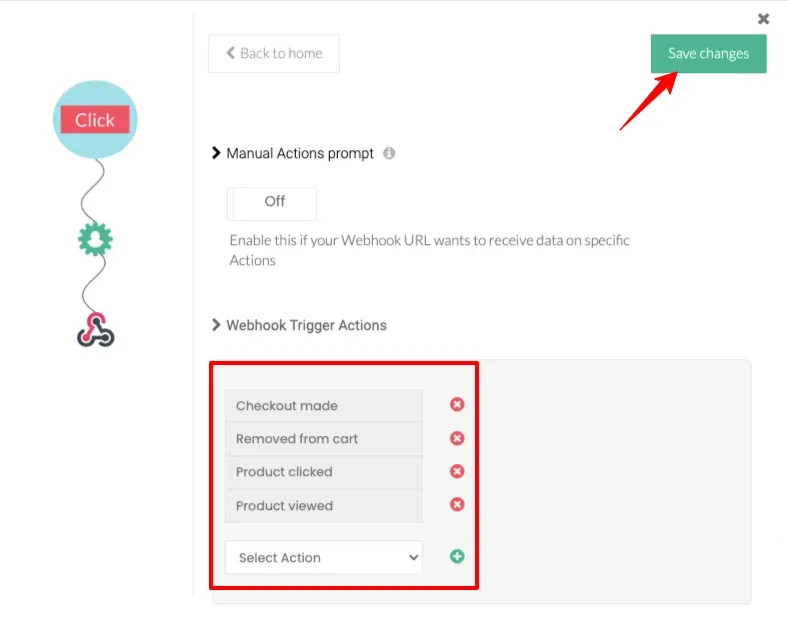
Proceed to set up the Webhooks trigger actions.
-
A list of events you have previously configured in CustomerLabs will appear here.
-
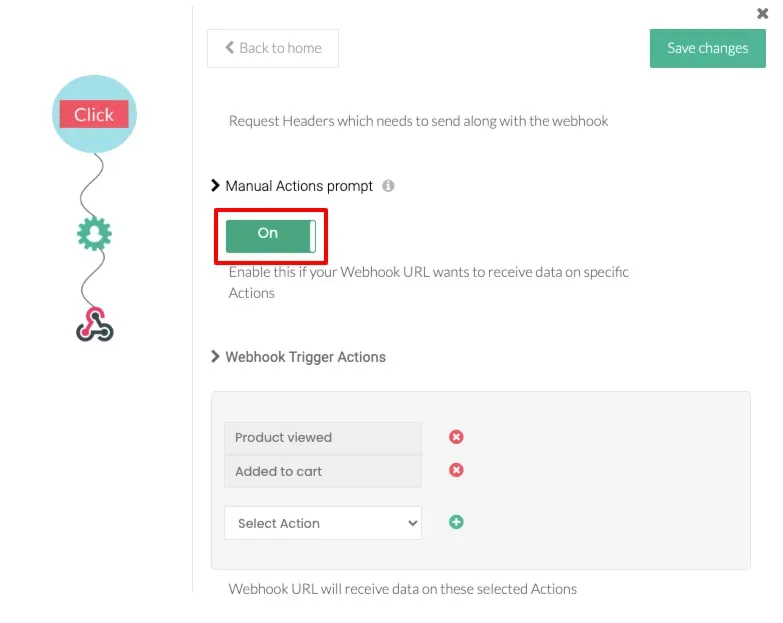
Select your preferred events from the list to send via the webhook, and click Save changes.
-
To ensure you only receive the event payload for the specific actions selected in the previous step—and avoid receiving data on other actions—enable the Manual Actions Prompt feature.
-
Click Save changes to complete the configuration.