Customerlabs CDP Documentation
WooCommerce Implementation Guide
Integrate CustomerLabs with WooCommerce to track events of your website visitors along with other parameters to effectively unify the customer profiles which helps to sync these to any tool in your martech stack to boost marketing effectiveness.
Follow these steps to start tracking events from the WooCommerce server
1. Sign-up/Login into CustomerLabs account
2. On the Home page → Under “Connect website” → Enter your website URL → Click Save
(Note: Add additional domains and exclude misattributed referral domains using URL Management )

3. Once it is successful, log in to your WooCommerce account
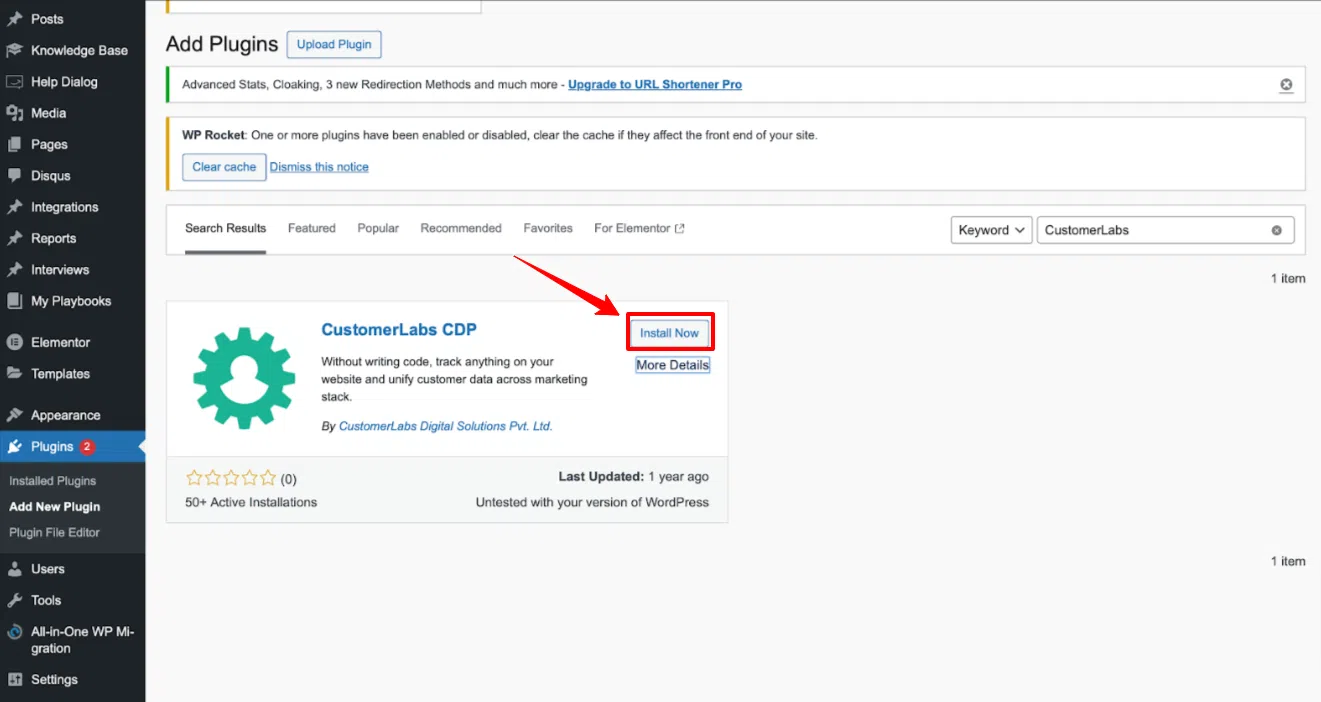
4. Click on Plugin on the left panel in WordPress. Then, Click on Add New Plugin, and search for “CustomerLabs”.
(Note : In case of Plugin version update – Go to Plugins -> Search for “CustomerLabs“-> Click on “Update Now“)

5. Click on Install Now
6. Now go to CustomerLabs App and copy the “Account ID” as shown in the image below.
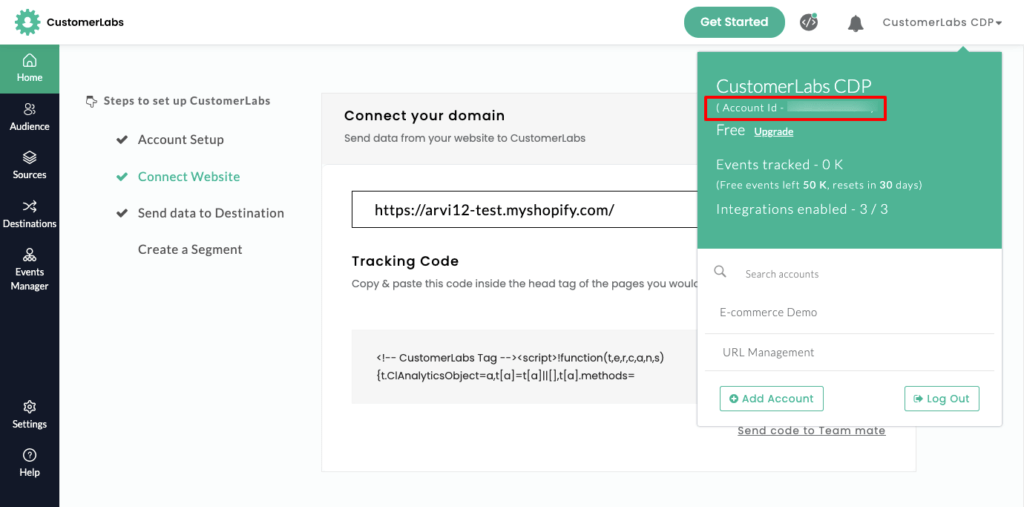
7. Go to the installed CustomerLabs plugin → Settings, Paste the copied “Account ID” in the installed CustomerLabs plugin under “CustomerLabs App ID” as shown in the image below

8. Ensure you check all the required conversions to be tracked and collected by CustomerLabs. It is suggested to check all the conversions for better marketing results and ensure to “Save” the settings as shown in the image below

9. Now WooCommerce website has been integrated.
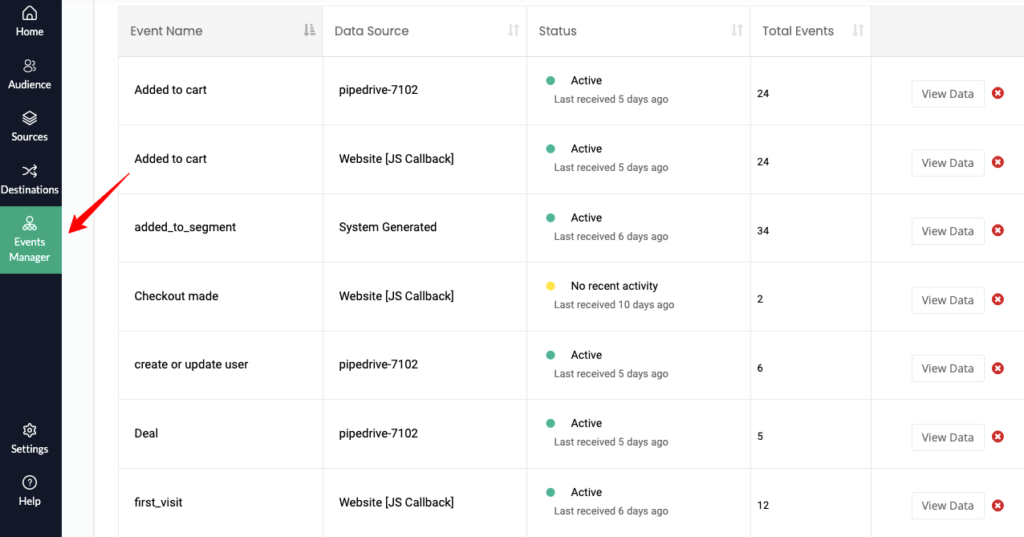
10. Go back to CustomerLabs and navigate to “Events Manager” to check if the data has been flowing correctly to Customerlabs.
11. You can now start sending these events to ad platforms like Facebook & Google by connecting them in the Destinations page. In this article, let’s go ahead with Facebook Configuration.
For Facebook configuration
1. Log in to CustomberLabs
2. Click on destinations and select “Facebook”

3. Copy your Facebook pixel id. And then continue with Facebook which redirects you to the Facebook page.

4. Authenticate Facebook and switch on the “server-side” send data
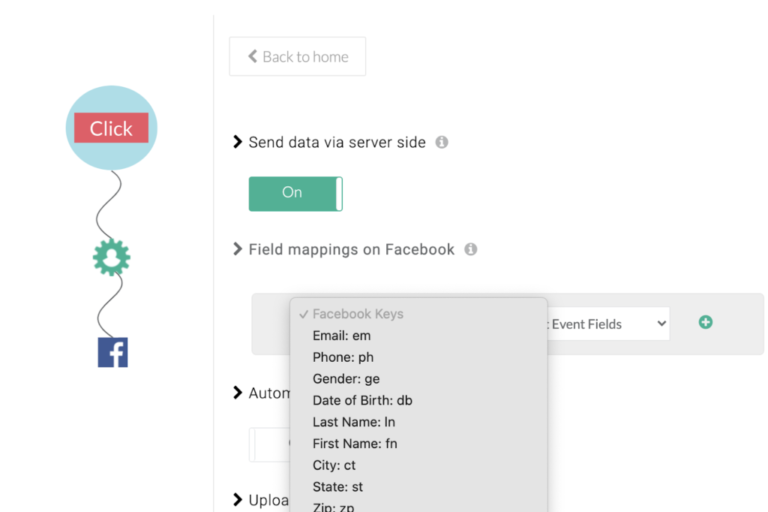
5. Now to set up the workflow → Setup Action workflow
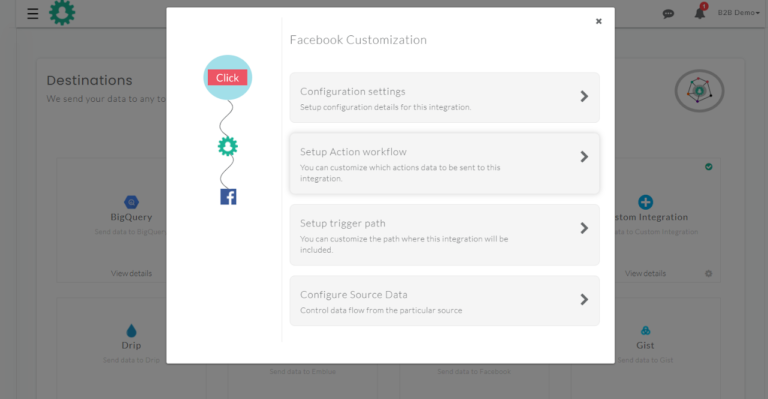
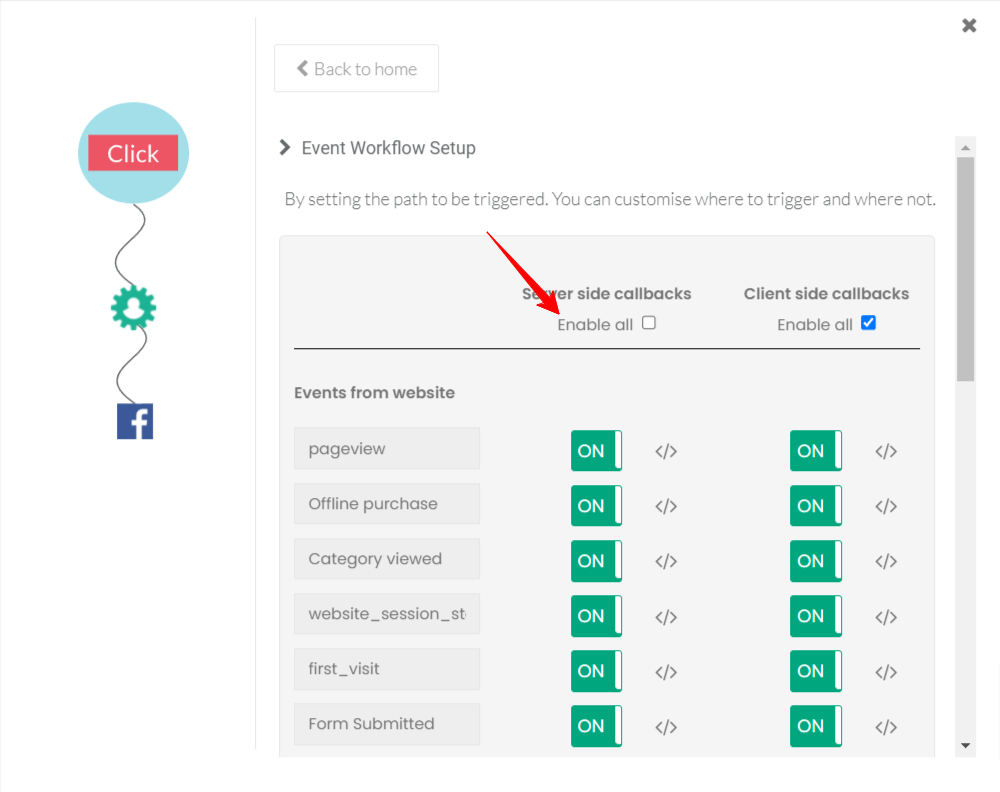
6. Click on “enable all” server-side callbacks and save changes
Note: Disconnect any direct integration from WooCommerce with Facebook pixel if you have integrated with Facebook via plugin
7. You have now implemented CustomerLabs to your website.
If you’re still facing issues, get in touch with our team by clicking on the chat icon in the lower right corner. We will set up all your events for free


