Customerlabs CDP Documentation
Checkout Tracking
Ecommerce checkout tracking can be an important metric in visualizing your sales funnel. It is one of the best metrics to drive business growth. See how you can set up checkout tracking using CustomerLabs by following the steps below.
1. Login to your CustomerLabs account
2. Launch Action Recorder by clicking the camera icon
3. You will be redirected to your website and Action Recorder panel will open up
4. Click on “Record Action” to start recording
5. Select “Checkout made” for Action Name or create a custom name if you wish

6. Change the Action Type to “On click”

7. Now click on to go to your website to select the checkout button

8. After selection, you will be redirected back to the Action Recorder panel. Select both “Pick a common selector” and click “Add details”
9. Now to add relevant attributes, select “Product_name” from the drop-down. Click on the “Index finger” icon to select the product name (Antidote “13” Tee in Mood Indigo in this case) from your website.
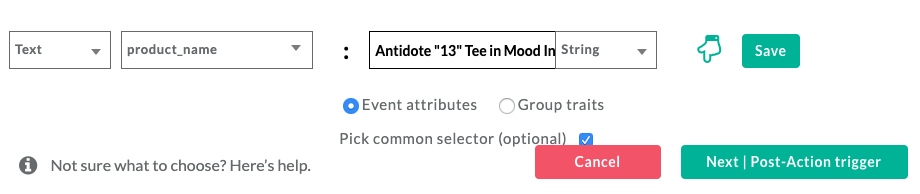
10. Click “Save”
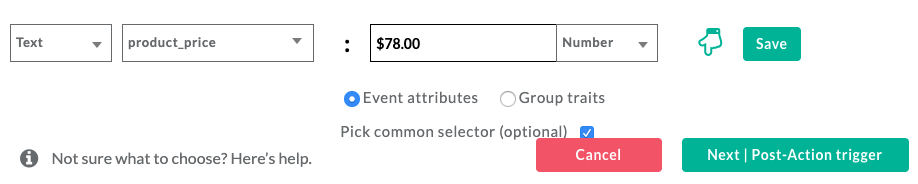
11. Repeat steps 9 and 10 to add multiple product attributes such as Product variant, Size, Quantity, price and more
12. You can skip the next step by clicking on “Next | Tracking rule”
13. Choose the pages that you would like to start tracking for the above defined action, but the checkout button is usually present only on the cart page, so select “Current page” in this step and click “Save” and then “Save Action”

14. Awesome! Your eCommerce checkout tracking event has been configured!
15. If you’re still facing issues, get in touch with our team by clicking on the chat icon on the lower right corner. We will set up all your events for free 🙂

