Customerlabs CDP Documentation
CustomerLabs + Taboola Integration
Step 1: Log in to Accounts
- Log in to your Taboola Ads account.
- Log in to your Custom Labs account.
Step 2: Access Taboola Integration
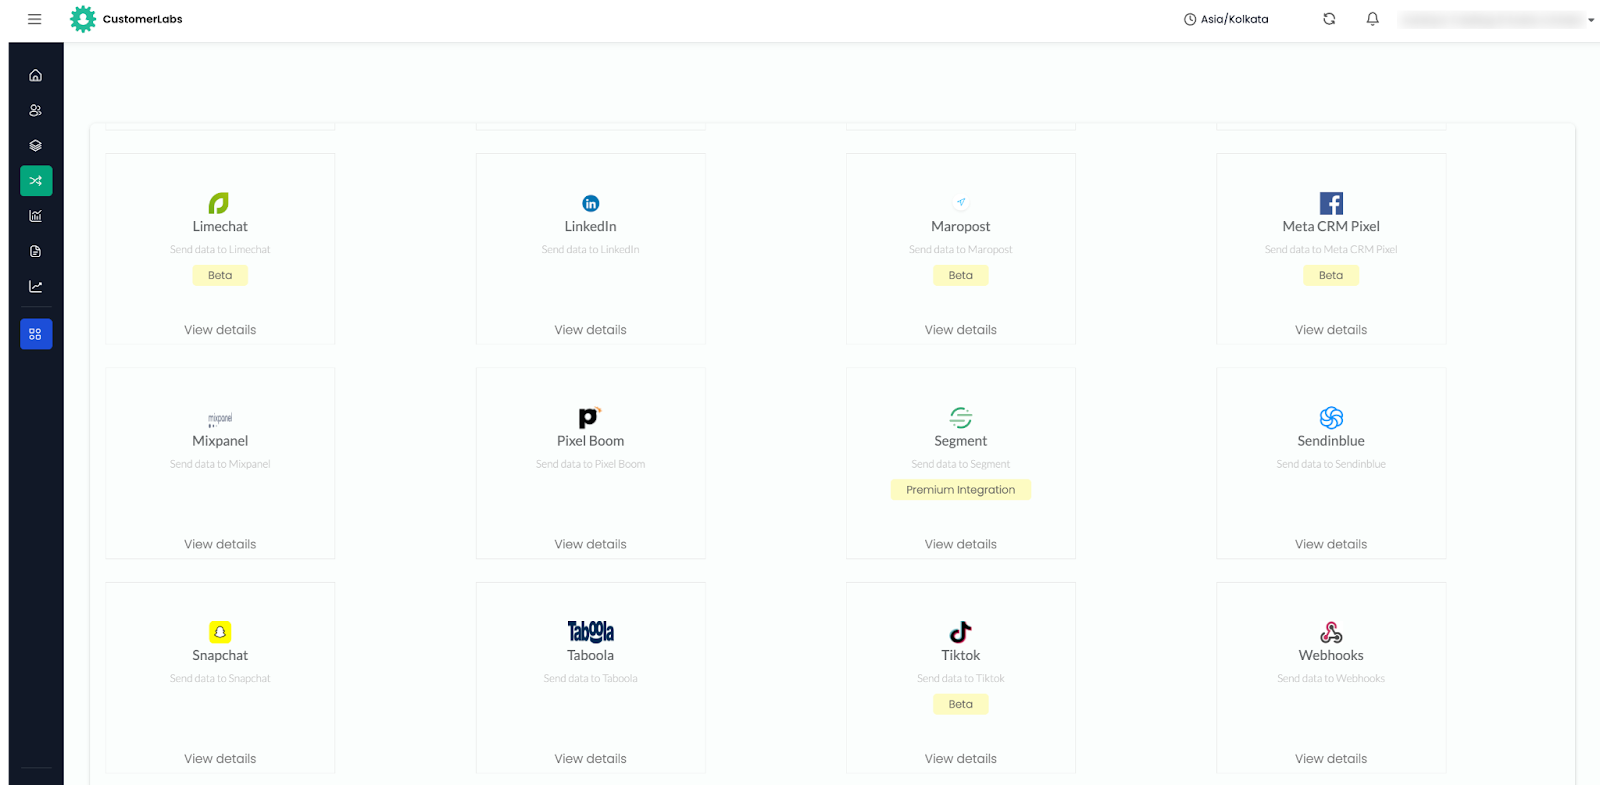
- Click on the Tabola integration tab available in all destinations.
- If already opted in, it will show in the connected destination.

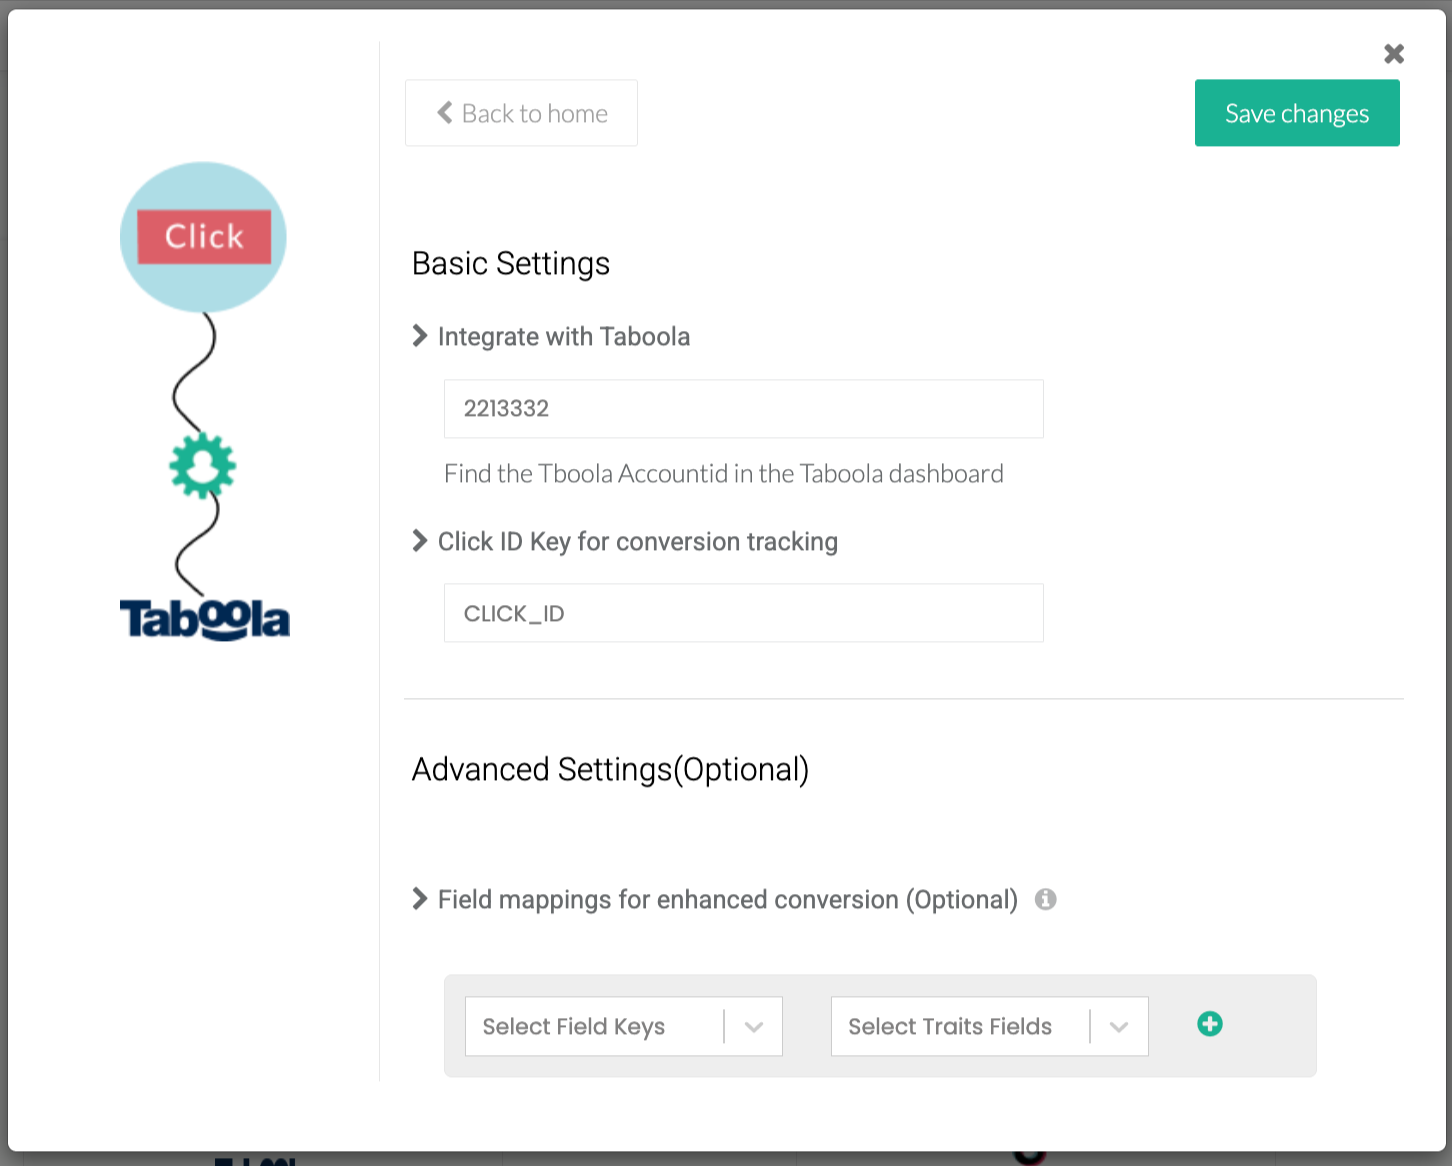
- Click on configuration settings.
- Update the Tabola account ID:
- Find the Tabola account ID in your Tabola ads URL.
- Copy the account ID and paste it in the designated field.
Step 4: Update Click ID Key for Conversion Tracking
- Find the Click ID key:
- Go to your campaign settings.
- Click the edit button to access conversion tracking.
- Locate the Click ID in the tracking column.
- Copy the Click ID and paste it in the designated field.
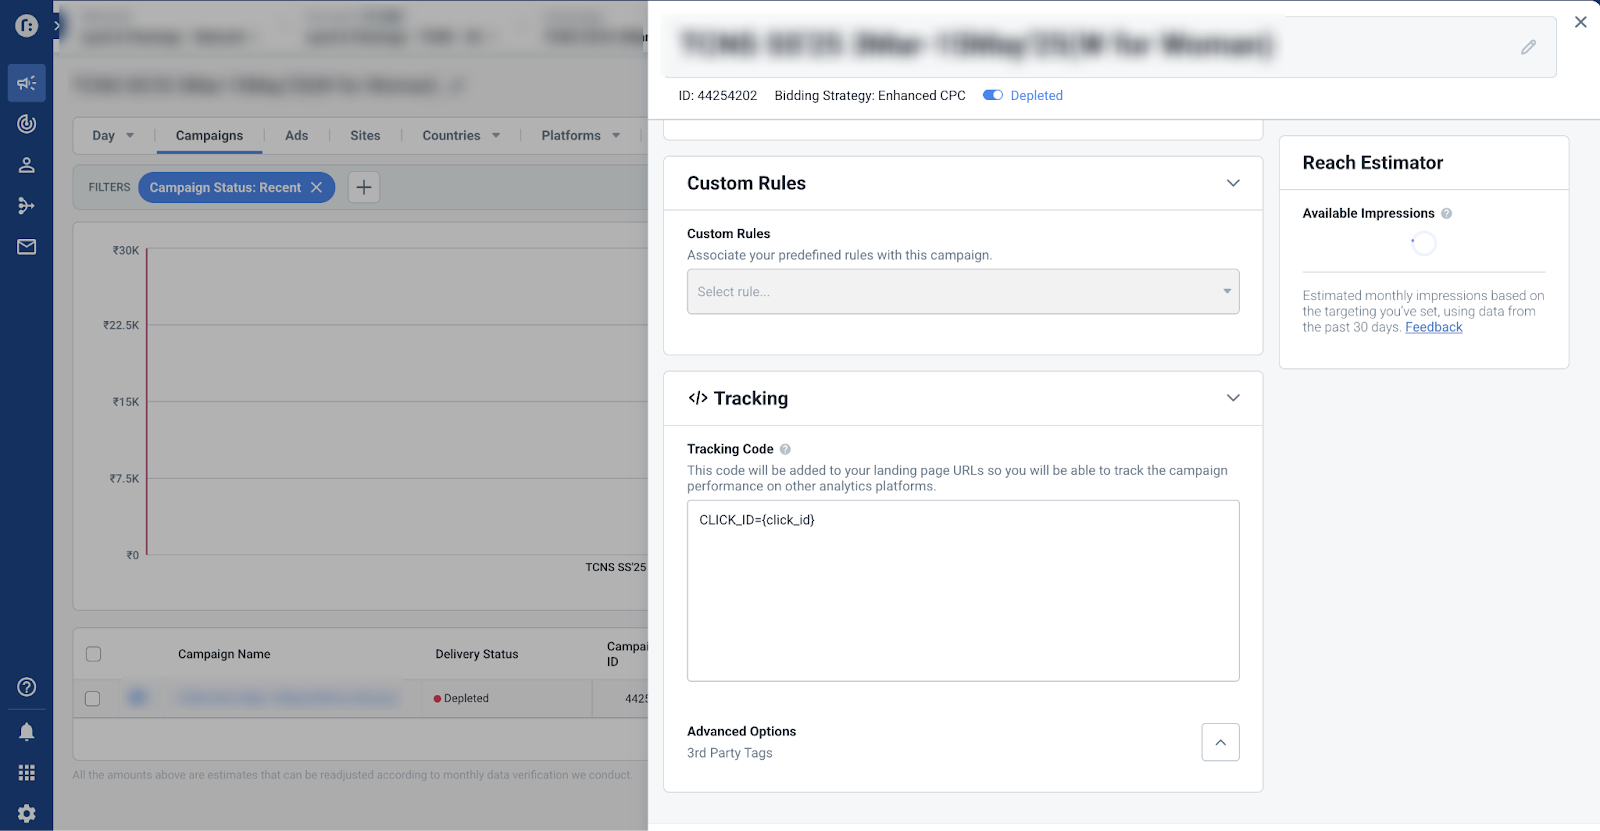
- Click on ‘Save Changes’ after updating the Click ID.
Step 6: Set up Event Workflow
- Click on ‘Setup Event Workflow’.
- Switch on the following toggles:
- Product View
- Page View
- Checkout (if required)
- Purchase.
Step 7: Close Campaign Settings
Close the campaign settings after toggling.
Step 8: Create a New Conversion

- Click on ‘Tracking’ and select ‘Create a New Conversion’.
- Name the conversion (e.g., ‘Product Viewed’).
- Choose the event type and select the event category.
- Set the event name:
Repeat the step 8 to add the other events for custom event you need to name the same in the taboola
- Use ‘product_viewed’ for product views.
- Use ‘add_to_cart’ for add to cart events.
- Use ‘checkout_main’ for checkout events (note the capitalization).
- Use ‘purchase’ for purchase events.
Step 10: Finalize Configuration
- Ensure all event names are correctly configured.
- Confirm that data will be sent from Custom Labs to Taboola.


