By implementing this playbook you will be able to send your CRM data to Facebook & Google Ads to create a suppression list so that you never target your junk or unqualified leads again.
The Blueprint
The 9 steps involved in this process are as follows,
-
Integrate CustomerLabs 1PD Ops with your CRM
-
Post setup, CustomerLabs 1PD Ops will receive CRM data when specific events (lead status change, activities etc.) occur in your CRM
-
The 1PD Ops will combine both online (website) and offline (CRM) user information
-
You will now be able to create your segment named “Junk leads” in the 1PD Ops
-
This segment will be updated as and when new users are added to this stage in your CRM
-
Now add Facebook and Google Ads destinations in the 1PD Ops
-
CustomerLabs 1PD Ops will now send the created “Junk leads” segment to Facebook and Google Ads
-
During ad setup for your lead generation campaigns in Facebook, add the “Junk leads” to the custom exclusion list
-
During ad setup for your search or display campaigns in Google Ads, add the “Junk leads” to the custom exclusion list
The Process
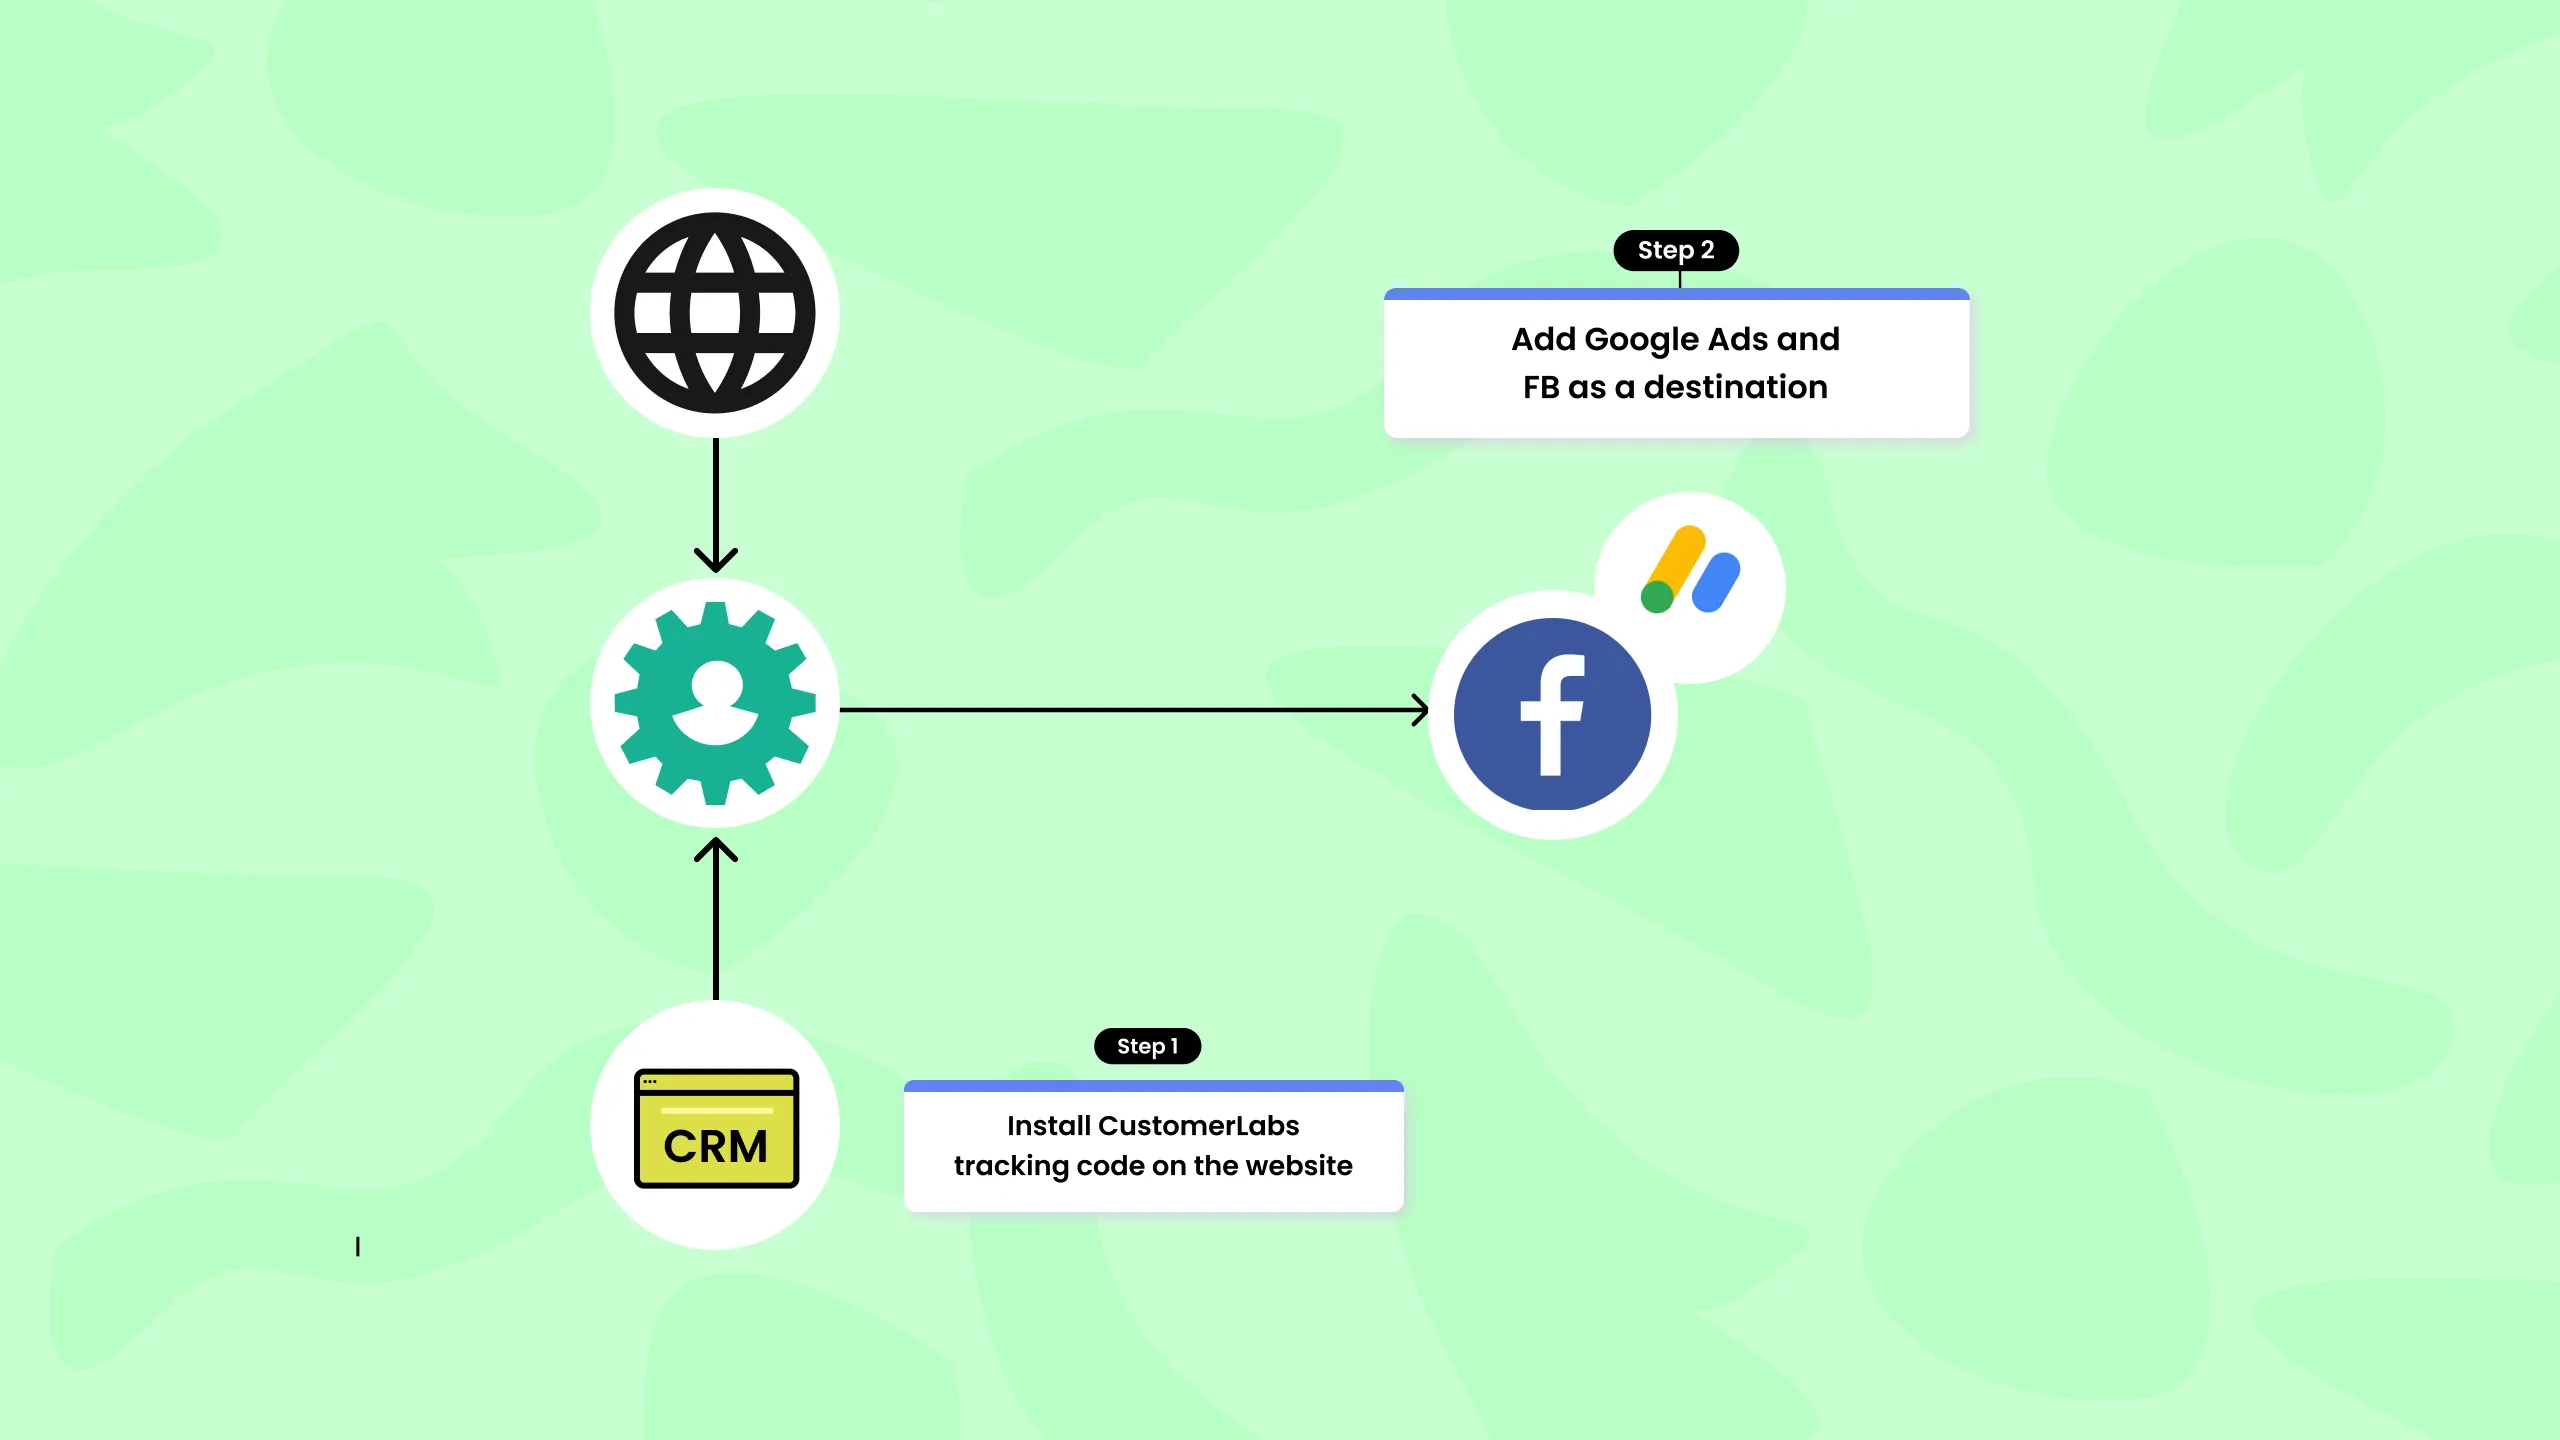
Step 1: Integrate CustomerLabs 1PD Ops with your CRM
There are two steps involved in the setup.
- Integrating website with the 1PD Ops. See how you setup event tracking in CustomerLabs 1PD Ops:
- Integrating CRM with the 1PD Ops. Learn more on how you can quickly integrate popular CRMs with CustomerLabs 1PD Ops here
Step 2: Obtain a clean & unified single customer profile
Once these channels are connected, customer information will be retrieved and matched inside the 1PD Ops using advanced Identity resolution techniques. Thus creating the 360-degree profile view of your customers.
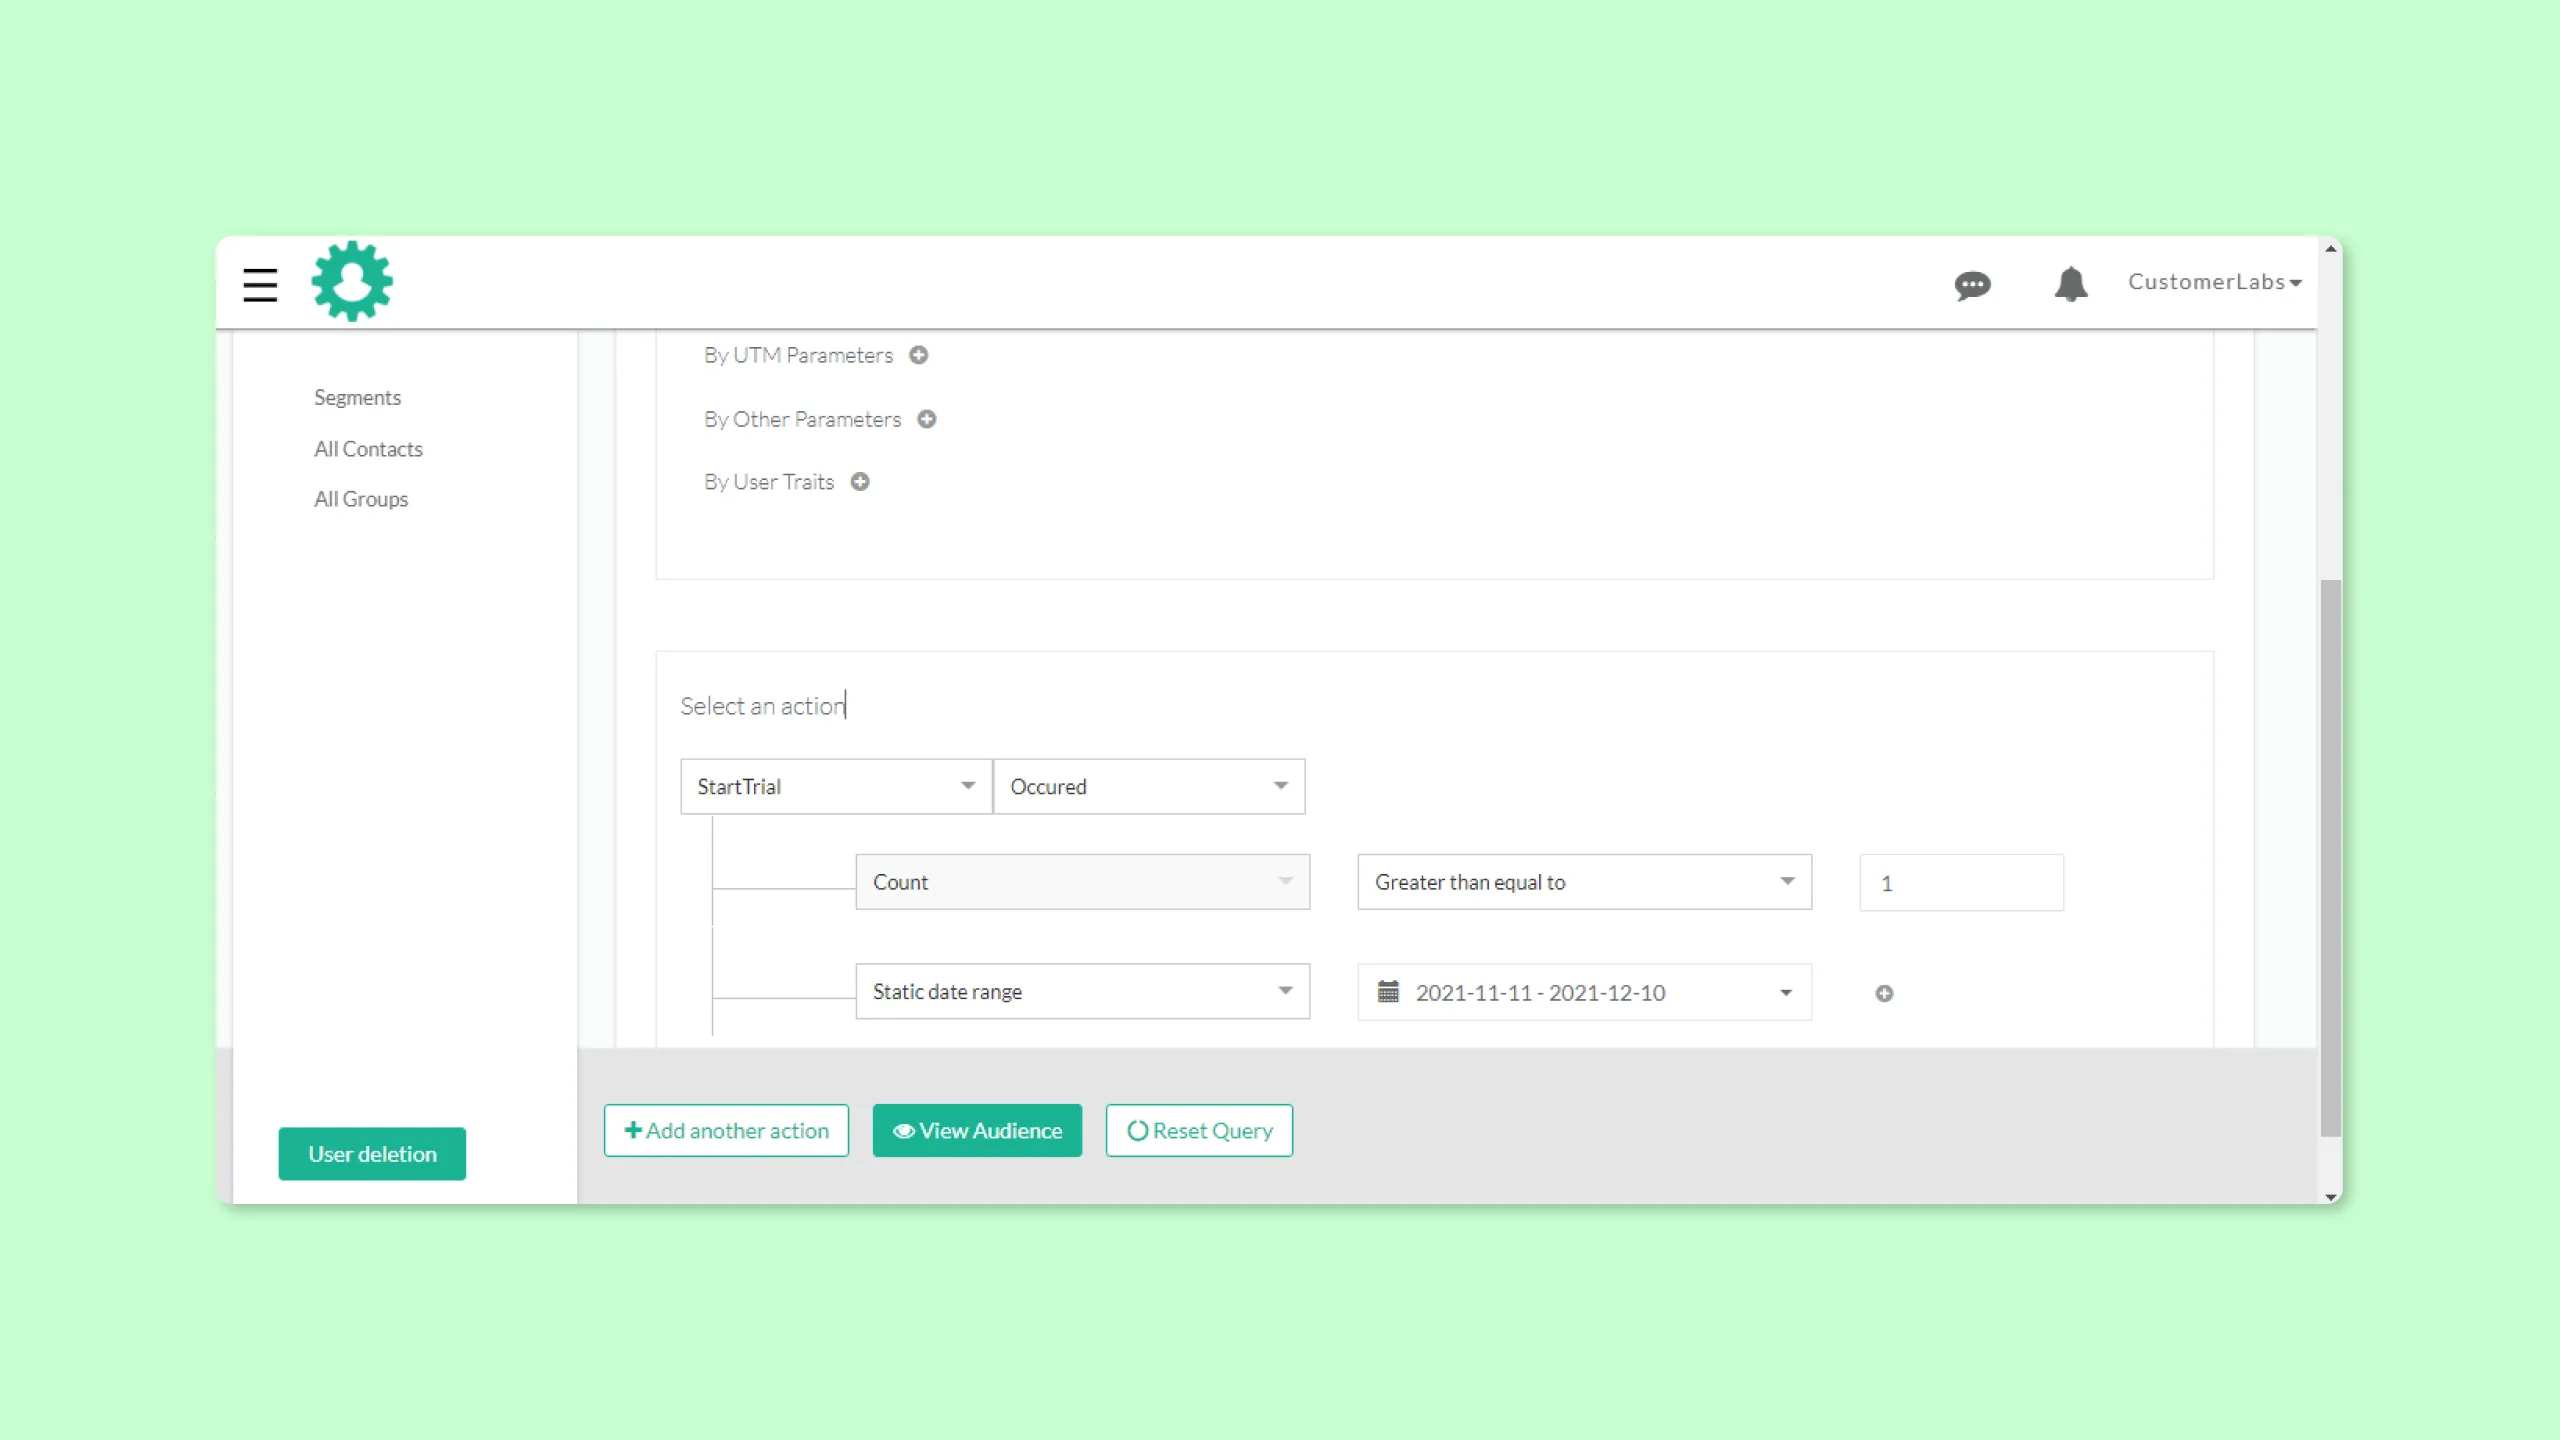
Step 3: Group all junk/unqualified leads
Create a segment with leads that fall under the ‘junk or unqualified’ category inside the 1PD Ops
Step 4: Connect Facebook with the 1PD Ops
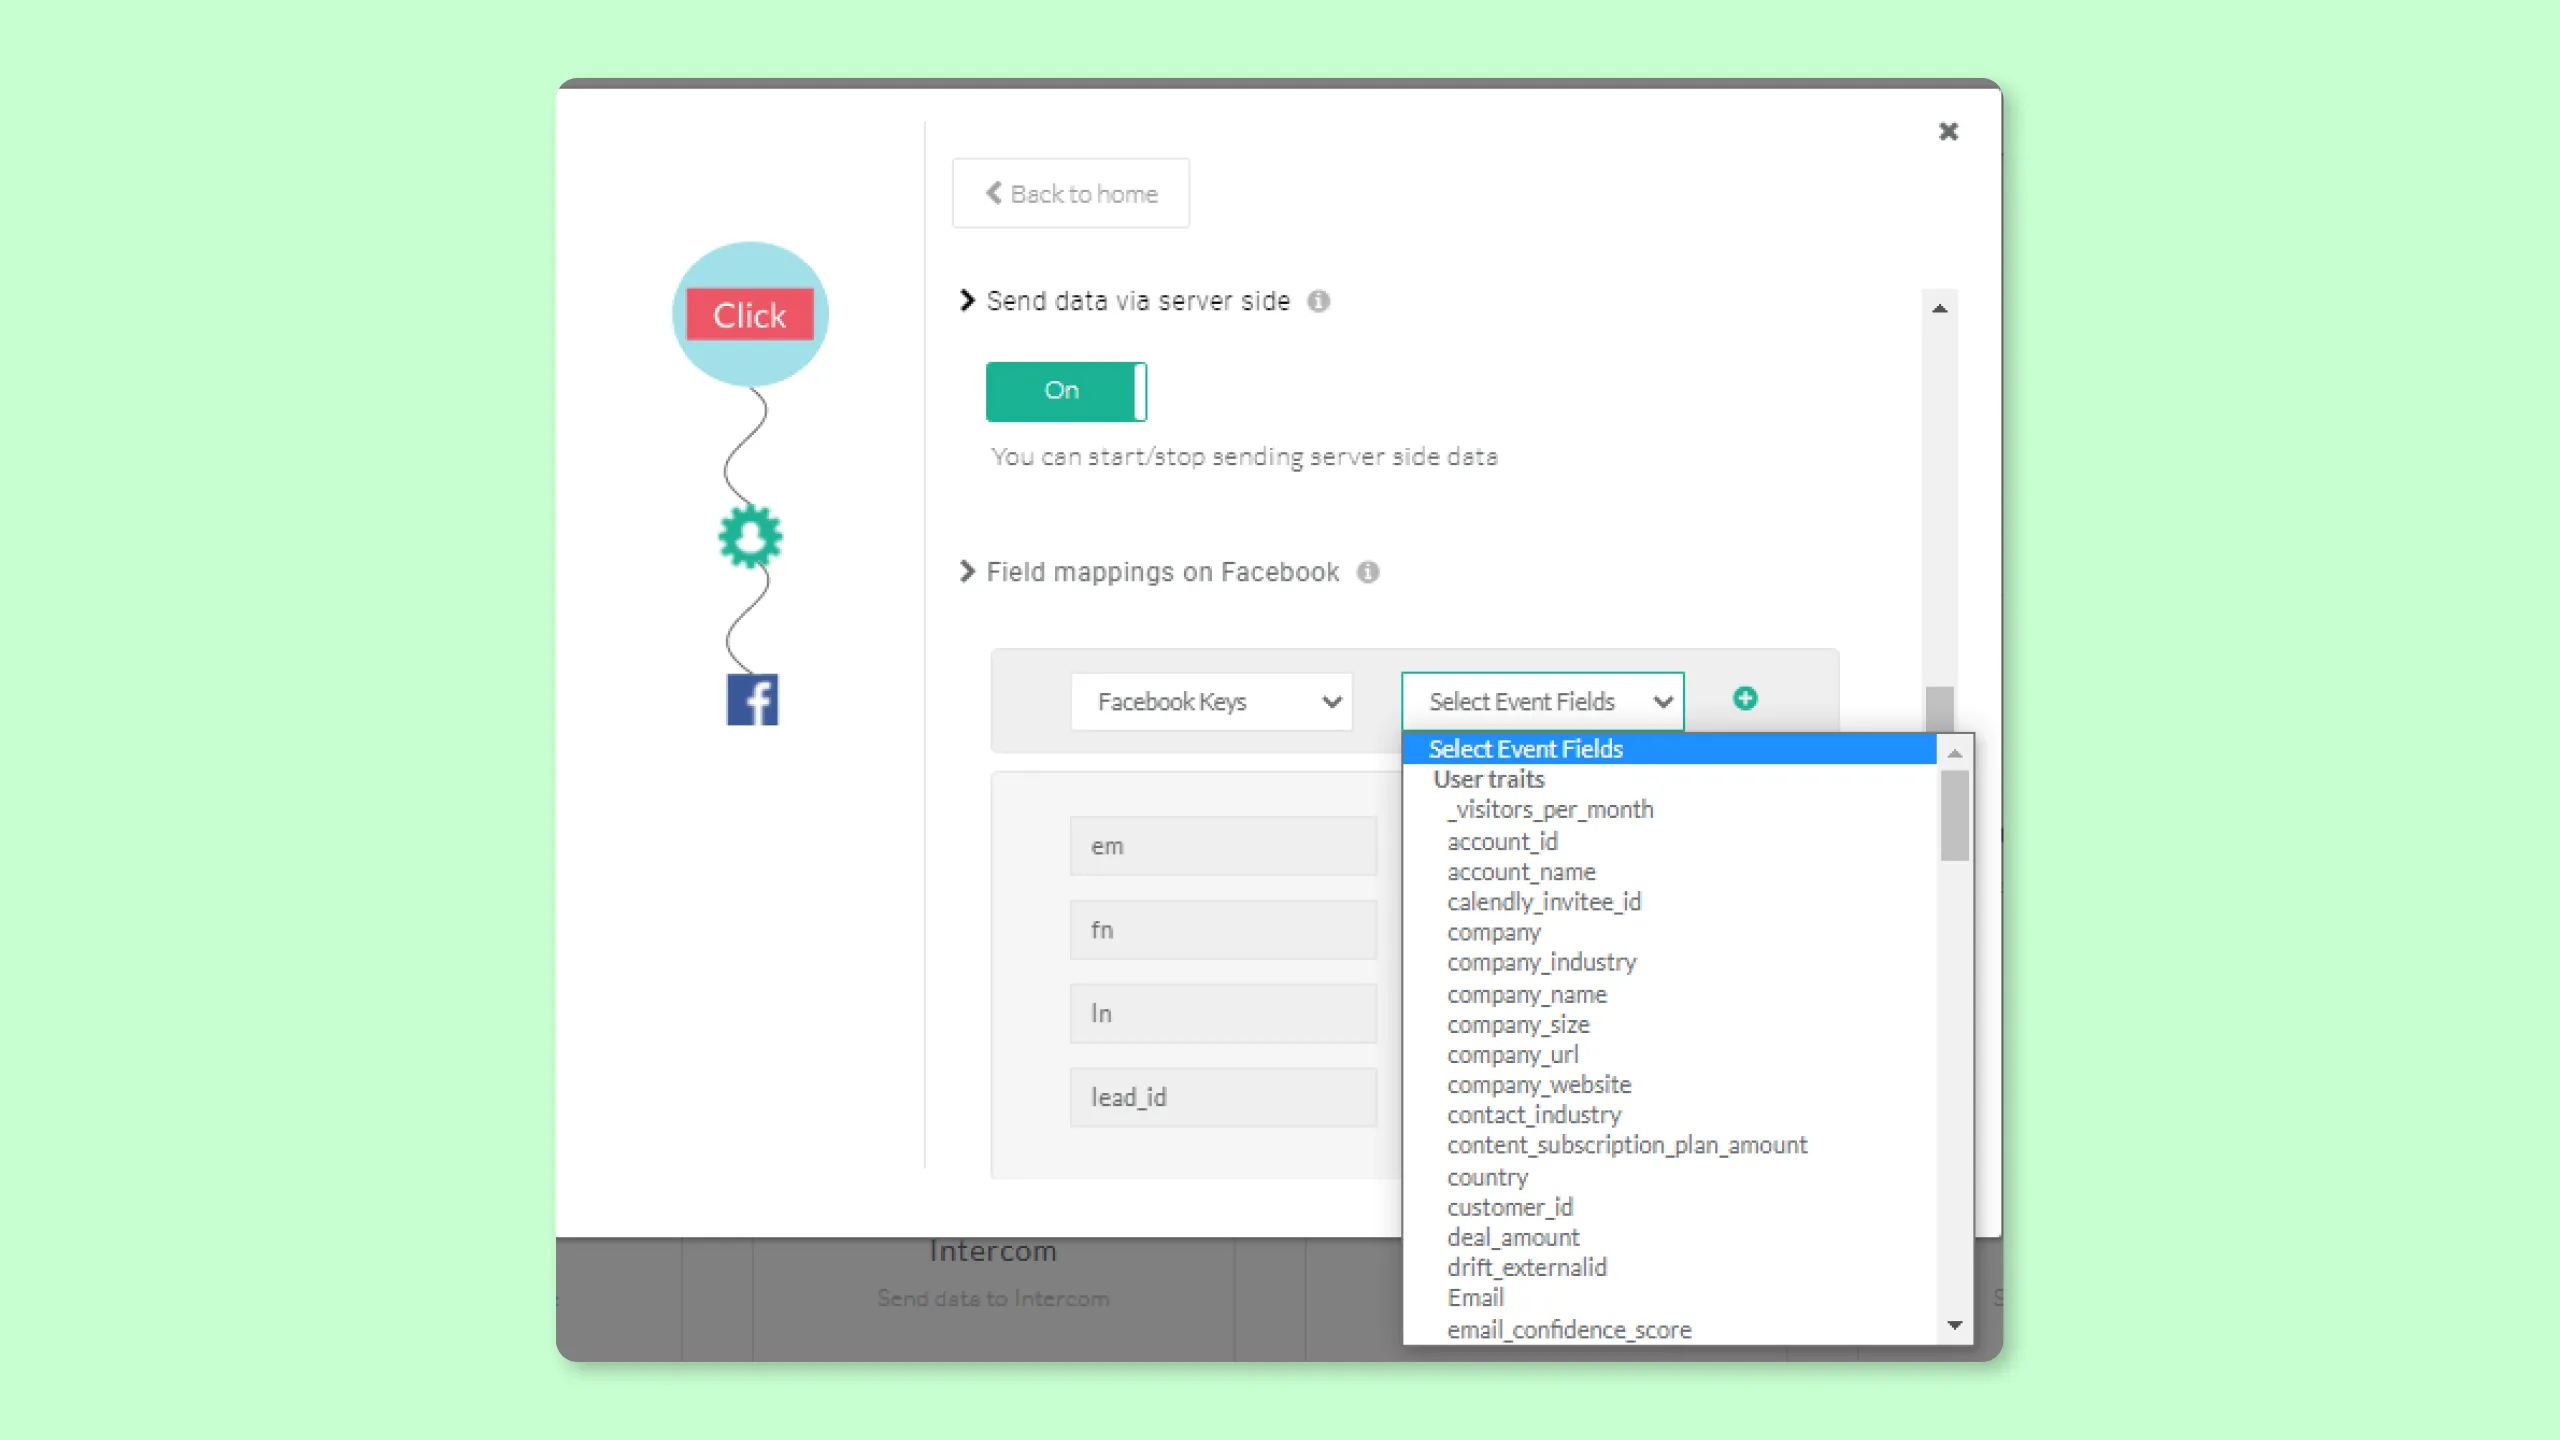
Add & activate Facebook as the first Destination in the 1PD Ops. This setup involves pasting the Facebook Pixel ID and authenticating your ad account.
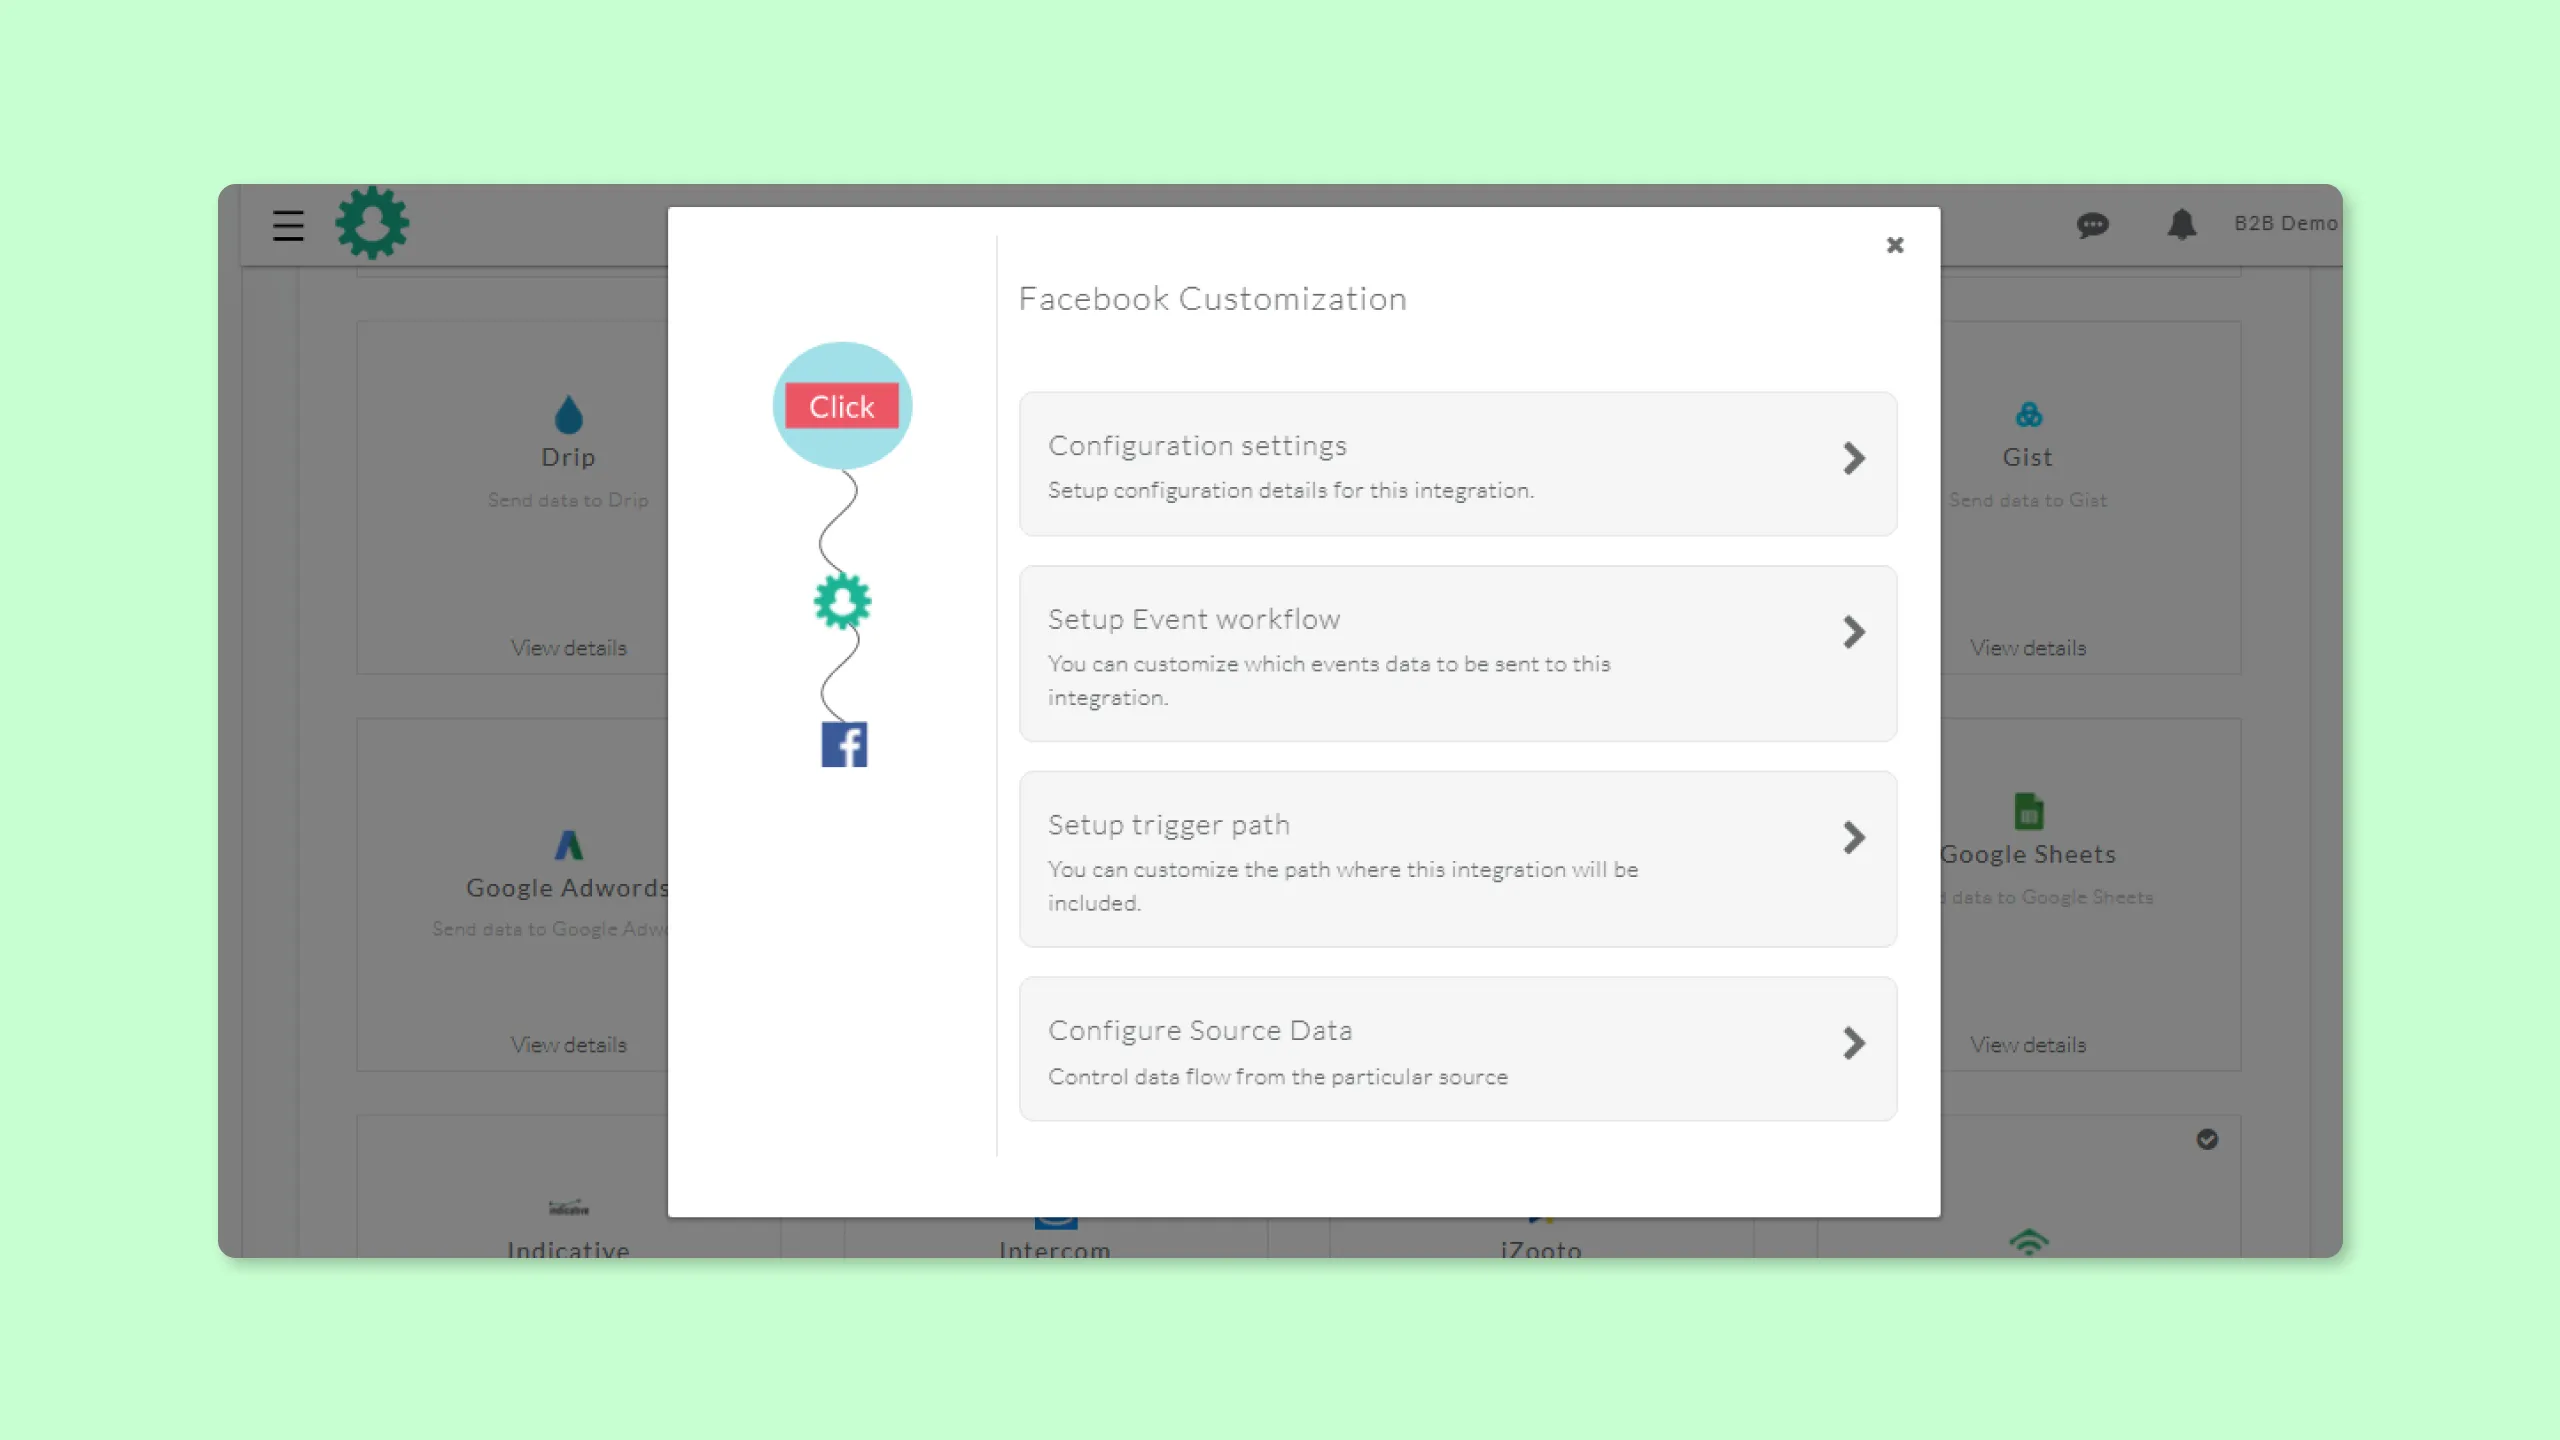
Step 5: Send user data to Facebook as a custom audience
Now, seamlessly sync the segmented lead information inside the 1PD Ops to Facebook
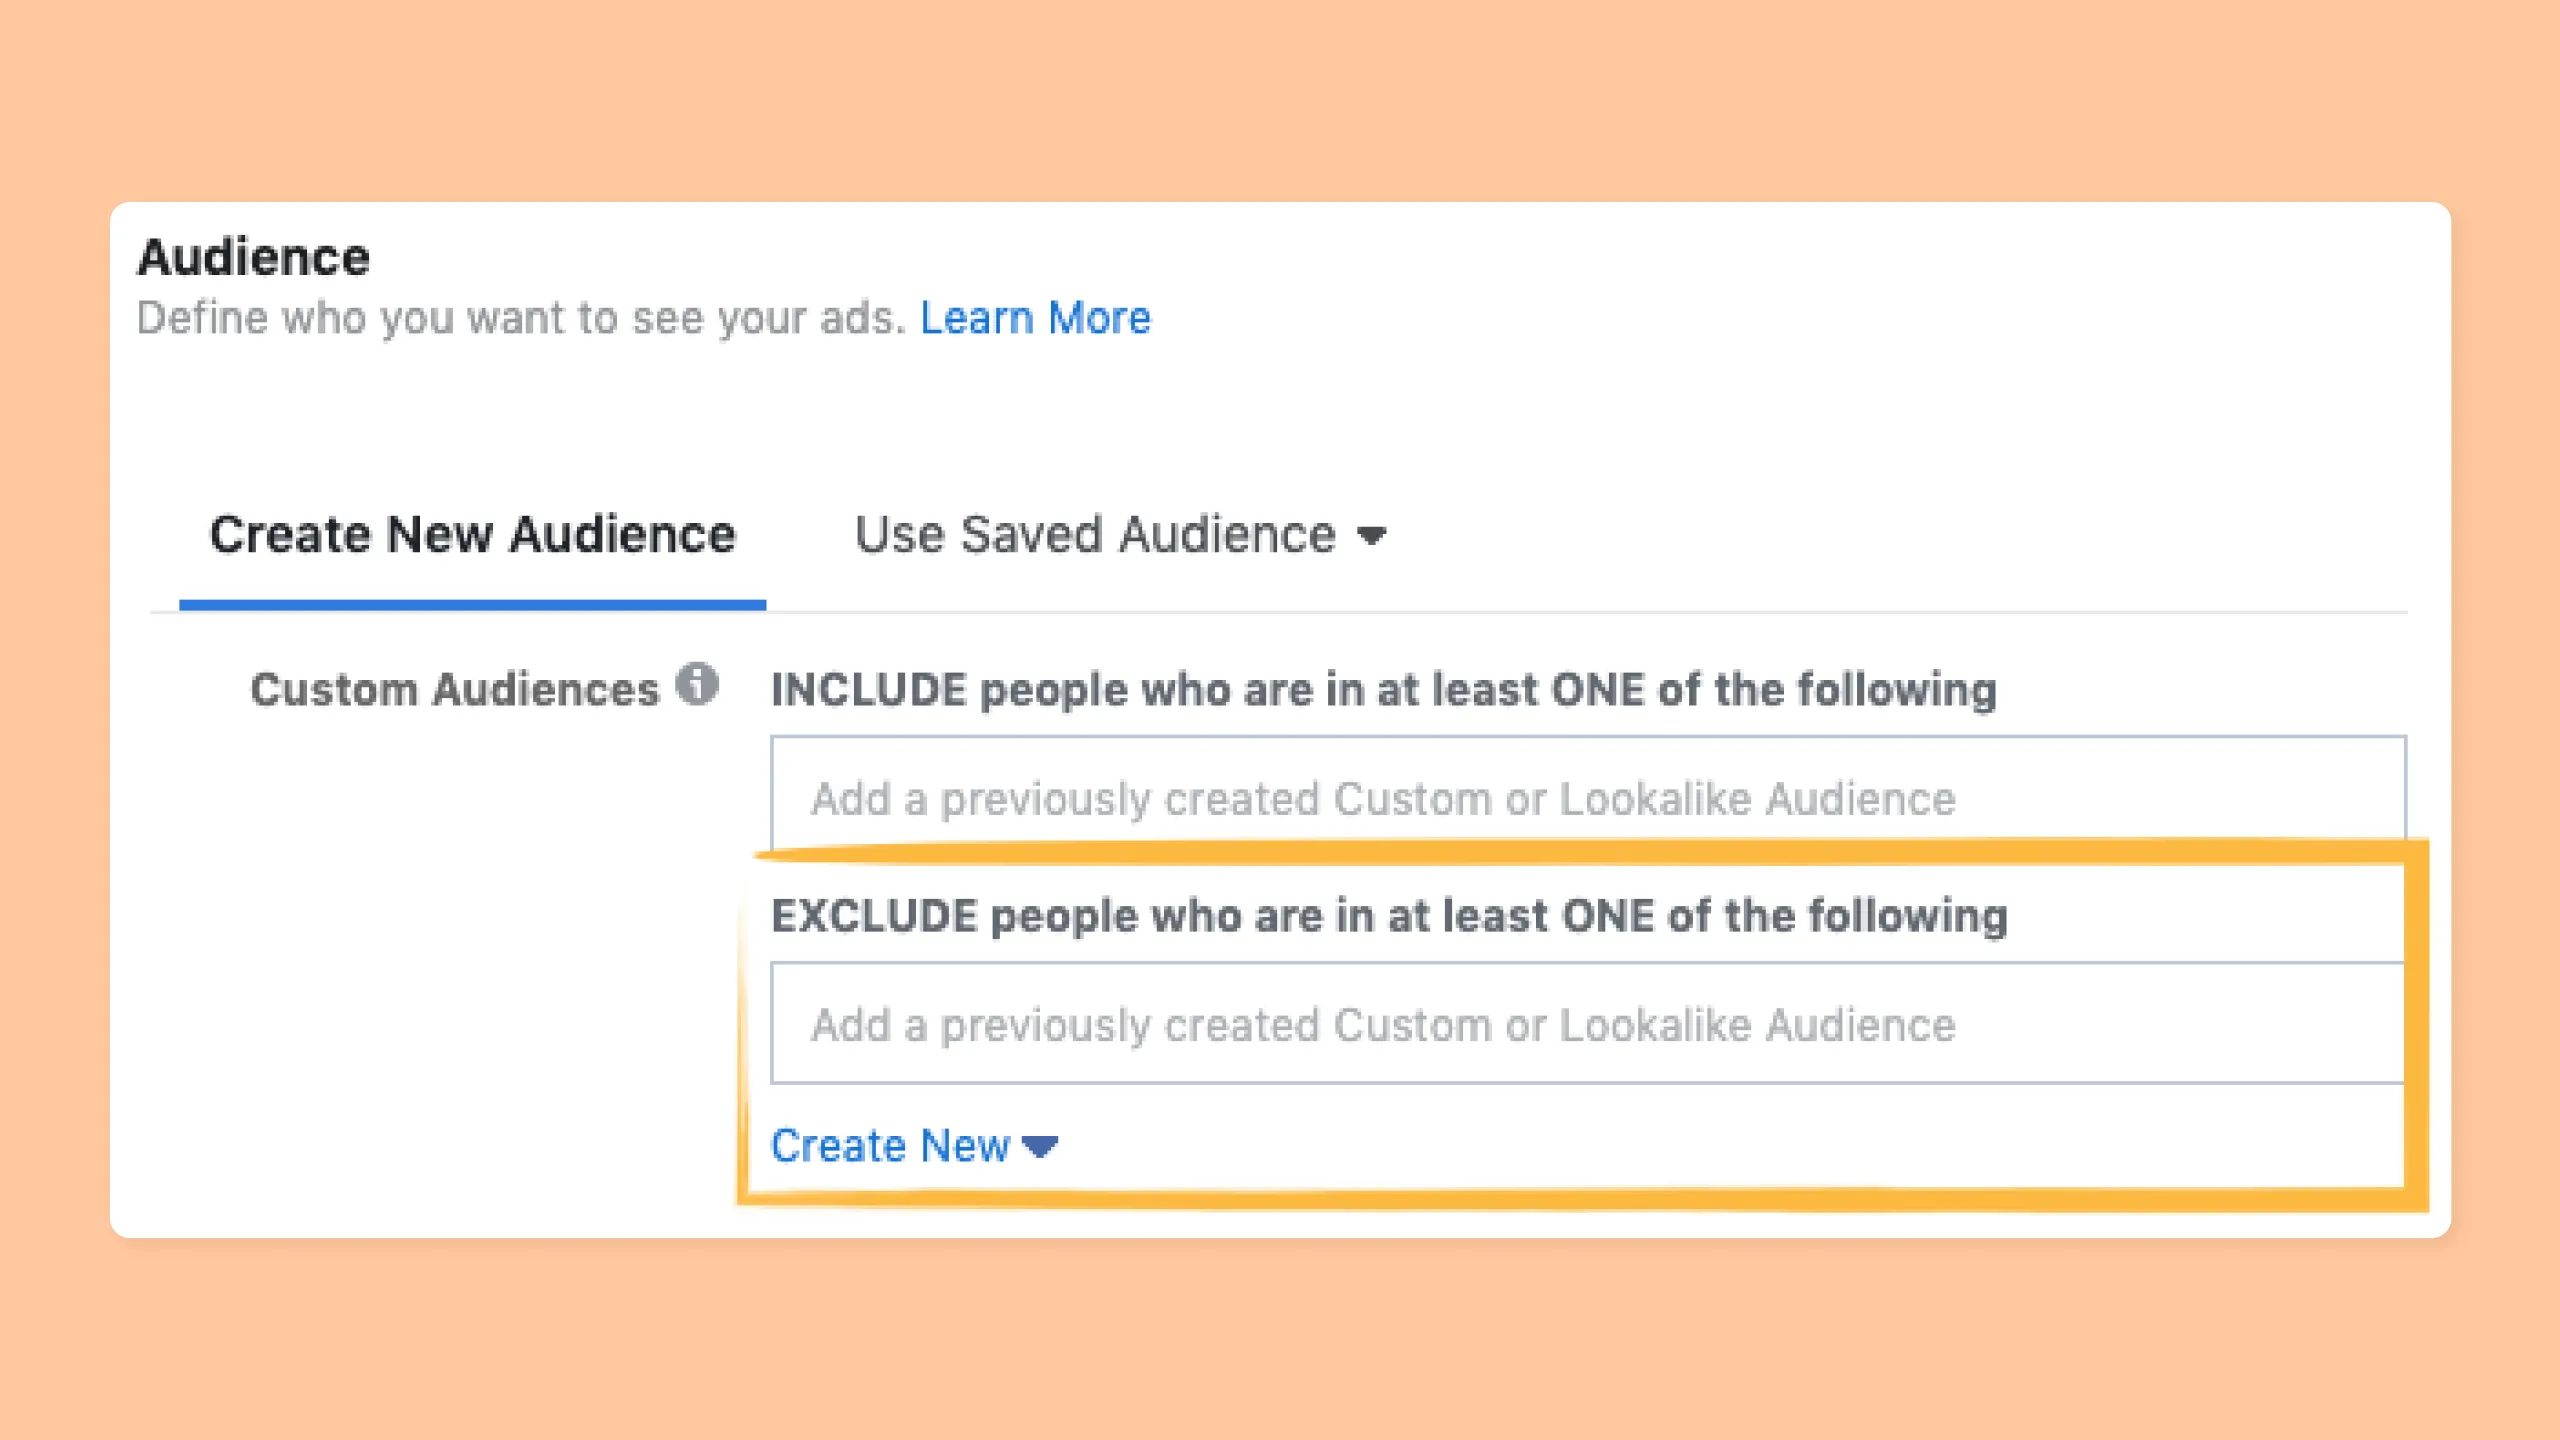
Step 6: Use the custom audience as an exclusion
Create an exclusion list with the custom audience list that you just created and trigger your FB campaigns.
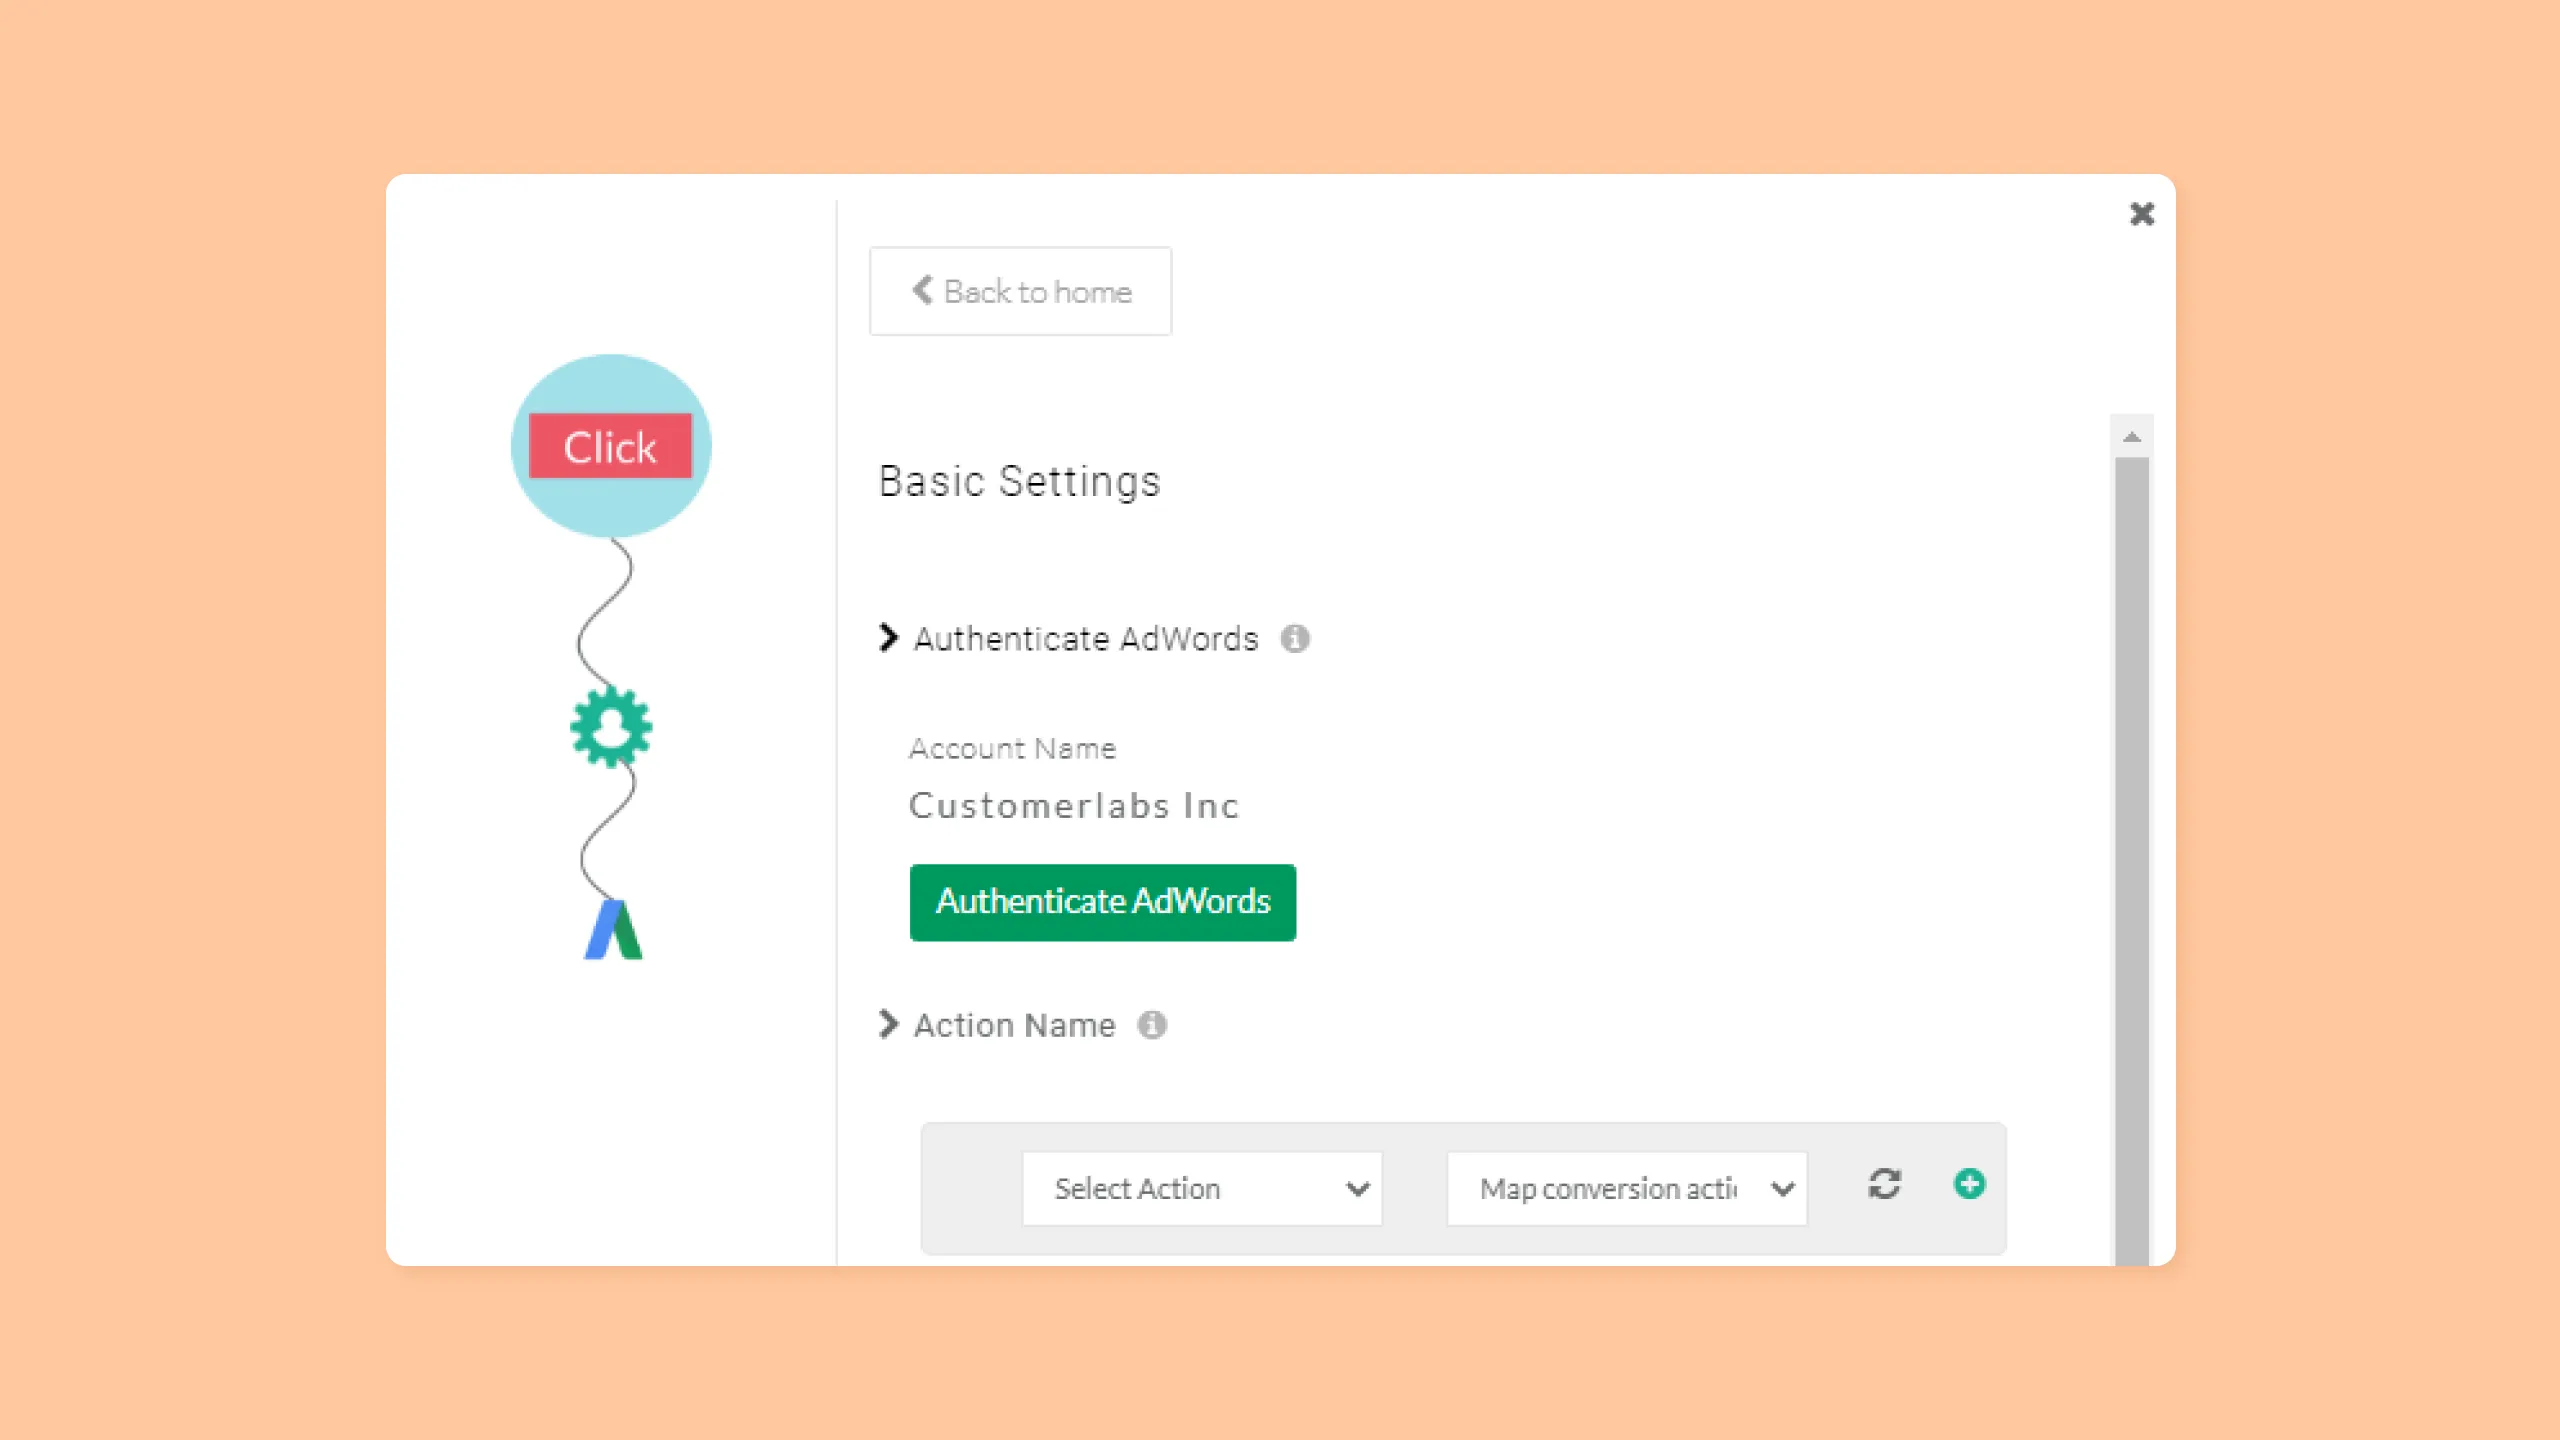
Step 7: Connect Google Ads with the 1PD Ops
Add & activate Google Ads as the second Destination in the 1PD Ops. On clicking “Authenticate Adwords” you will be redirected to your Google Login.
Select your Google Account and click “Allow”
Step 8: Exclude your junk leads from Google Ad campaigns
You will now be able to access your “Junk Leads” segment in the Google Ads audience. Simply add the segment to your exclusion list and start your campaigns.

Advantage
- Never worry about wasting your ad spend on your junk/unqualified leads again